Wow. Just wow.
Creating A Custom Micrometer Stand: Step-by-step Build – Part 2 – Making the Riser
I’ve seen a few decent micrometer stands, both commercially and shop made, but none of them were really what I wanted in one. Having a stand to hold the micrometer while taking a measurement of a telescoping snap gage will make machine work much easier and convenient. So I took some inspiration from a few others and designed my own. In this video, I machine the riser along with some non-standard threads.
Check out my blog: https://www.mylilmule.us
Instagram: https://www.instagram.com/mylilmule/
Facebook: https://www.facebook.com/my.lil.mule/
Become a Patreon supporter: https://www.patreon.com/mylilmule
One time donation: https://paypal.me/MyLilMule
T Shirts and such: https://store.mylilmule.us
Etsy Shop: https://mylilmule.etsy.com
Buy me a Pizza: https://www.buymeacoffee.com/mylilmule
Amazon wish list: https://www.amazon.com/hz/wishlist/ls/MBO1LDMVXEWI?sort=priority
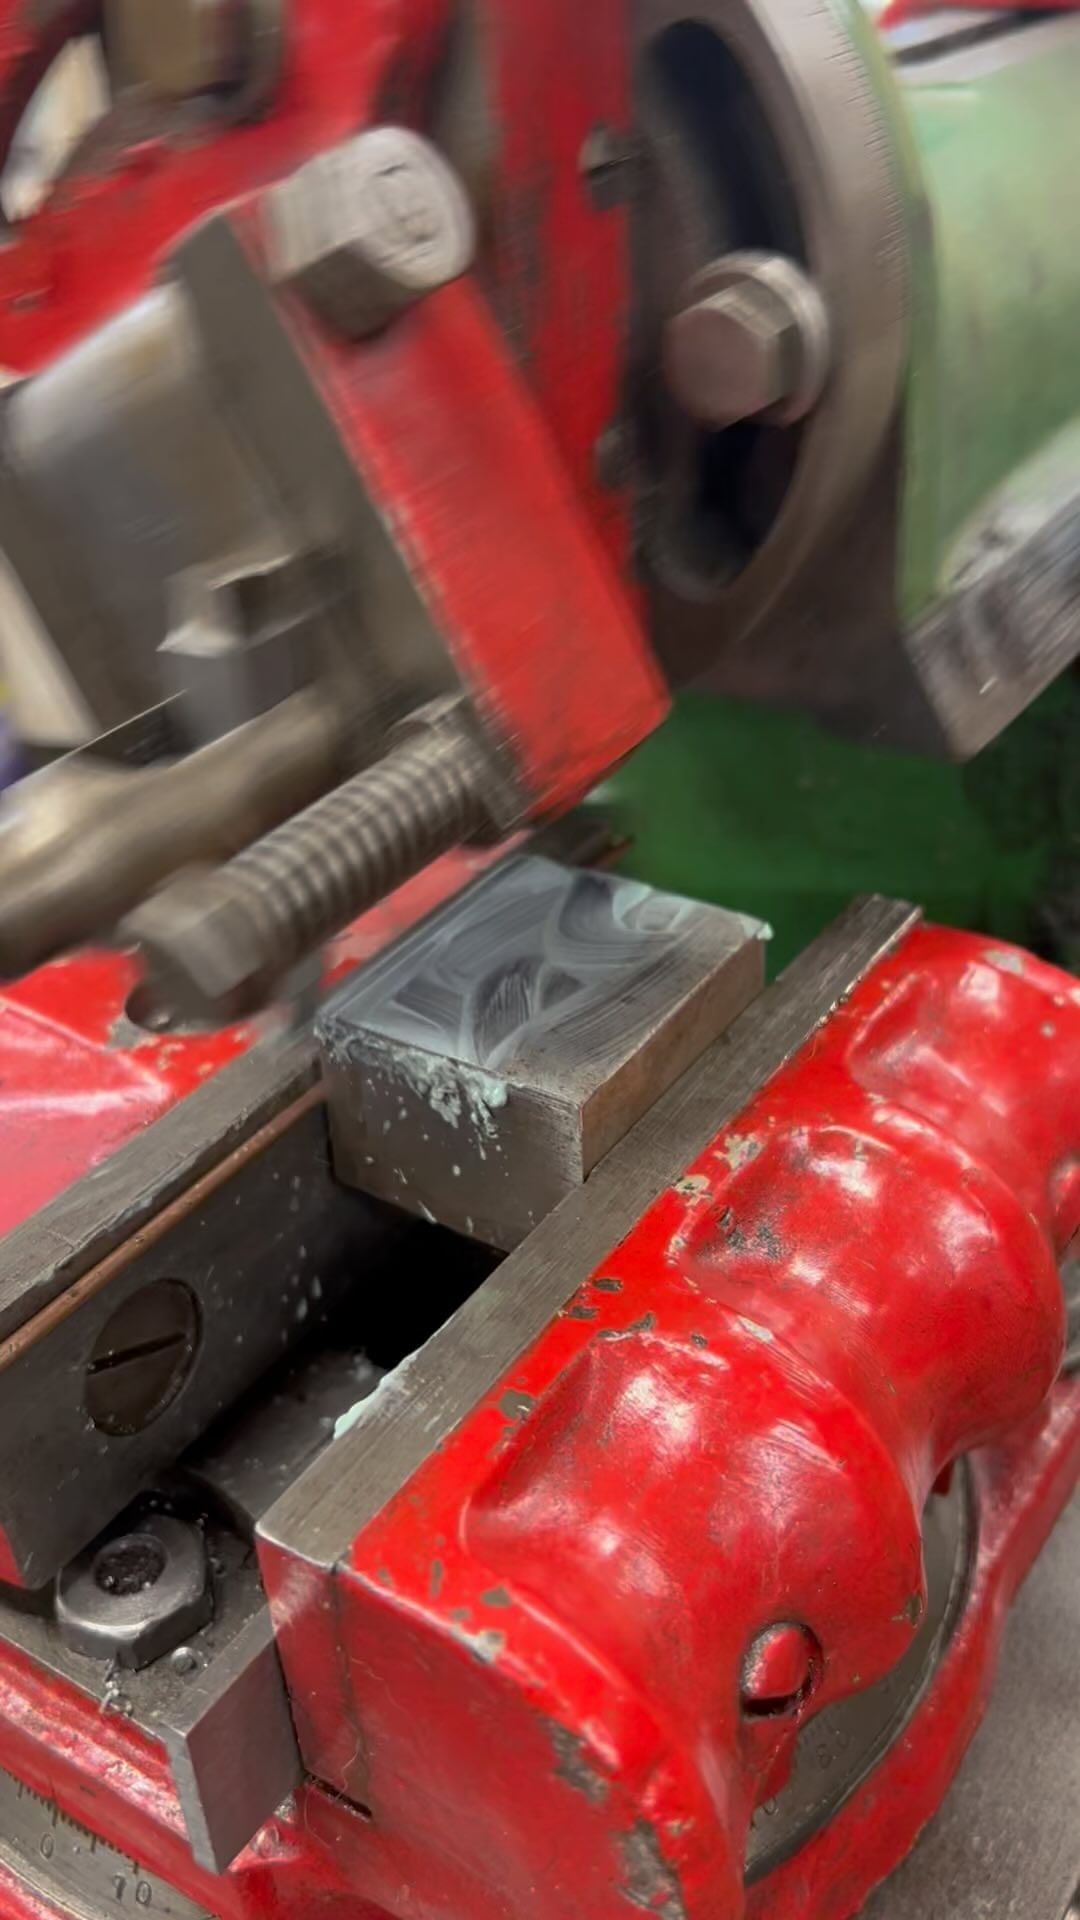
Having a little fun with the shaper on Easter Sunday.
Building My Version of a Micrometer Stand – Part 1
I’ve seen a few decent micrometer stands, both commercially and shop made, but none of them were really what I wanted in one. So I took some inspiration from a few others and designed my own. In this video, I struggle through machining the base.
Check out my blog: https://www.mylilmule.us
Instagram: https://www.instagram.com/mylilmule/
Facebook: https://www.facebook.com/my.lil.mule/
Become a Patreon supporter: https://www.patreon.com/mylilmule
One time donation: https://paypal.me/MyLilMule
T Shirts and such: https://store.mylilmule.us
Etsy Shop: https://mylilmule.etsy.com
Buy me a Pizza: https://www.buymeacoffee.com/mylilmule
Amazon wish list: https://www.amazon.com/hz/wishlist/ls/MBO1LDMVXEWI?sort=priority
1960 South Bend Lathe Part 3 – Headstock Disassembly
I want to get the headstock of the 1960 South Bend lathe disassembled so I can inspect the bearings and any gears.
—-
Check out my blog: https://www.mylilmule.us
Instagram: https://www.instagram.com/mylilmule/
Facebook: https://www.facebook.com/my.lil.mule/
Become a Patreon supporter: https://www.patreon.com/mylilmule
One time donation: https://paypal.me/MyLilMule
T Shirts and such: https://store.mylilmule.us
Etsy Shop: https://mylilmule.etsy.com
Buy me a Pizza: https://www.buymeacoffee.com/mylilmule
Amazon wish list: https://www.amazon.com/hz/wishlist/ls/MBO1LDMVXEWI?sort=priority
Assembling the K&T Universal Milling Head Part 2 – How many mistakes can I make?
I finish the reassembly of the Universal Milling Head for the Kearney and Trecker 2HL. I make a few mistakes, mostly minor, along the way, but I did manage to address them all in the end.
—-
Check out my blog: https://www.mylilmule.us
Instagram: https://www.instagram.com/mylilmule/
Facebook: https://www.facebook.com/my.lil.mule/
Become a Patreon supporter: https://www.patreon.com/mylilmule
One time donation: https://paypal.me/MyLilMule
T Shirts and such: https://store.mylilmule.us
Etsy Shop: https://mylilmule.etsy.com
Buy me a Pizza: https://www.buymeacoffee.com/mylilmule
Amazon wish list: https://www.amazon.com/hz/wishlist/ls/MBO1LDMVXEWI?sort=priority
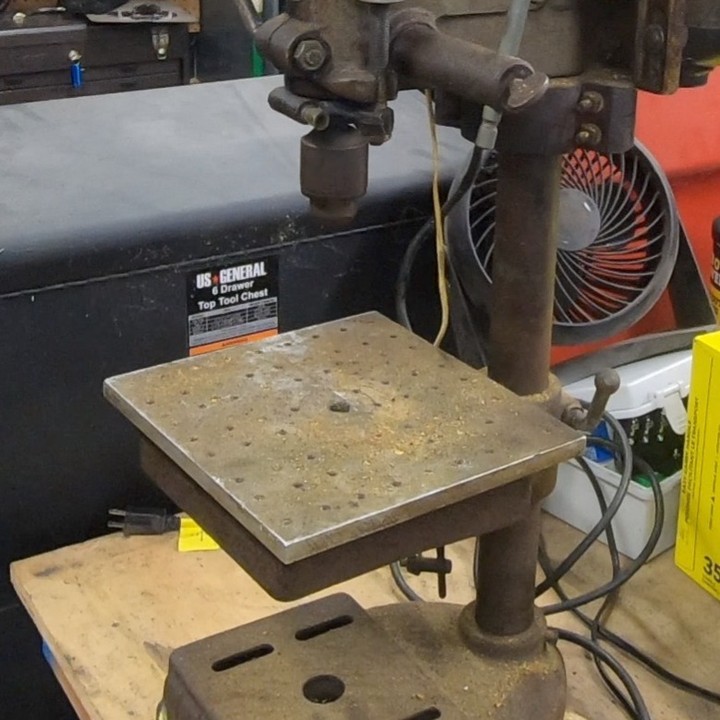
This “fixture plate” was attached to the table of a drill press I bought at an a
This “fixture plate” was attached to the table of a drill press I bought at an action. The holes weren’t very square to the plate, but I figure it could be useful in the future, so I cleaned it up with the fly cutter I made a couple years ago.
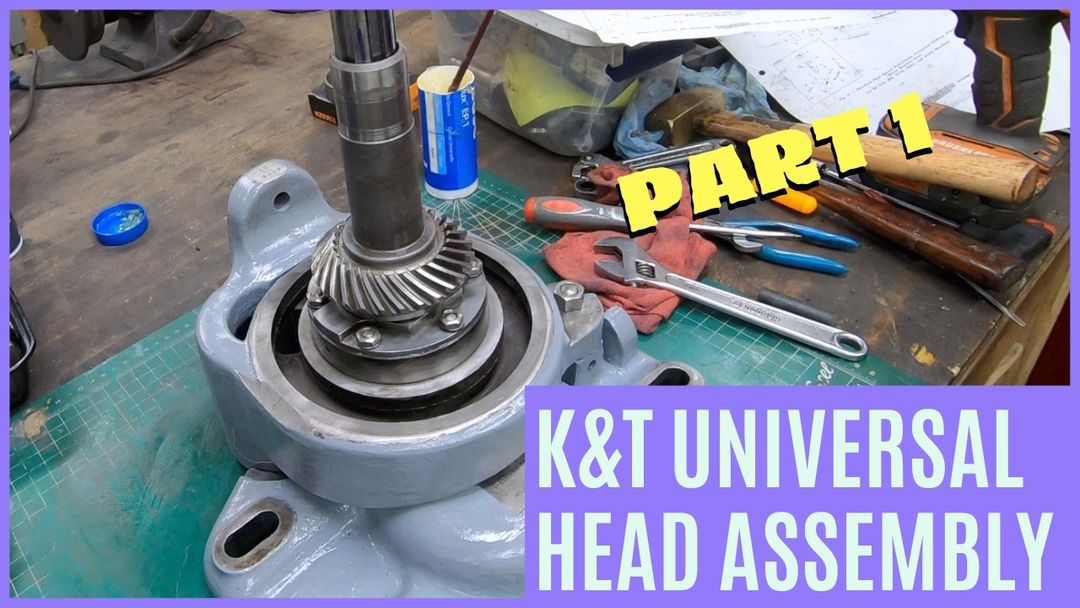
I’ve been working on repairs to this Kearny & Trecker Universal Milling Head for
I’ve been working on repairs to this Kearny & Trecker Universal Milling Head for a long time. I am finally ready to get it back together. Check out the link in my bio to the YouTube video of part 1.
.
.
.
.
.
.
.
.
Assembling the K&T Universal Milling Head Part 1
With as much repair work as I am able to do completed on the Kearney & Trecker Universal Milling Head, it’s time to start putting this back together. I’m starting with the Attachment Housing and the Swivel Support Bracket.
Disassembly video: https://youtu.be/e6wdYGldTvA
—-
Check out my blog: https://www.mylilmule.us
Instagram: https://www.instagram.com/mylilmule/
Facebook: https://www.facebook.com/my.lil.mule/
Become a Patreon supporter: https://www.patreon.com/mylilmule
One time donation: https://paypal.me/MyLilMule
T Shirts and such: https://store.mylilmule.us
Etsy Shop: https://mylilmule.etsy.com
Buy me a Pizza: https://www.buymeacoffee.com/mylilmule
Amazon wish list: https://www.amazon.com/hz/wishlist/ls/MBO1LDMVXEWI?sort=priority
Machining an Obsolete Part for a Hobart MIG Welder
I have been having an issue my Hobart 175 amp MIG welder for a few years. I was getting a lot of porosity in my welds and I could never figure out why. I have only been able to use flux core in it. I want to get this problem sorted out and fixed, and to do that, I had to machine a part that is obsolete and not available.
—-
Check out my blog: https://www.mylilmule.us
Instagram: https://www.instagram.com/mylilmule/
Facebook: https://www.facebook.com/my.lil.mule/
Become a Patreon supporter: https://www.patreon.com/mylilmule
One time donation: https://paypal.me/MyLilMule
T Shirts and such: https://store.mylilmule.us
Etsy Shop: https://mylilmule.etsy.com
Buy me a Pizza: https://www.buymeacoffee.com/mylilmule
Amazon wish list: https://www.amazon.com/hz/wishlist/ls/MBO1LDMVXEWI?sort=priority


