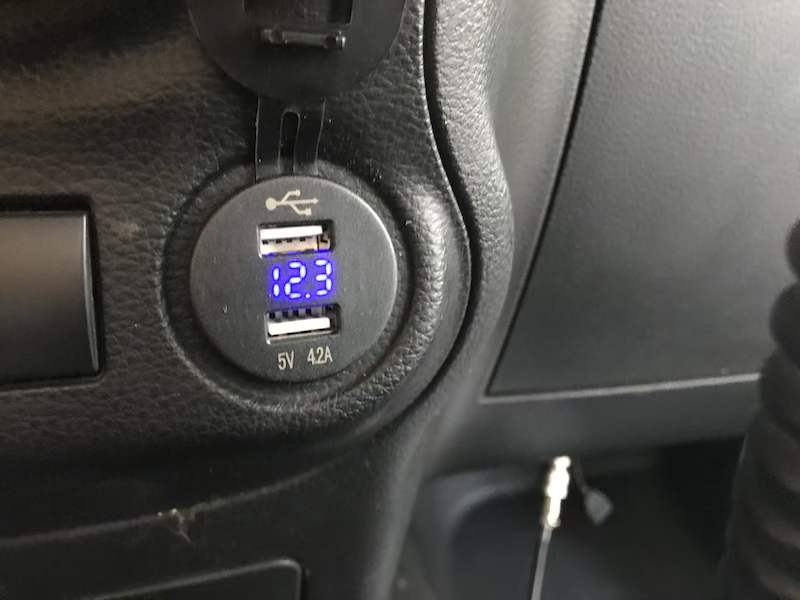
The only thing I ever plugged into the 12v lighter plug in the Jeep was a USB adapter. Occasionally a inverter, but almost never. I ordered this from Amazon and wired it in with a fuse. This one has a voltage meter on it as well.
The adventures of a Jeep and its driver.
The only thing I ever plugged into the 12v lighter plug in the Jeep was a USB adapter. Occasionally a inverter, but almost never. I ordered this from Amazon and wired it in with a fuse. This one has a voltage meter on it as well.

On the way to Moab, TJ and I almost ran out of gas in the truck. LOL. Luckily, I had brought with us a 5 gallon gas can that was partially full. But it was merely strapped to the trailer with a bungie.
Bought this 3 gallon Rotopax can on a blemish sale and mounted it to the trailer. Much more secure and a little piece of mind.
When I busted my brake line coming of the Cliffhanger trail in Moab, the only replacement I could find was a Teraflex braided line. Unfortunately, these are quite a bit shorter than the Rock Krawler lines. I bought a new set of longer ones and swapped the one out. I have a couple spares now I will keep in the trail bag.
I had to cut the toolbox off the tongue of the trailer in order to make room for the weight distributing hitch brackets. Bought some square tube to make some spaces to weld it back on. The spacers allow the brackets to sit on the tongue from and lift the toolbox above them.
I swapped the Duratrac’s with BFG KO2s from 4 Wheel Parts in Cleveland. They had a special buy and I ended up with 5 KO2’s (315/70r17) mounted, balanced, out the door, with tax for $1100. No way I could pass that up right now. They are a C load range tire. Much quieter and smoother on the road.
But they must be a bit narrower than the Duratrac. Once I had the tire carrier back on, and adjusted in as far as it would go, there was still a gap between the rubber and the carrier.

This is bad. Without the support, the tire has a tendency to wobble. Eventually, this will either bend something or break a bolt or a stud or something.
Off to the steel supplier. About $30 in steel and hardware, a little cutting, drilling, welding and grinding and I have this.
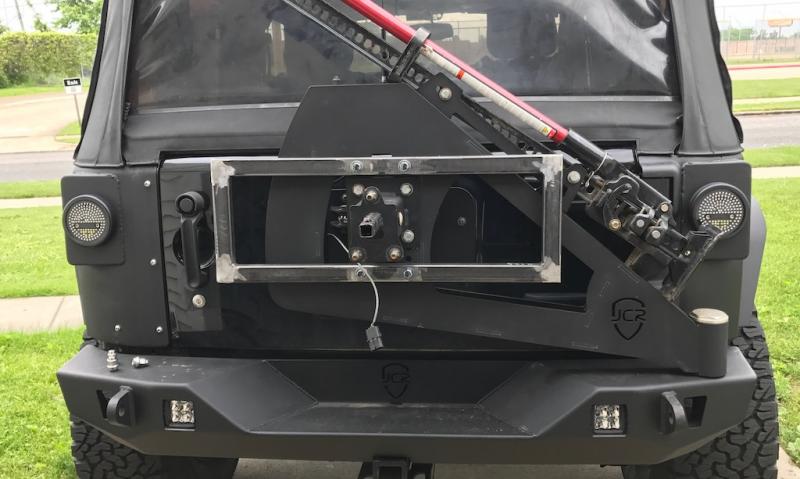
With everything readjusted, the spare snugs right up next to this.
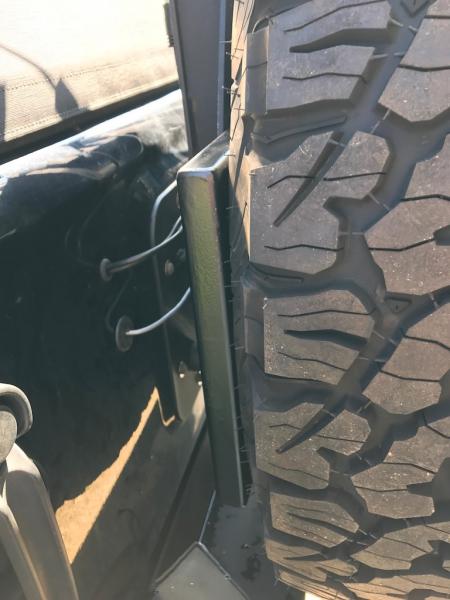
I’m thinking I might modify this some in the future. Adding perhaps antenna mounts to move the two further apart. Or even a rack to put a cooler on that would mount over the tire (i.e. Ringer’s) or even a bracket off the driver’s side to come around the tire for a Rotopax gas can mount.
Knowing how to weld and having a good welder makes me happy that I can build stuff like this.
A few updates over the last week or so.
Got the rear bumper and tire carrier back on. Replaced some of the hardware. I also replaced the bearings and the oil seal in the tire carrier spindle. For what they cost, why not.
I also mounted my DIY license plate bracket. It removes very easily so the spare can be taken off if needed.
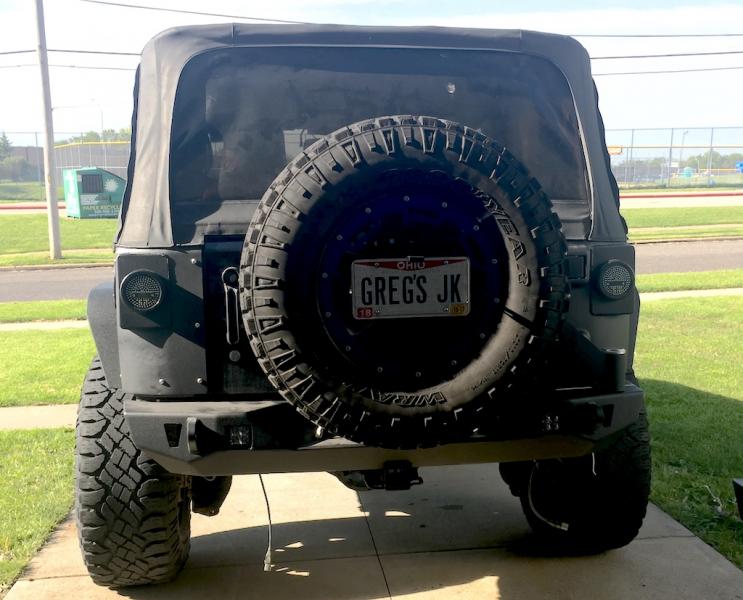
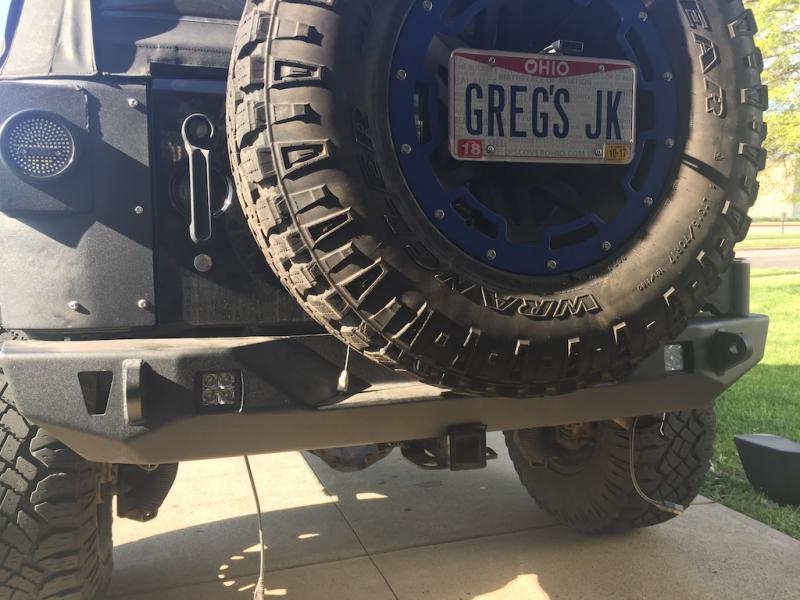
I also got the roll bar padding back on and the Spider Webshade back on (no photos).
Ran the wires from the GMRS radio down the middle of the cage. The power leads run behind the glove box. I wanted to put a fuse panel back there, so I made this bracket from some plate I had in the scrap bin.
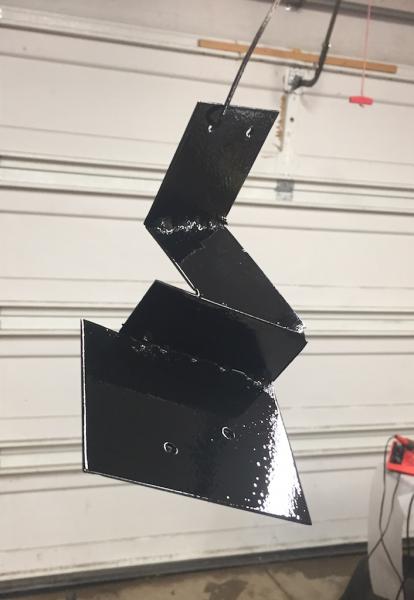
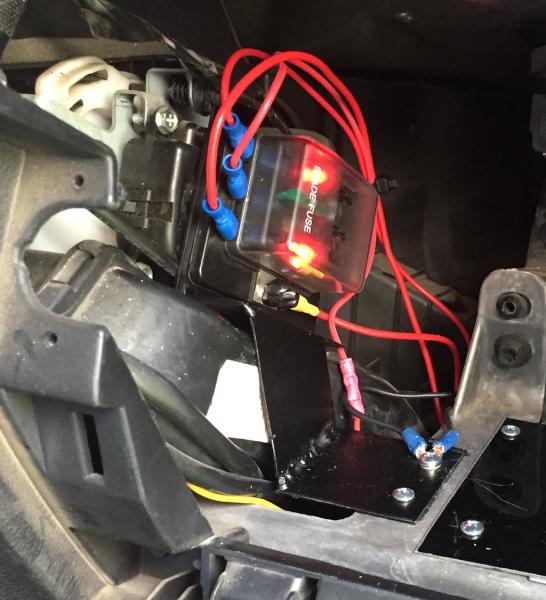
Took some of the sheet metal I had cut out of my hood when I put in the louvers and mounted the CB and USB power supply to it.

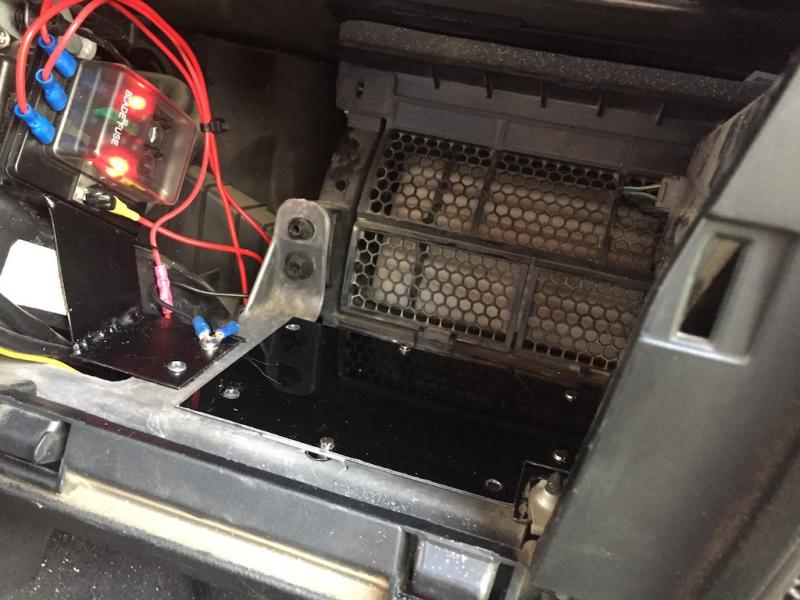
Tucks up nice and neat out of the way. And the glove box still fits!
Removed all of the aftermarket steel off the Jeep over the last couple of weeks.
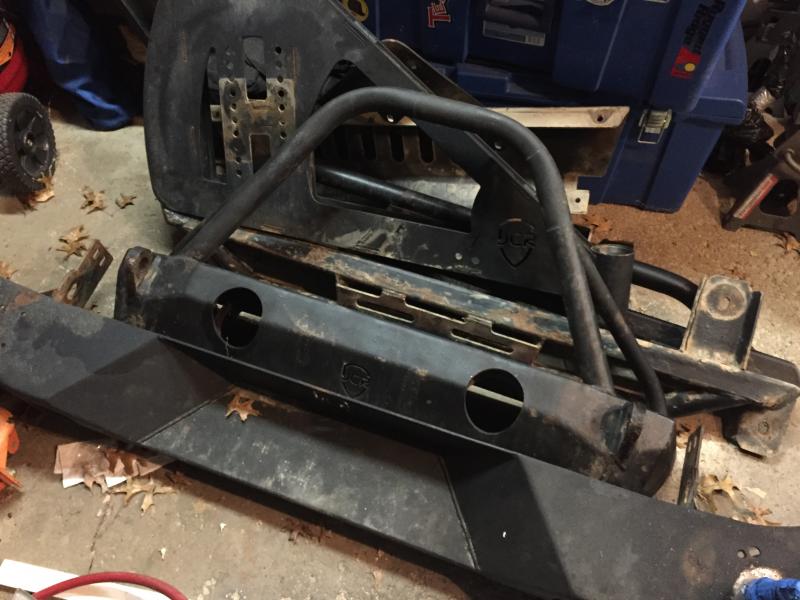
I’ll be taking it all to be media blasted, zinc plated, e-coated and then powder coated. I figure it will be my best defense against rusting. I’ll still have to do some touch up of scratches, but the NE Ohio winters are murder on these things.
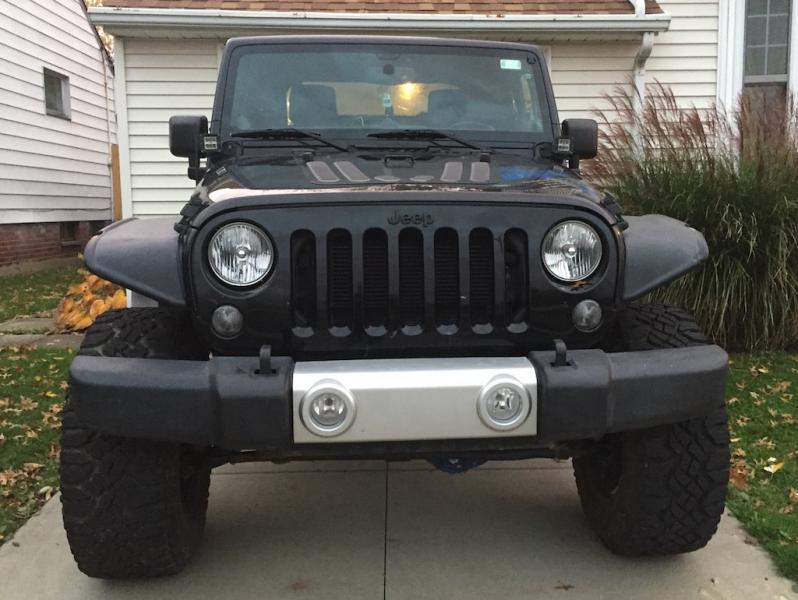
Picked up a set of Sahara bumpers in the meantime. Where’s the mall?
With the rock sliders gone, it’s a little bit of a pain for the wife to get into the Jeep. Picked up some Mopar side steps.
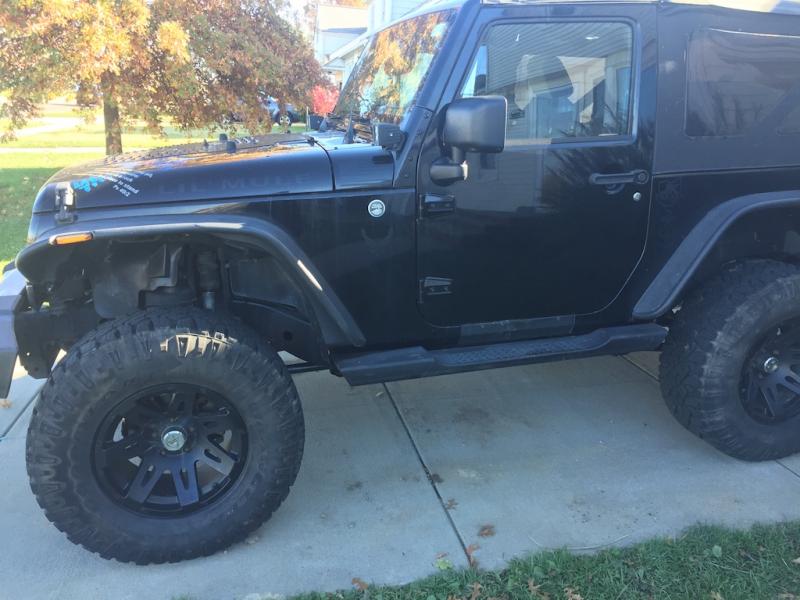
Ugh. I feel like I am going backwards in time!
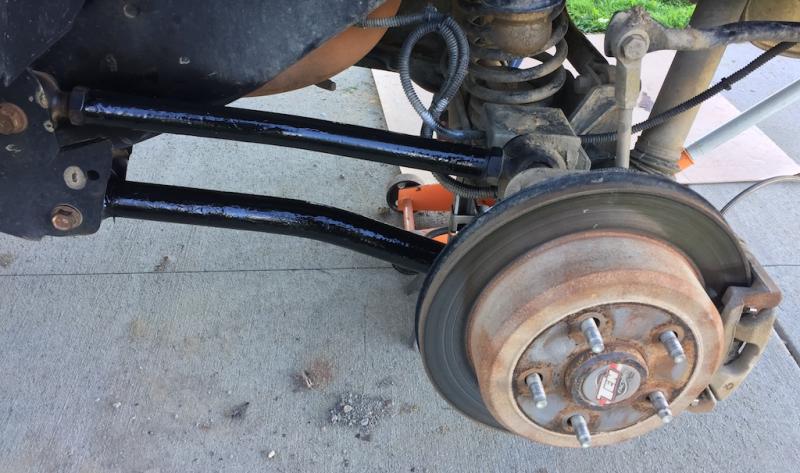
My Rock Krawler lift is awesome. But the powder coat did not hold up well at all. Took a wire brush to them and broke open the Rust Bullet with an over coat of Rustoleum.
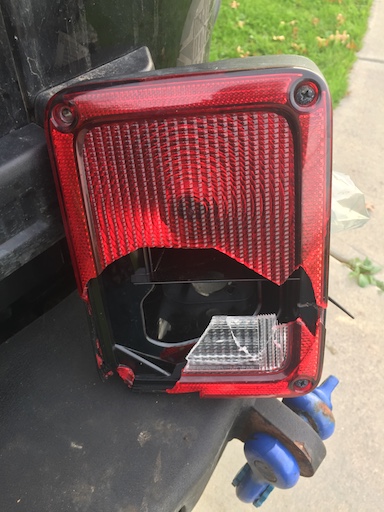
Replace the rear tail light that some tree in Tennessee tried to hug. I still need to find a replacement clip for the lower right screw.

Without a tire carrier, my spare is in the back on top of the Tuffy deck. I added some Jeep style tie downs to the deck and have the spare ratchet strapped to the deck.
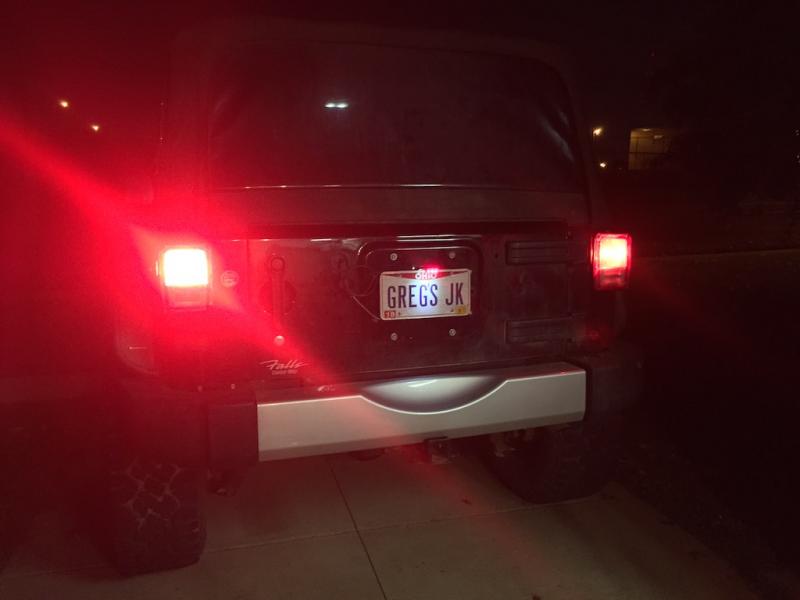
Since there’s no spare on the tailgate, I decided to ditch my broken license plate bracket. Mounted up a Poison Spyder tramp stamp with an Off Road Only third brake light and license plate light. I intend to move this to the spare with the tire carrier goes back on.
I live in NE Ohio and we love to salt the roads around here in the winter. I hate it. It makes everything rust. My daily-driven Jeep is no exception.
After returned from an awesome wheeling trip in Kentucky and Tennessee last week, I decided it was time to start removing the steel from the Jeep, have it blasted and new powder coat applied. This time, I plan on having it zinc plated, then e-coated, then powder coated. This should protect the steel from everything that’s not scratched. I can touch up the dings and scratches with POR 15 and paint, but the zinc and e-coat will keep the rust from spreading too far, too fast.
I’m going to be building a license plate bracket for my spare (need to practice my welding!), so I will be losing the antenna mount for my CB that currently resides inside the stock bracket, shown in this photo from a while ago:

After I removed the JCR tire carrier, I fabbed up another tab for a second antenna mount. I have two radios in the Jeep, a VHF/UHF radio for HAM and GMRS, and the CB (yuk). I want to get rid of the CB, but it is a bit too popular. These are not ideal antenna locations, but they seem to do the trick anyway.

My welding skills still suck, but my grinding is getting better!
I haven’t seen temps below 220 in a looooonnnnnng time. Never at 75MPH. This was on the way home, 81 degrees outside, with the A/C on. Normally, this would be 226* plus. As high as 235*.

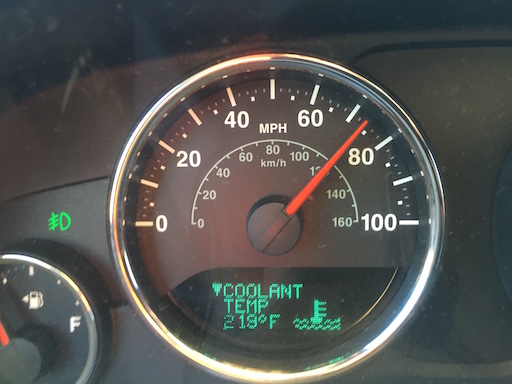
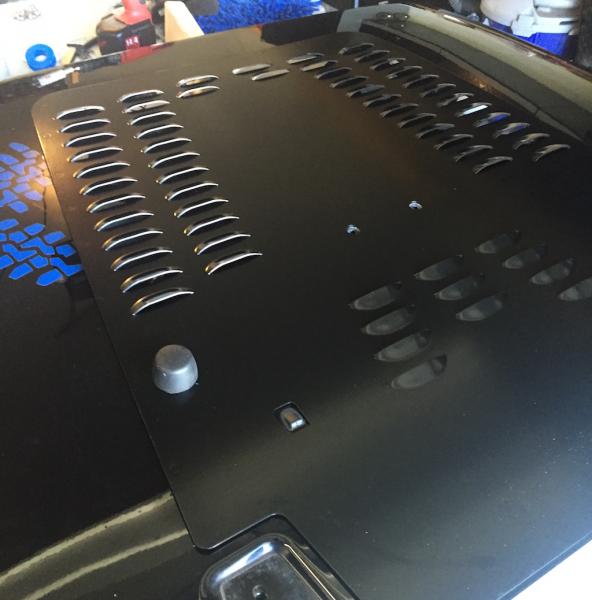
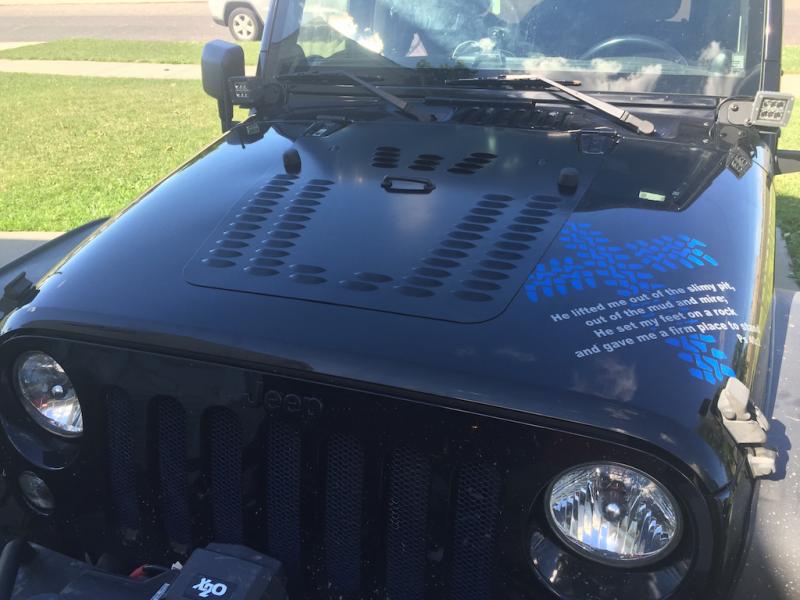
Some of you know I’ve been having some minor heat issues while daily driving. My coolant temp gets hotter than I would like it. Not dangerously hot (240 max) but hot enough that I wanted to try my hand at seeing if I can shed a few degrees. The option of a heat reduction hood is out of the budgetary question right now, so I decided, based on a friend’s recommendation, on a Hyline Offroad hood louver. It’s aluminum and comes bare or powder coated. I opted for PC. Ordered from Hyline directly and had it in two days.
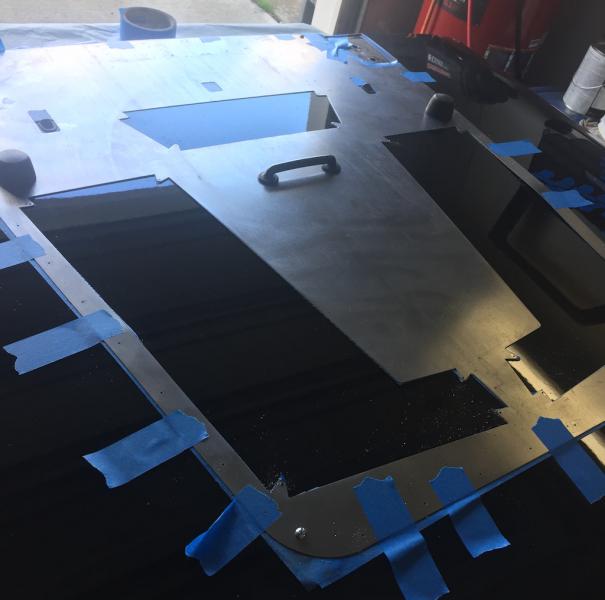
I like this design over the Poison Spyder louver because the bolts are welded to the louver itself. I think it’s a much cleaner install. Plus Hyline sends along a steel template that makes locating the few dozen holes that have to be drilled painless.
Things didn’t start off too great. While removing the footman loop off the hood, one of the bolts busted off. Cheap junk. I’ll be ordering a replacement soon.
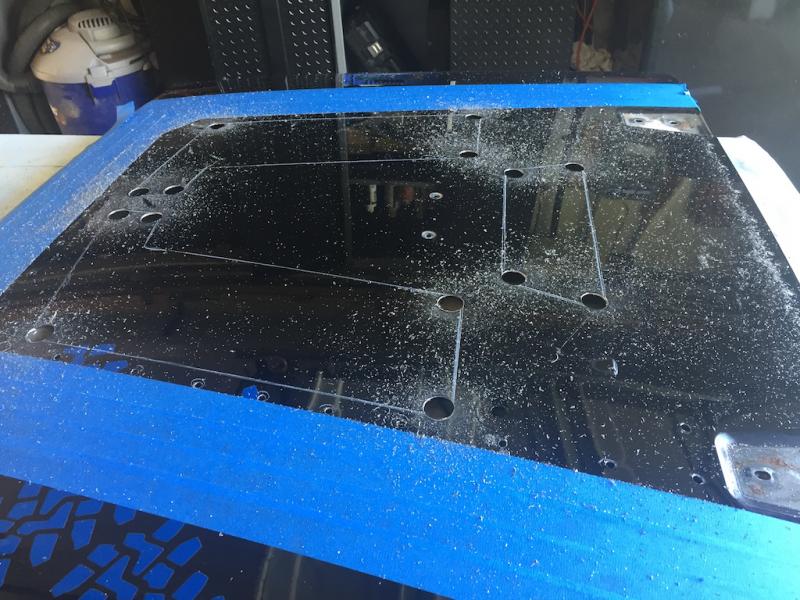
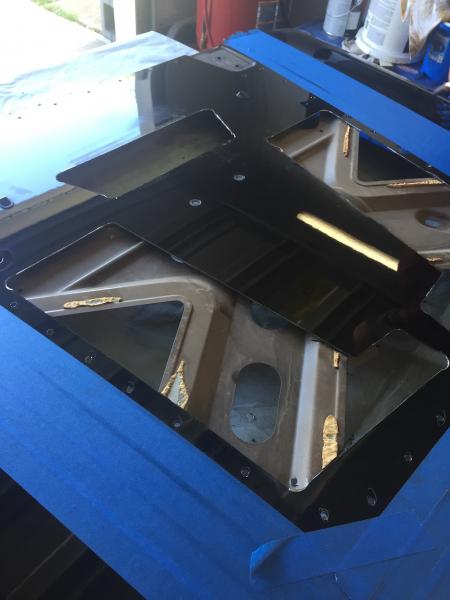
Got the hood off, and with the help from T.J., we got it done in about 3 hours. Some things that are noteworthy.
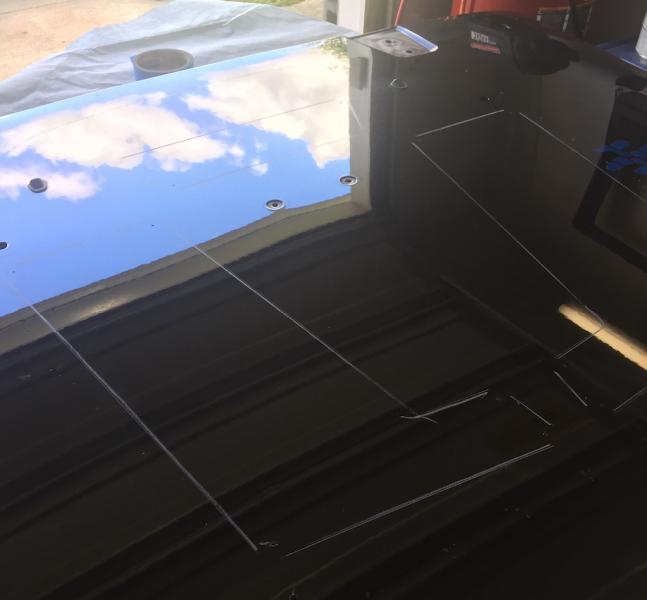
Here are a few photos and a short time lapse video.
