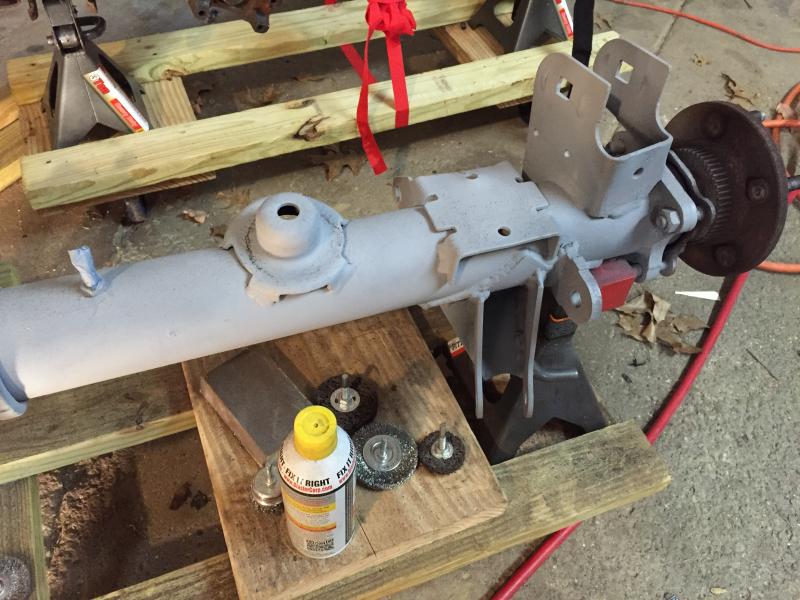
Order the axle truss, front LCA skids and both track bar brackets from Barnes 4WD this morning, taking advantage of their 15% off code. I’ll now be able to get to bare metal on the housing where these will attach.
I should be ordering the Artec rear LCA brackets this week as well. The only thing I don’t like about this brackets is they keep the shock mount in the stock location. I kind of like the fact my EVO Rock Star skids give me an extra 1.5″ of clearance.
Possibly a slight change of plans. Instead of an Artec truss, I think I am looking at one from Barnes 4wd. Looks to be a little beefier than the Artec.
I’ve also decided to cut off the old EVO raised track bar brackets. The way the front one is designed, it gets in the way of the truss. The rear would be in the way as I try to get rid of some of this rust.
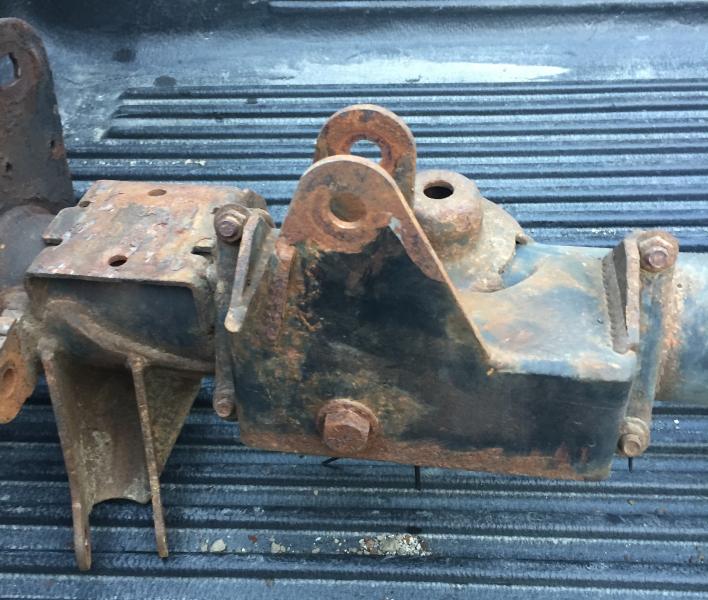
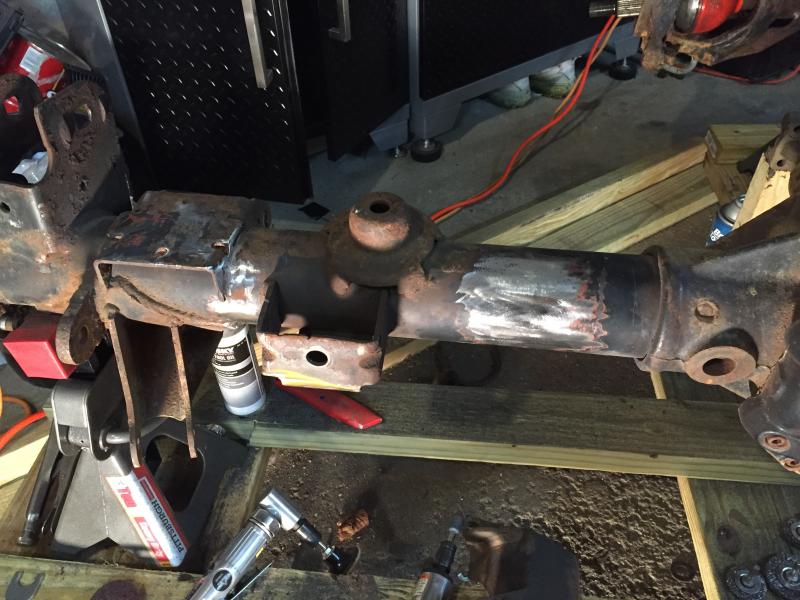
Some progress on the rear:
Before:
After:
It’s likely I will be cutting off the stock bracket as well, after I take a bunch of measurements, photos and diagrams. The Barnes bracket looks to be a replacement, rather than a bolt over.
Haven’t done much with the front. That’s coming soon. I am, however, thinking I might need new seals. The shafts have been sitting in the housing for quite a while, with no outer support of a bearing. I would have to think those seals are deformed by now with that weight sitting on them. It would be a lot easier to replace them now than after the axle is installed. I’ve never done anything like that. It looks easy enough, keeping the parts of the diff in the right order and configuration, seems to be the hardest part. At which point I would leave the shafts out until install day. Not sure what I am going to do with that.
Once all the welding is complete, I’ll be adding these:
* Ten Factory Rear Axle Shafts (complete) * Synergy HD Ball Joints * Synergy HD Tie Rod
I’ve considered adding the Synergy drag link, but I’m going to stick with the EVO flip that I already have on this axle. I will eventually replace it as well as their sector shaft brace.
If I see an awesome Black Friday deal on the shafts and/or Synergy items, I’ll get them at the same time. If not, they can wait until early January.
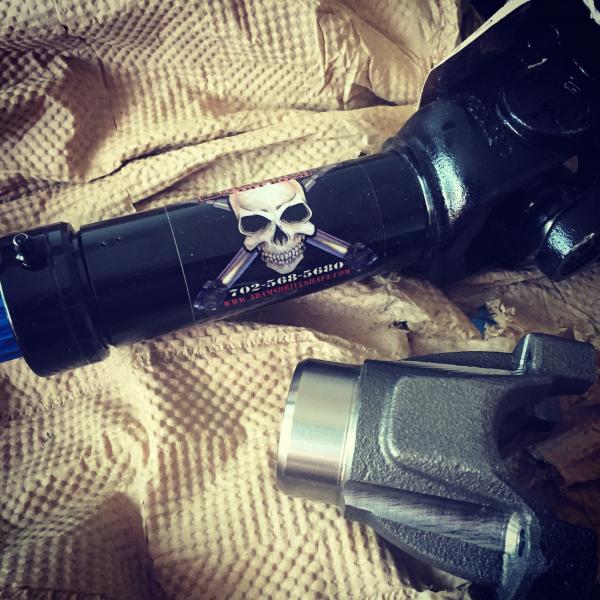
I’m hoping my front drive shaft will be OK. I have to remove the flange adapter and have it re-balanced, plus pick up some U-Bolts to attach it to the front yoke. Adams Driveshaft is asking for some post-install pictures and they will tell me if the shaft will be long enough. If not, it’s $125 plus shipping to have it sized.
I want to avoid needing a new rear shaft – why fix it if it ain’t broke. Ideally, I need to find a stock rear flange and replace the yoke that’s on there now. Then I’ll be able to use my stock drive shaft on the rear. It’ll get replaced, just not now.
I’m still trying to figure out what I want to do for a rust preventative. I’ve been leaning toward Rust Bullet. But I will likely have to wait until I all of the welding is done. Apparently Rust Bullet has to be sanded in order to top coat it if it has been more than 6 hours. I’ve also looked at Miracle Paint and POR-15. Both are good products, but Rust Bullet is UV safe.
I’m hoping that by early February, or sooner, this will all be ready to go on the Jeep. Can’t wait!
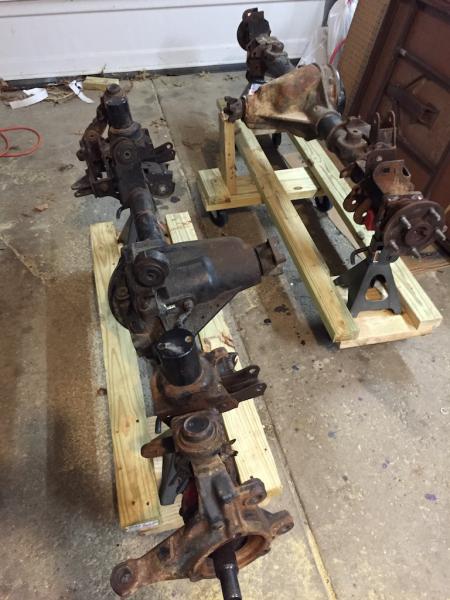
No real update on the axles. But I made these two carts on 4″ wheels so I could move them around a lot easier.
This will also make it easier for me to roll them on the back of a trailer, should I find one to borrow. Ideally, I’d like to get one of those Harbor Freight fold up trailers. I don’t have a lot of space, and no room to store a trailer. That fold up deal will store nicely behind my shed.
First, seat warmers! Well, first AND second … I’ll explain as you keep reading.
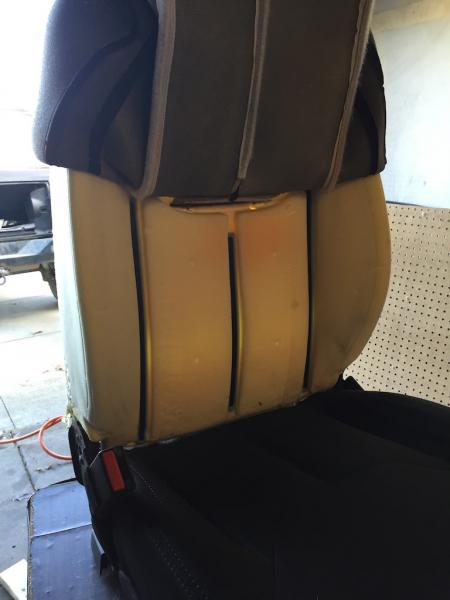
I bought a set of seat warmers off Amazon a few weeks ago. While the weather was still warm, I figured I’d put them in. I chose to remove the seats to make it easier. The first step is to pull back the upholstery. The back is fairly easy, once you get this full length slip separated from the back of the seat. This was a little tricky, but using some trim tools, I was able to get it loose and pull the upholstery up.
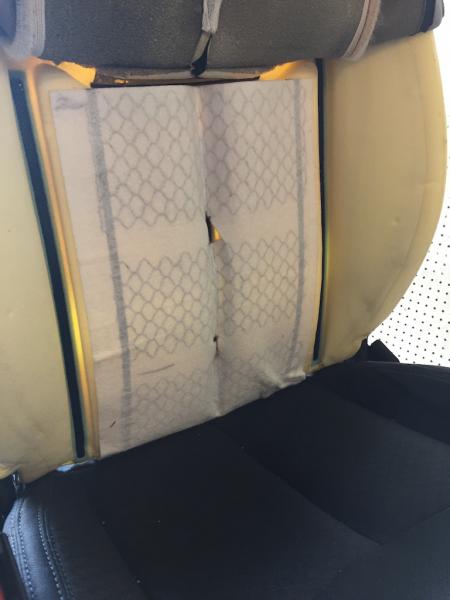
As you can see, each side and the middle, is a strip of velcro to which the upholstery attaches. You’ll notice that there are a couple small slits in the heat pad to allow the velcro to attach. It’s important, DON’T CUT THROUGH THE CARBON FIBER MESH. You’ll ruin it. That’s why this is the second update. Whoops. I had cut through so much of the mesh, that it hardly generated any heat. Oddly, I convinced the seller to send me out a whole new set of pads since there was nothing in the instruction that indicated just how much of the mesh can be cut. Disaster averted.
The seat is a little more complicated. As I pulled back the upholstery, it exposed these plastic rods in the fabric attached to pieces in the foam with metal rings.
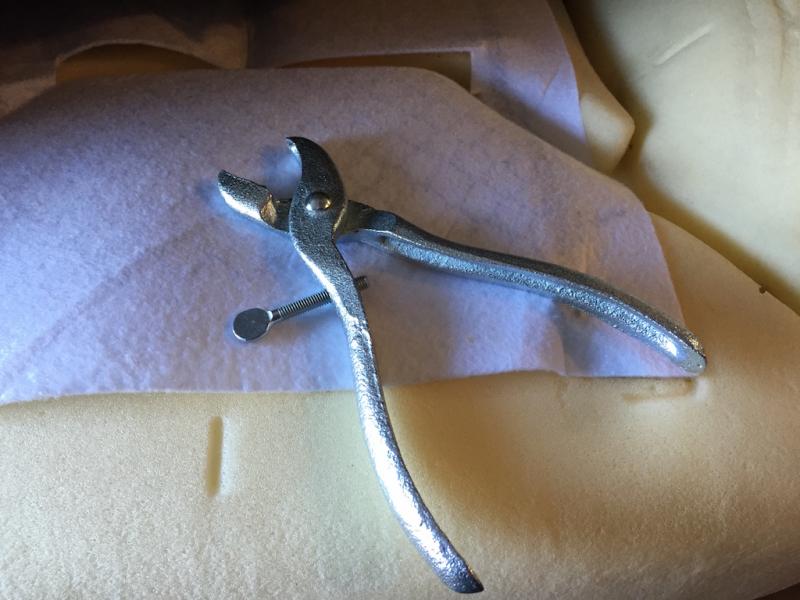
I cut these with some decent wire cutters. Then used some pliers to pull the pieces out of the foam. It’s OK to cut the pad where there is no mesh, so I made sure to remove only the area where I could get away with it.
Back to those hog rings. I didn’t feel like spending too much on an upholstery specific set of pliers, Ringer gave me a tip and I picked these up at Home Depot. They are sold for using hog rings on fencing. I also bought a pack of clips. They’re probably twice the gauge of upholstery rings, but they’ll do.
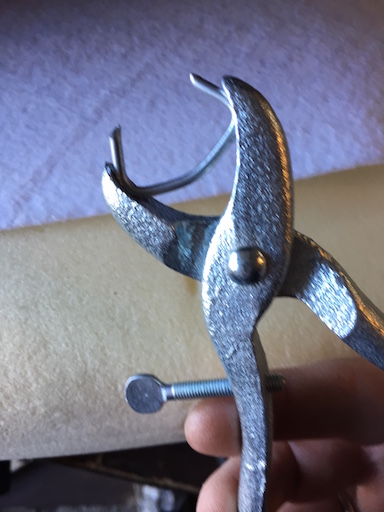
These things are pretty neat. You set the clip in the pliers and when you squeeze them, they close nicely
Once the clip was in the pliers, I put one end into and around the upholstery rod and dug it into the foam to get it around the anchor in the foam.
I ran the wires under the seat. I didn’t take any pictures of how I ran the wire, but the switches were mounted in the dash and I ran power from the 12v outlet.
They take a little time to heat up (10 minutes or so) but they do a nice job of keeping important parts warm.
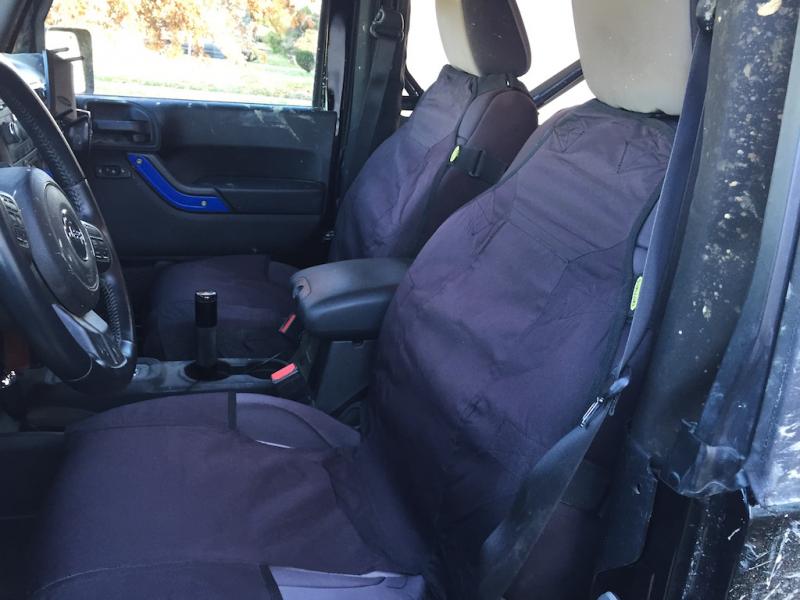
While I had the seats out of the Jeep, I put back on my neoprene seat covers – these have done a really good job of keeping my cloth seats clean.
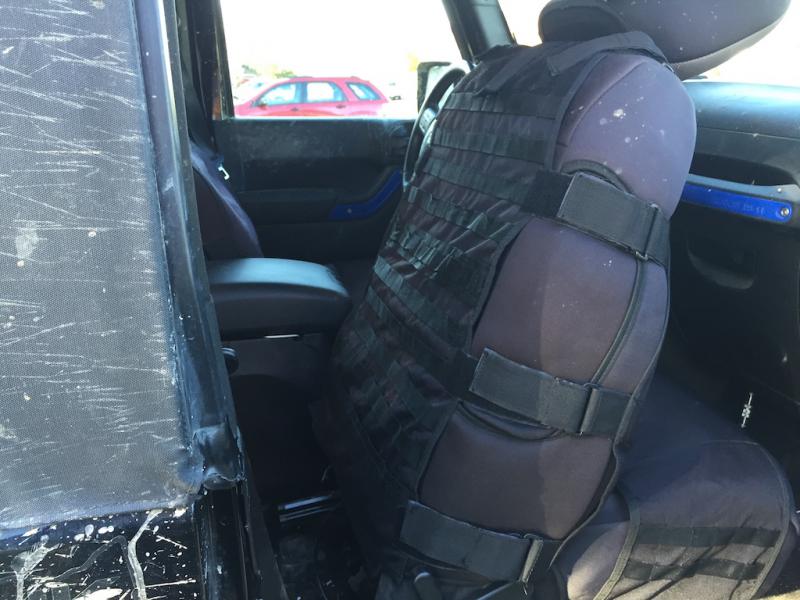
I also picked up a used pair of Smittybilt G.E.A.R. seat covers from a Jeep forum and put those on as well.
They match the tail gate organizer I picked up a while back.
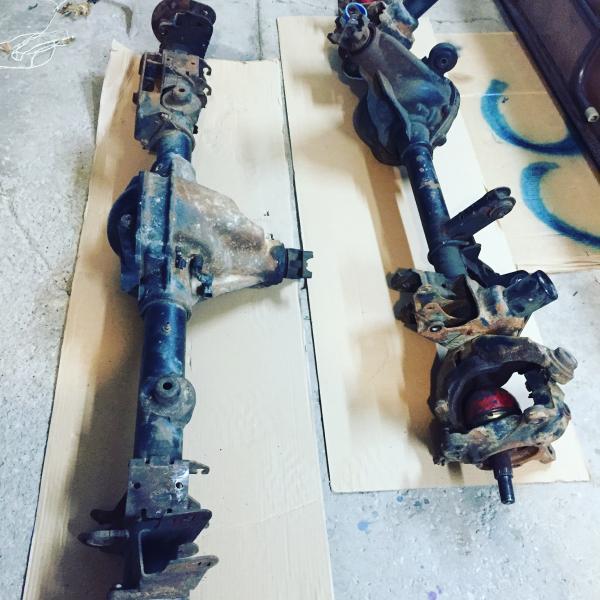
Dave, a member of the JK Freaks forum, contacted me when he read a post I made about my plans for a front D44. He just replaced his Rubicon axles and offered them to me at a deal too good to pass up.
They both have the factory Rubicon locker but have been re-geared to 4.88. I had only planned on going to 4.56, but this gives me the option of 37″ tires, should I dare to venture there.
The front has RCV axle shafts. The rear, stock shafts, but those will get replaced with G2’s or Ten Factory. They both have aftermarket pinion yokes, which may necessitate a new rear shaft and some changes to my 1 month old Adams drive shaft on the front.
This will take some work. Both were set up for coil-overs, and have been modified. I have no desire to run coil-overs at this time, however. The rear LCA brackets have been completely removed and will need to be replaced. They have some surface rust. Nothing a wire wheel and some Rust Bullet can’t cure.
I’m looking forward to this. It’s gonna be great! Hoping to have this done by March 2016. Cross your fingers!
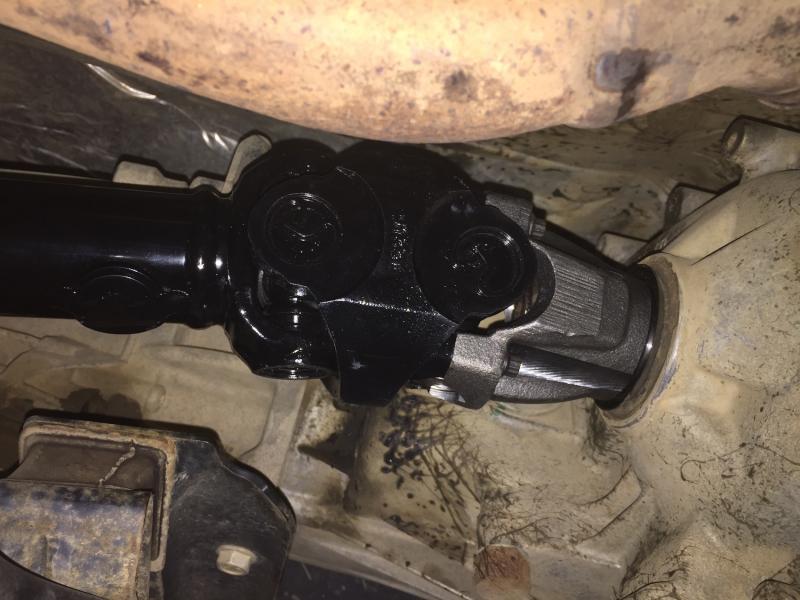
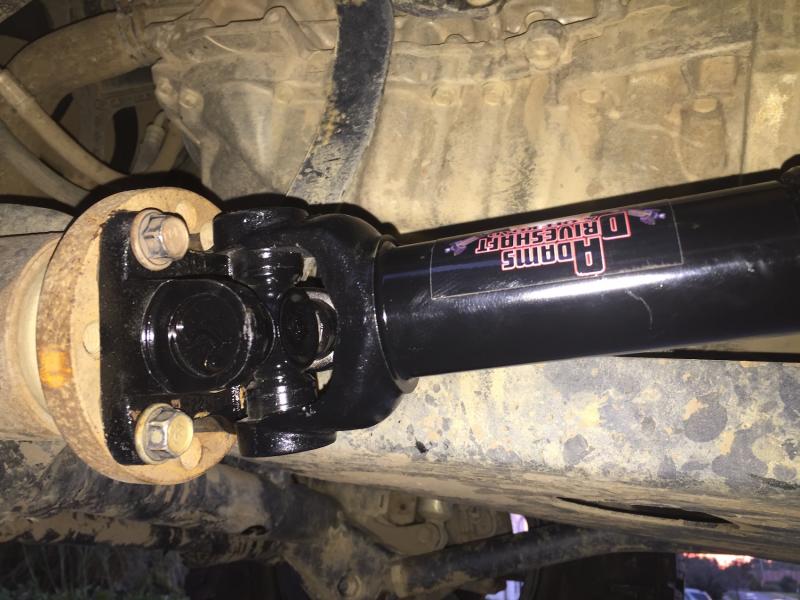
Ordered a new Adams Driveshaft (1310 with solid joints) from Northridge 4×4 on Monday, had it on Friday, installed it on Saturday. I had already taken off the stock front drive shaft. That was harder than I expected. The front pinion flange bolts were a bear. The impact couldn’t get one of them to move so I had to use some heat in it. The small bolts in the transfer case flange have no room to work around.
Installing the new one was pretty straight forward. The instructions on the Adams Driveshaft web site were easy to follow. Not only did I get this quick, and the install was easy, I got a little extra axle droop!
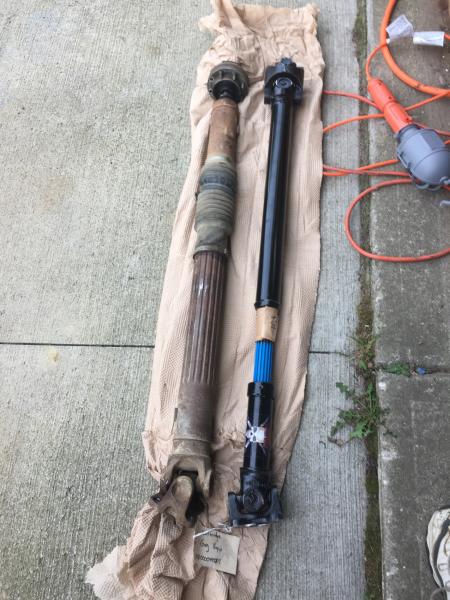
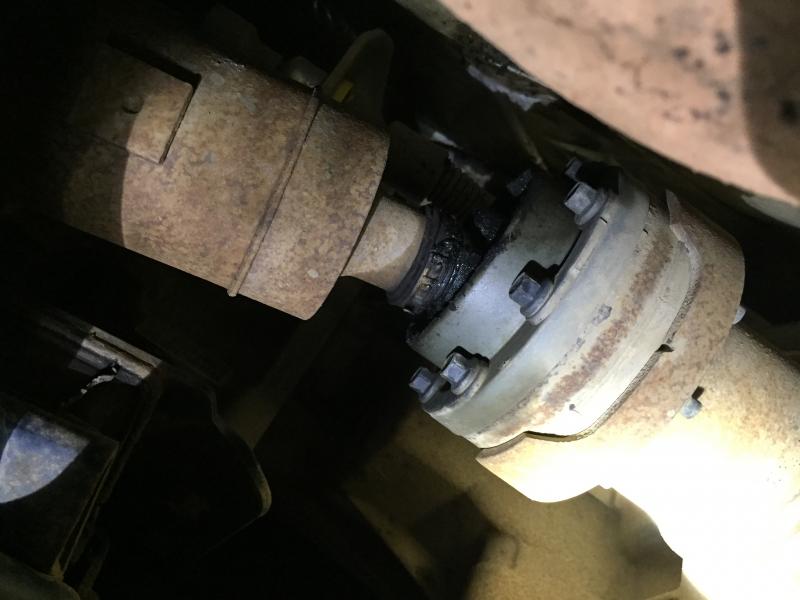
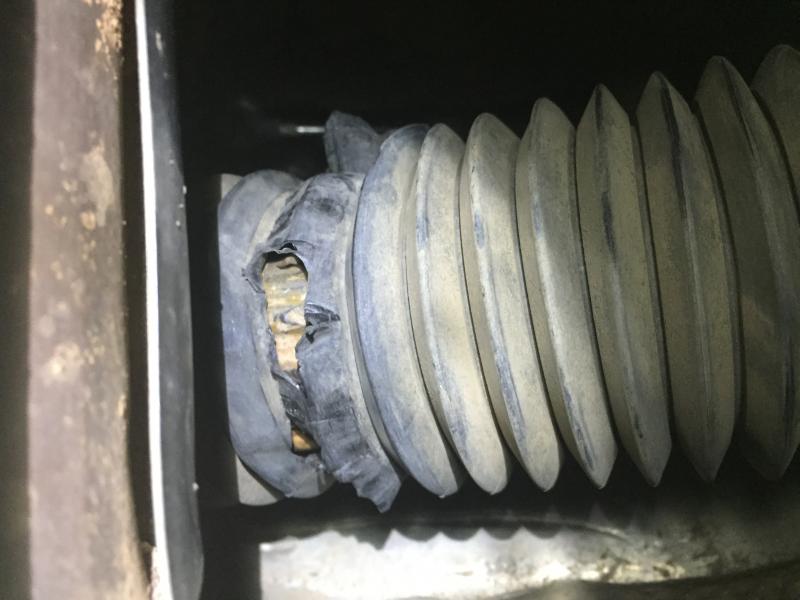
I was under the Jeep looking at any rust spots and noticed my drive shaft is probably close to dead. The CV boot is torn all the way around and the slip joint boot is melted from the exhaust crossover. It’s just a matter of time.
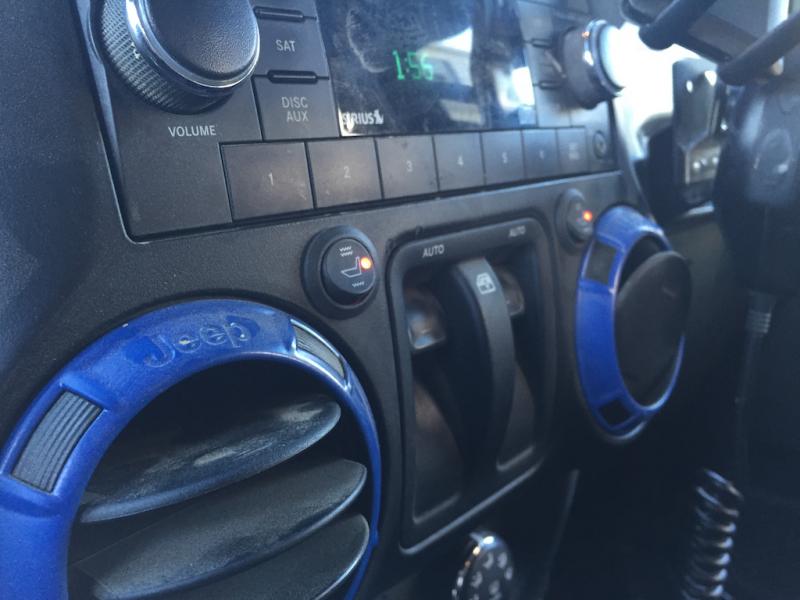
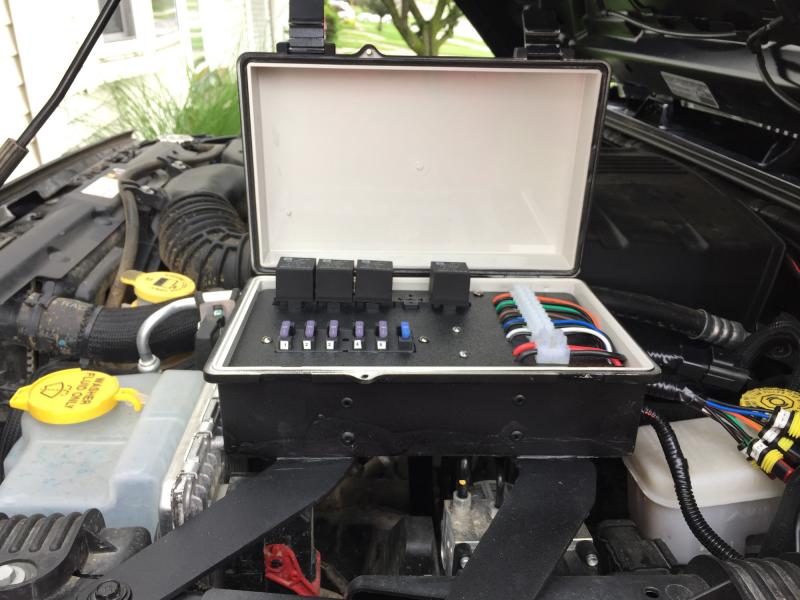
I’ve been wanting to add some lights to the Jeep, and love the idea of the sPOD. But it’s just not in my budget. I like to make things, so over the last 5 or 6 months, I have been collecting parts, ordering stuff from eBay and Amazon and built my own box to hold the relays and fuses. I mounted it in the engine compartment on some homemade brackets from some scrap steel I had (I love having my own welder, even if my welding sucks!).
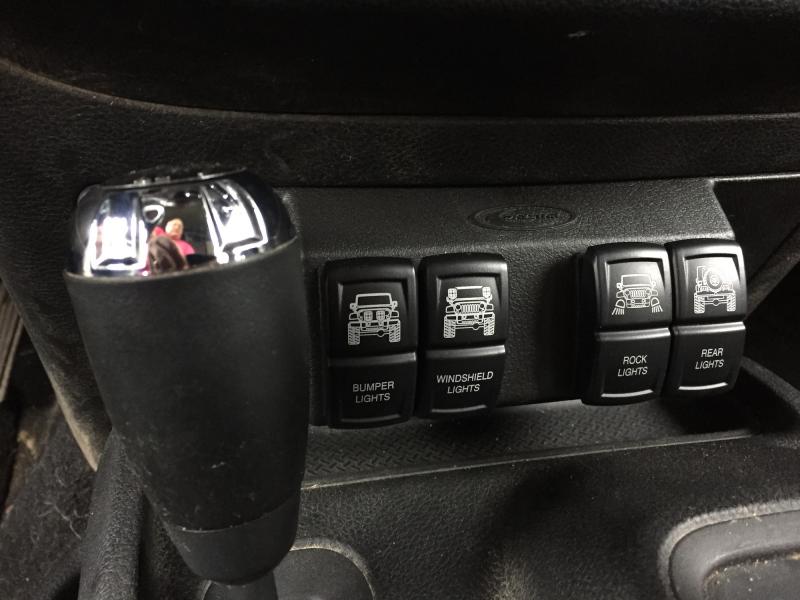
I have enough room for 5 relays, which is the same size as the switch panel I picked up (Daystar) and some OTRATTW switches. The bumper and windshield lights operate as normal. The Rock Lights and Rear Lights are a three way switch. When in the center, they are off. When up, they are on. When down, they are controlled by either the dome light or the reverse lights.
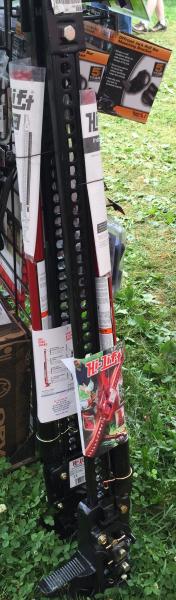
Forgot to mention, I picked up a HiLift jack at the Bantam Jeep Heritage Festival in Butler PA. I also picked up some cheap LED cube lights. They aren’t Rigid’s, which are not in the budget, but they are bright enough for what I need them. I mounted 2 spots on the windshield and 2 floods on the bumper.