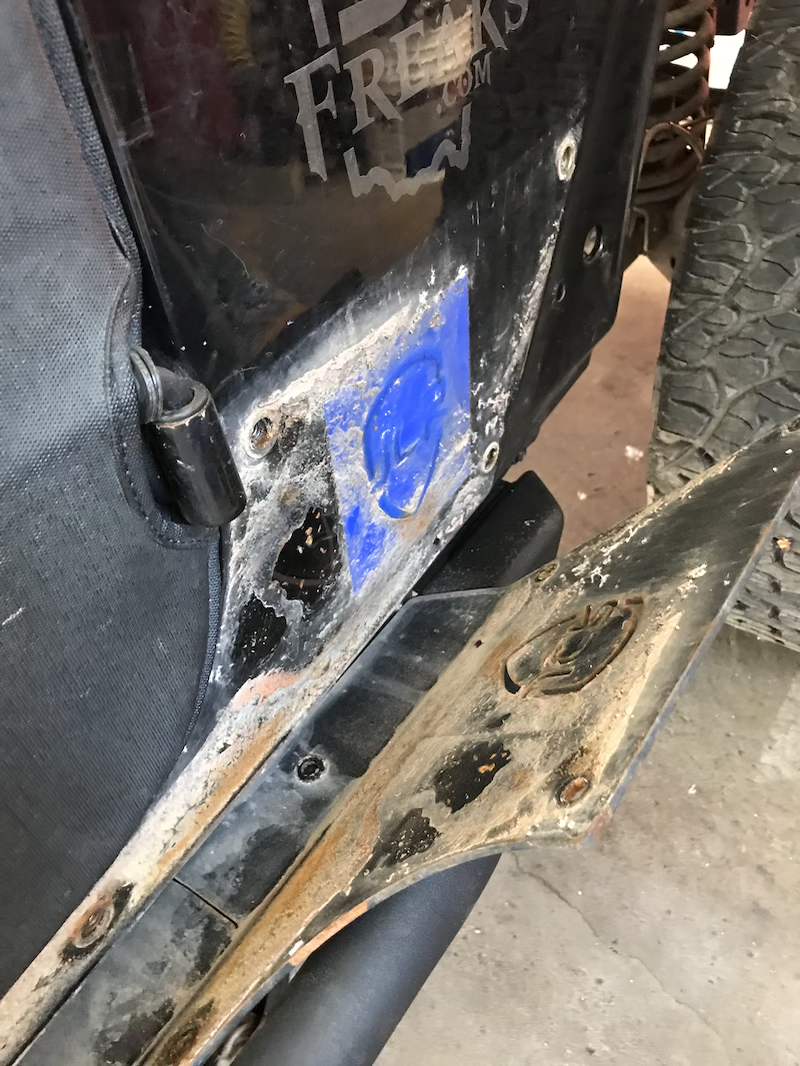
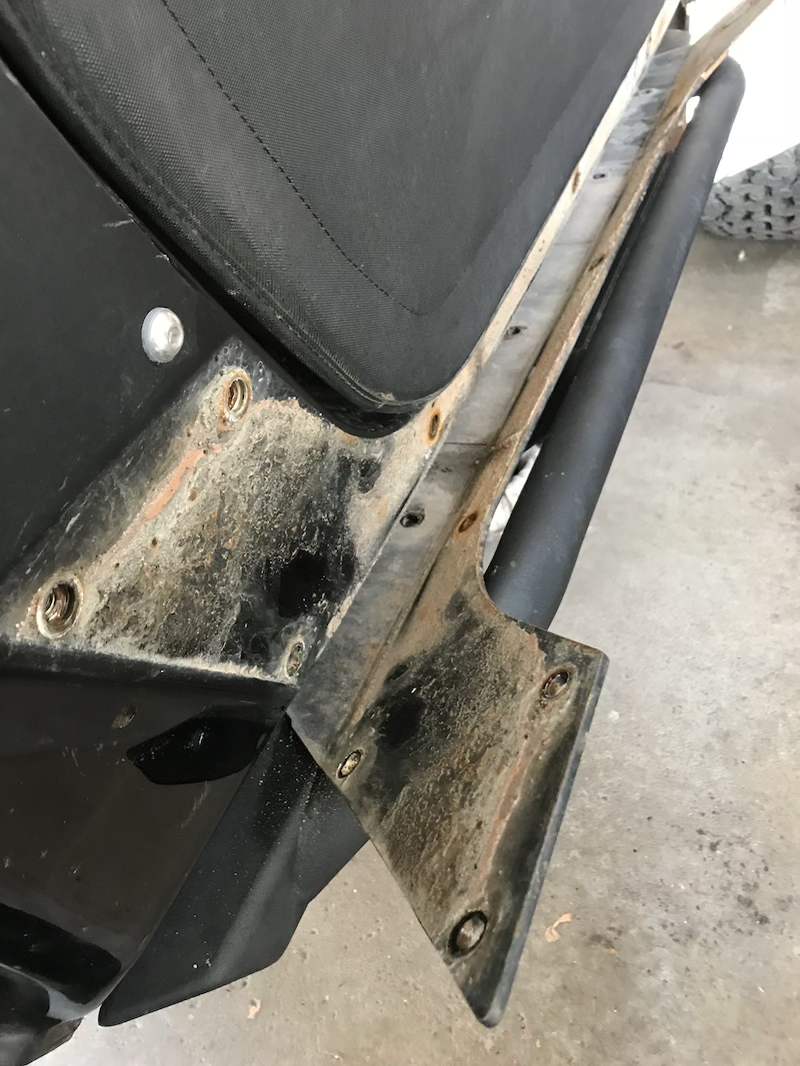
I’m sure all of our mothers harped on us to clean behind our ears. Decided to remove some of the armor on the Jeep and clean behind it. Dirt can get back there and it’ll act as an abrasive and wear the paint. Lose too much paint, and I’d be inviting rust.
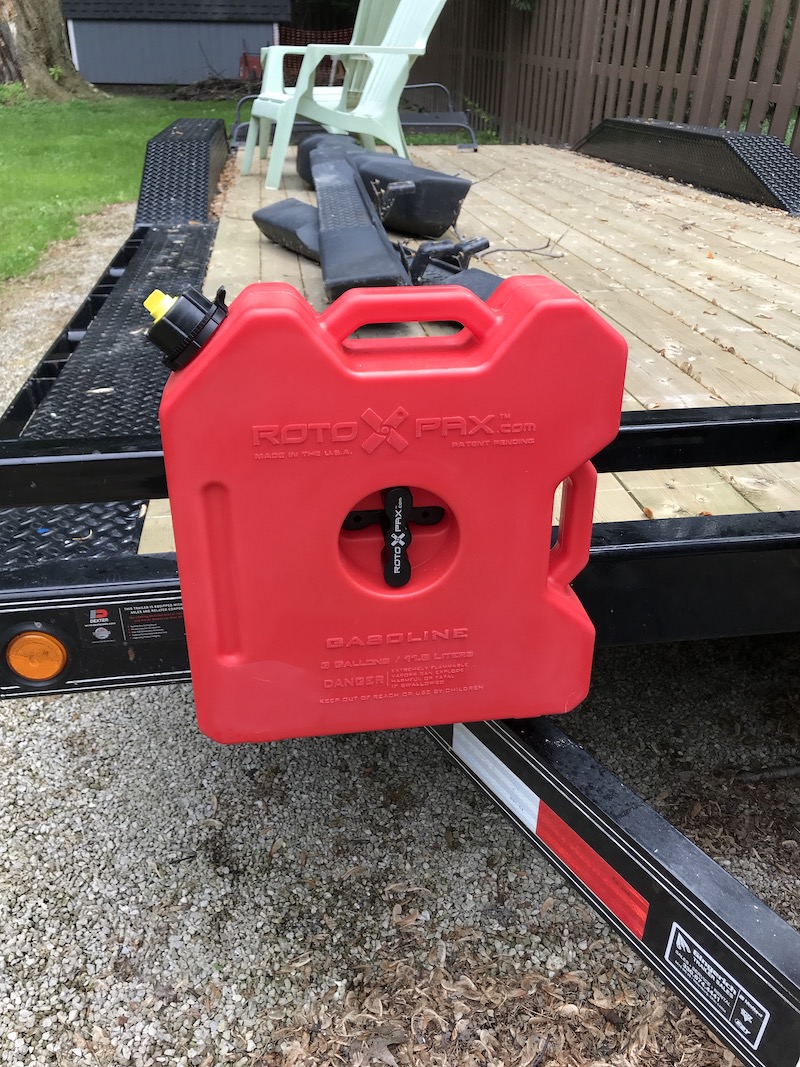
On the way to Moab, TJ and I almost ran out of gas in the truck. LOL. Luckily, I had brought with us a 5 gallon gas can that was partially full. But it was merely strapped to the trailer with a bungie.
Bought this 3 gallon Rotopax can on a blemish sale and mounted it to the trailer. Much more secure and a little piece of mind.
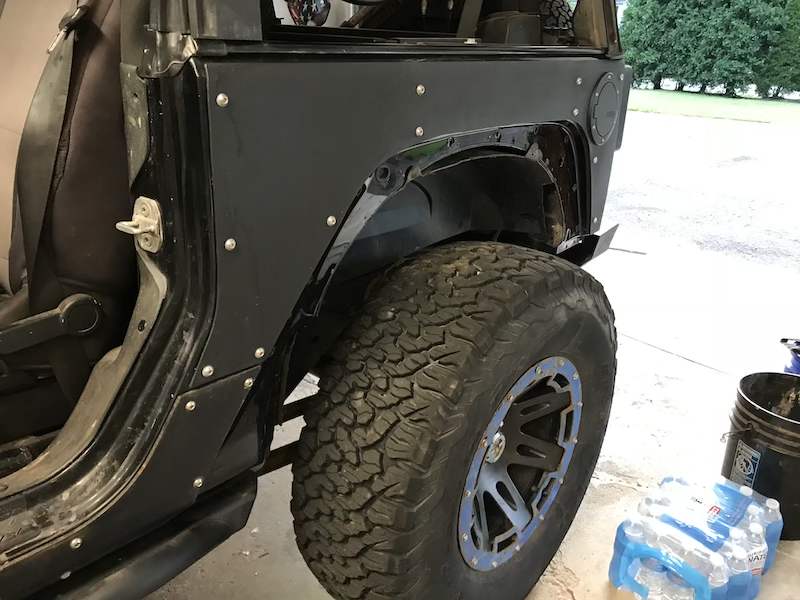
You don’t appreciate just how bad this looks until you take off the wheel. I have decided I am replacing these springs this fall. I am going to do what I can to eradicate the rust from the Jeep and keep it looking decent. The road salt just kills anything that have even the slightest weakness in the paint.
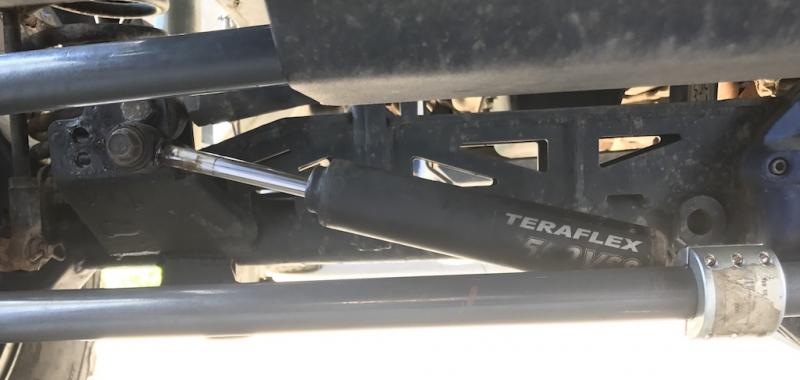
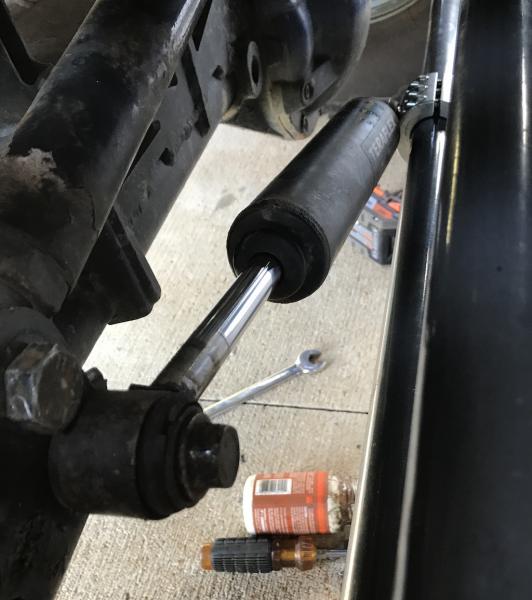
When I busted my brake line coming of the Cliffhanger trail in Moab, the only replacement I could find was a Teraflex braided line. Unfortunately, these are quite a bit shorter than the Rock Krawler lines. I bought a new set of longer ones and swapped the one out. I have a couple spares now I will keep in the trail bag.
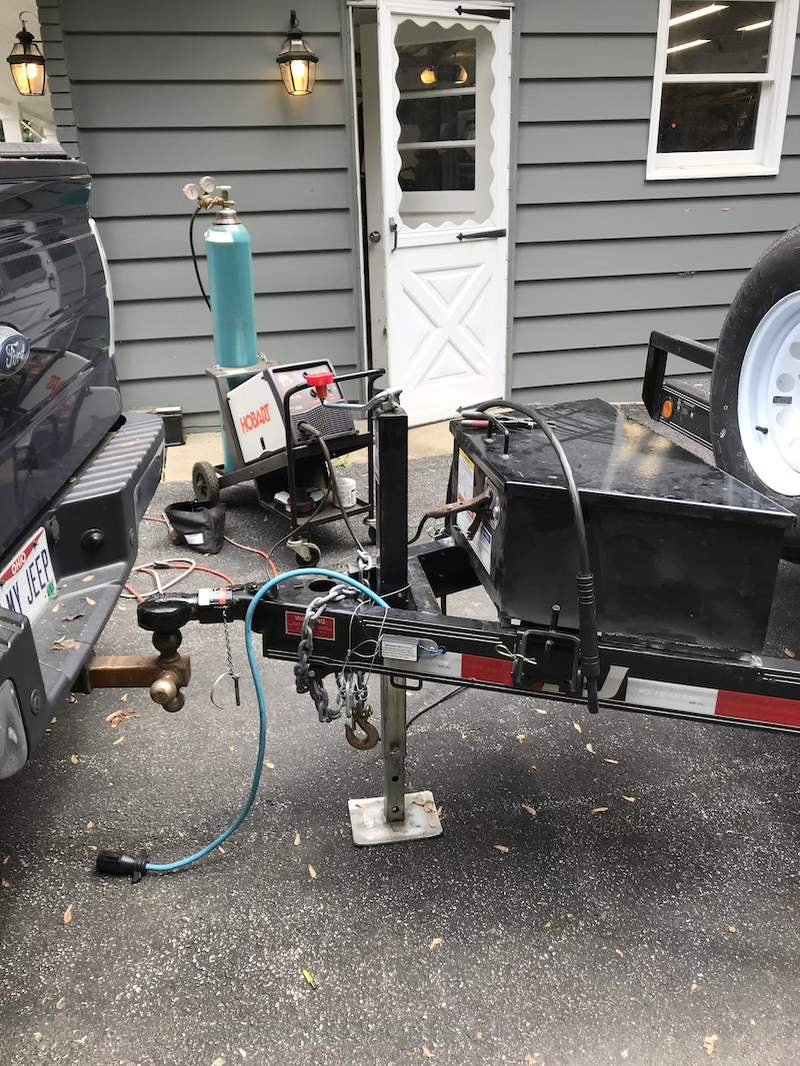
I had to cut the toolbox off the tongue of the trailer in order to make room for the weight distributing hitch brackets. Bought some square tube to make some spaces to weld it back on. The spacers allow the brackets to sit on the tongue from and lift the toolbox above them.
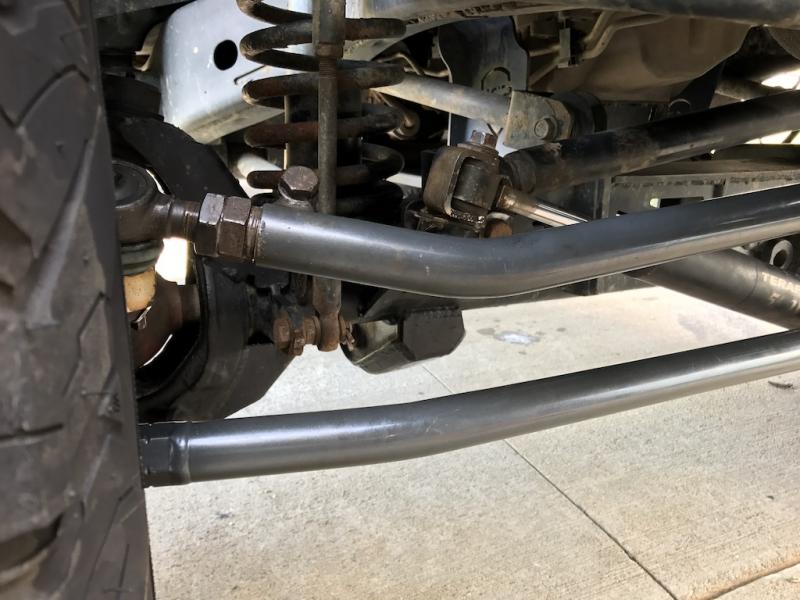
While I was at EJS, I met up with the guys from Rock Krawler. Their customer service is pretty exceptional. My suspension has seen better days. The control arms are rusting. The flex joints are so bad, a couple of them are sieed. They really need a refresh. Now that the Mule is garaged in the winter, I figured now would be a good time to get this all fixed up.
Rock Krawler brought me a set of control arms ends to replace all the ones on my lift, saving me the expense of shipping them.
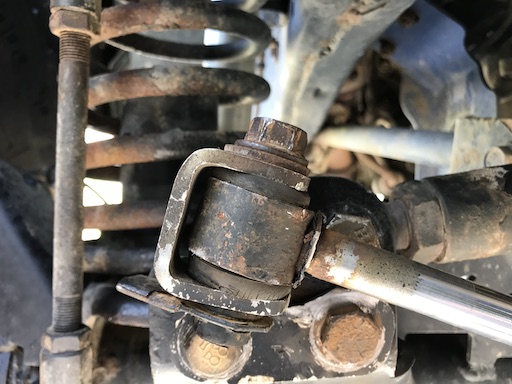
I removed the steering stabilizer relocation bracket and just attached it to a hole on the track bracket.
It’s definitely at a shallower angle. Still not satisfied with it.
I want to get the tie rod end of the stabilizer higher and the other end lower. But there is too much horizontal or vertical space between the tie rod and the bracket.
I think I’m going to eventually make a bracket that LOWERS the axle side mount and eliminates the vertical space. That should put it horizontal above the tie rod.
Haven’t added much to the Jeep lately, besides some off road mud.
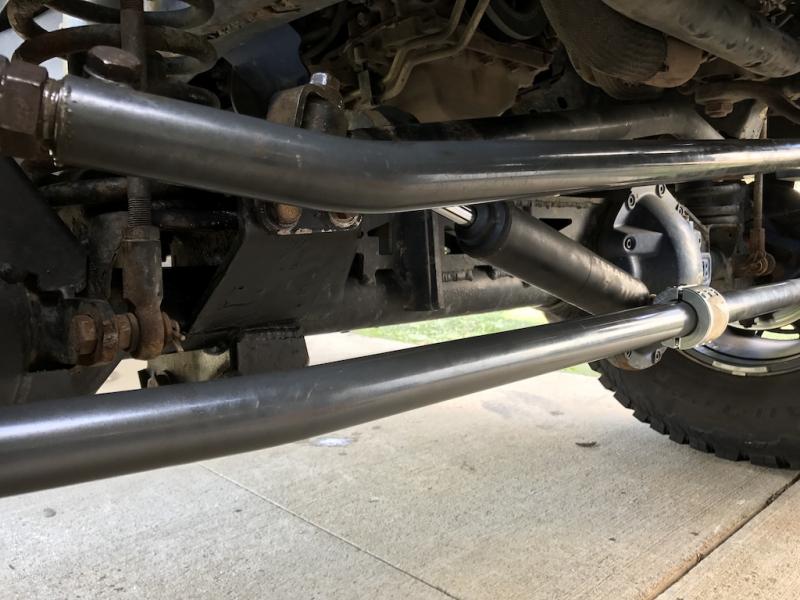
I bought a Synergy drag link from Rob about a year ago and still hadn’t put it on the Jeep. Then I won a Rebel Offroad gift certificate at Freak Fest, so I used it as part payment for a Synergy tie rod.
I was going to hold off on installing these until I pulled the trigger on hydro assist, but I may be back burnering hydro, so I went ahead and installed them this weekend.
When I put my Rubicon axle in, I also put in this steering stabilizer flip bracket.
For some reason, with this tie rod, the angle seems awful steep. I thought about building my own bracket, but all I had in 3/16 was some rusty scrap metal. I could have cleaned it up, but got this to “work.” I may revisit this mount in the near future if I don’t get hydro installed this year. I don’t really “need” hydro since my tires are barely 34.5″, but it would relieve a lot of stress on the rest of the steering components.
I couldn’t mount the tie rod end of the SS to the top of the bracket, which is what I would have preferred. No way to get it straight enough to go on the bolt of the Synergy bracket. Speaking of which, the bolt on the new bracket was bigger than the bushing in the SS and I had used a 1/2″ drill and reamed out the bushing.
Took some time and measured the front alignment, I think I have the TR at the right length. About 3/32″ of toe in should be good. I really like the double adjuster on these components. Makes adjusting very easy. Just need to make sure to keep them as rust free as I can so they will continue to be adjustable.
Oh, and about a week or so ago, I replaced the driver’s front wheel speed sensor.
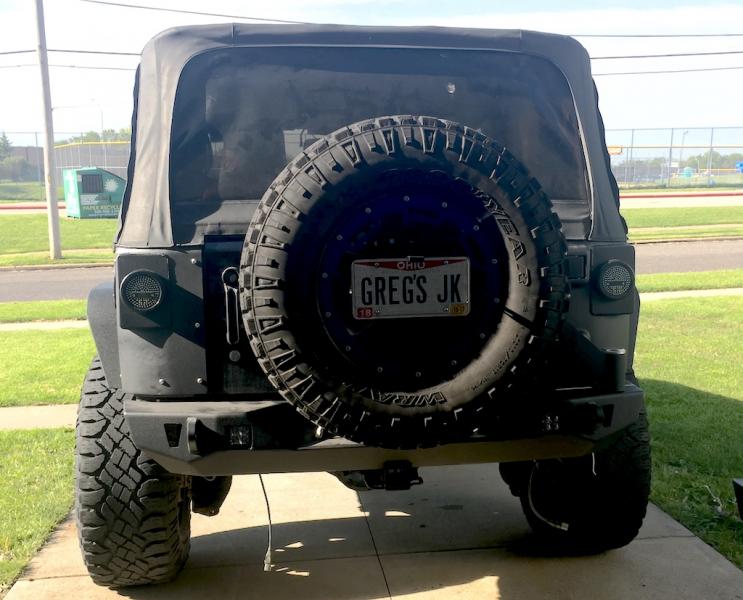
I swapped the Duratrac’s with BFG KO2s from 4 Wheel Parts in Cleveland. They had a special buy and I ended up with 5 KO2’s (315/70r17) mounted, balanced, out the door, with tax for $1100. No way I could pass that up right now. They are a C load range tire. Much quieter and smoother on the road.
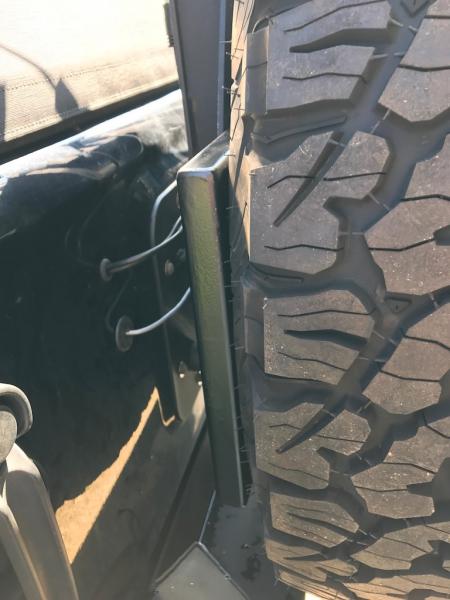
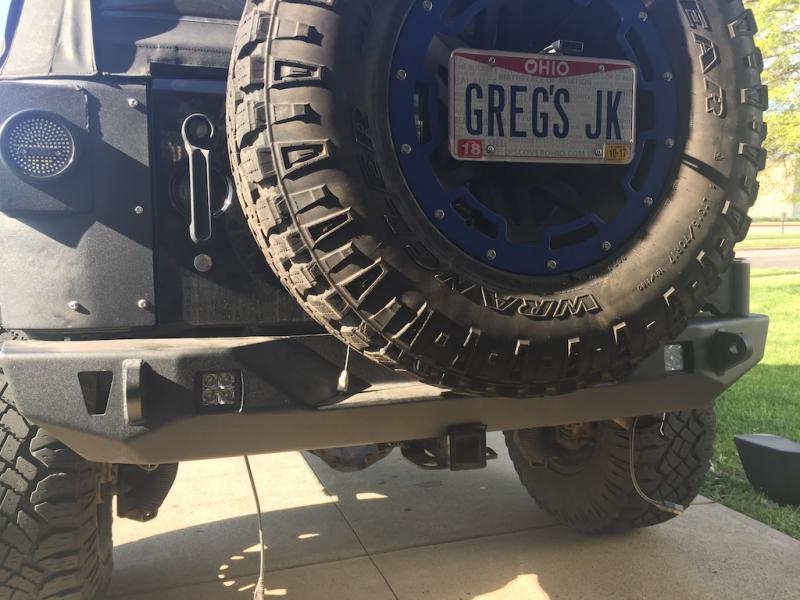
But they must be a bit narrower than the Duratrac. Once I had the tire carrier back on, and adjusted in as far as it would go, there was still a gap between the rubber and the carrier.
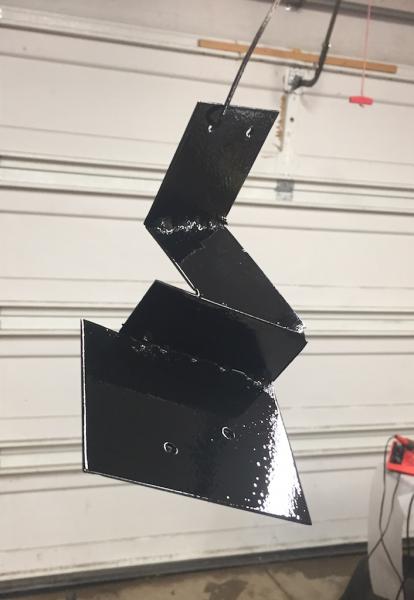
This is bad. Without the support, the tire has a tendency to wobble. Eventually, this will either bend something or break a bolt or a stud or something.
Off to the steel supplier. About $30 in steel and hardware, a little cutting, drilling, welding and grinding and I have this.
With everything readjusted, the spare snugs right up next to this.
I’m thinking I might modify this some in the future. Adding perhaps antenna mounts to move the two further apart. Or even a rack to put a cooler on that would mount over the tire (i.e. Ringer’s) or even a bracket off the driver’s side to come around the tire for a Rotopax gas can mount.
Knowing how to weld and having a good welder makes me happy that I can build stuff like this.
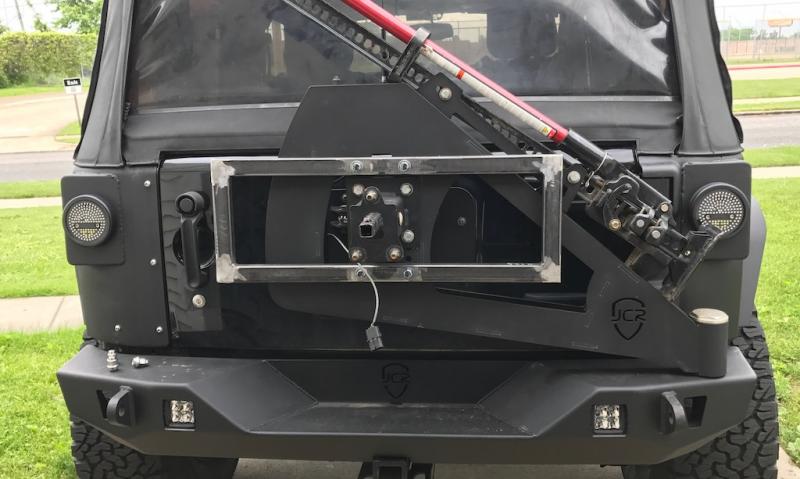
Got the rear bumper and tire carrier back on. Replaced some of the hardware. I also replaced the bearings and the oil seal in the tire carrier spindle. For what they cost, why not.
I also mounted my DIY license plate bracket. It removes very easily so the spare can be taken off if needed.
I also got the roll bar padding back on and the Spider Webshade back on (no photos).
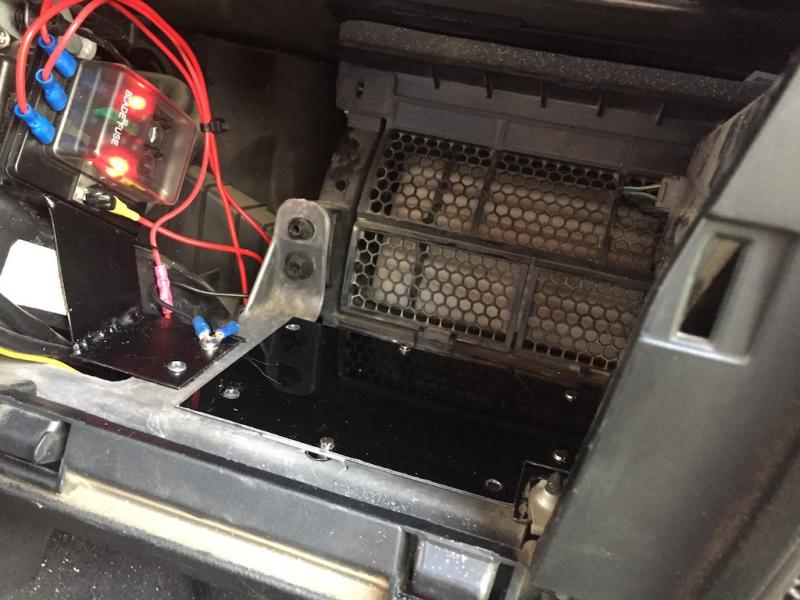
Ran the wires from the GMRS radio down the middle of the cage. The power leads run behind the glove box. I wanted to put a fuse panel back there, so I made this bracket from some plate I had in the scrap bin.
Took some of the sheet metal I had cut out of my hood when I put in the louvers and mounted the CB and USB power supply to it.
Tucks up nice and neat out of the way. And the glove box still fits!