Continuing the restoration of the steady rest I bought for my 13″ South Bend lathe. I designed a bed clamp in CAD and with a block of scrap steel I machined a replacement for the missing part.
Trailer Updates and Improvements
Over the last couple of months, I’ve been working on a few things to improve the usefulness and utility of the trailer I use to haul the Jeep.
First thing I added was a carrier for a second spare tire.
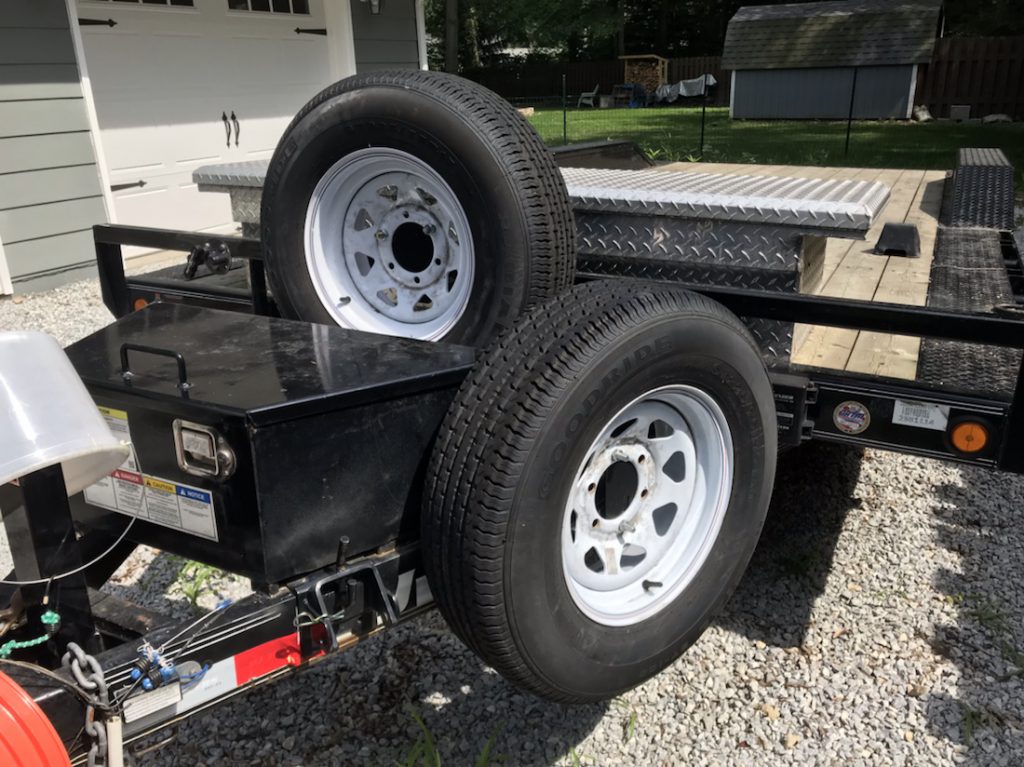
It seems that one is definitely not enough. My last trip to Moab, I had three flat tires on the way out there. I ended up buying a second as a replacement. I bought a simple mount that attached to the tongue to locate it. I wish it as a little higher, though. Perhaps I may build one of my one at some point in the future.
Next was some additional storage. Found this used truck bed box locally.
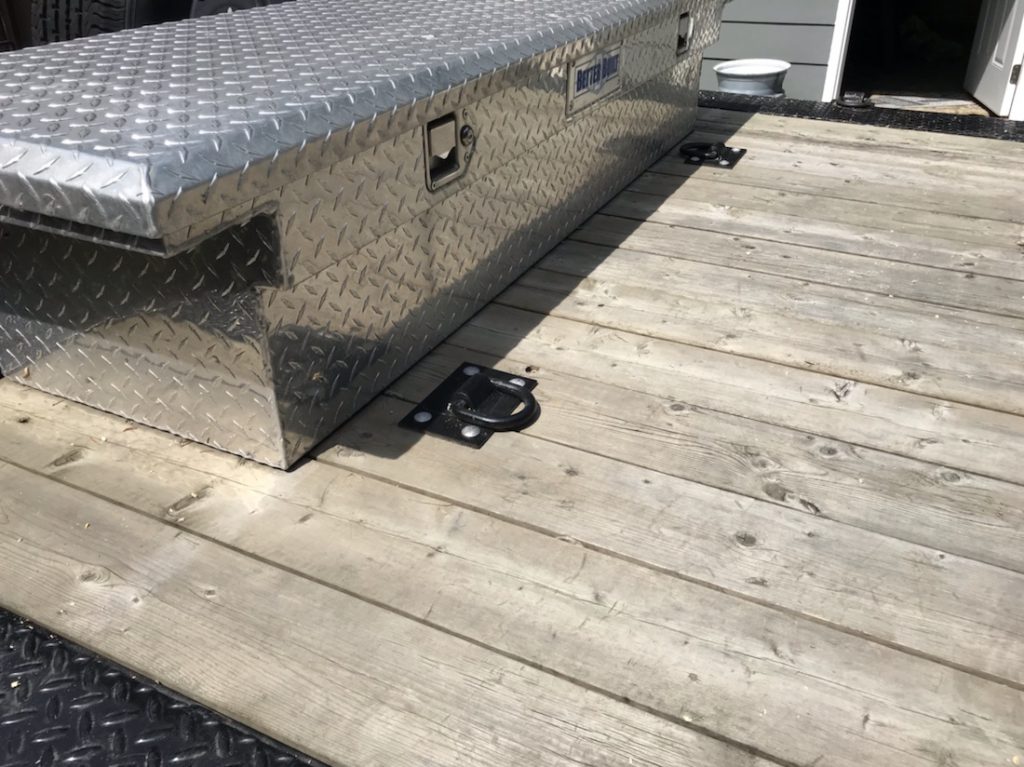
It fits reasonably well and it gives me a place to store extra straps, the stabilizing jacks and maybe some gear that I’d rather not put in the back of the truck. Bolted it down to the deck.
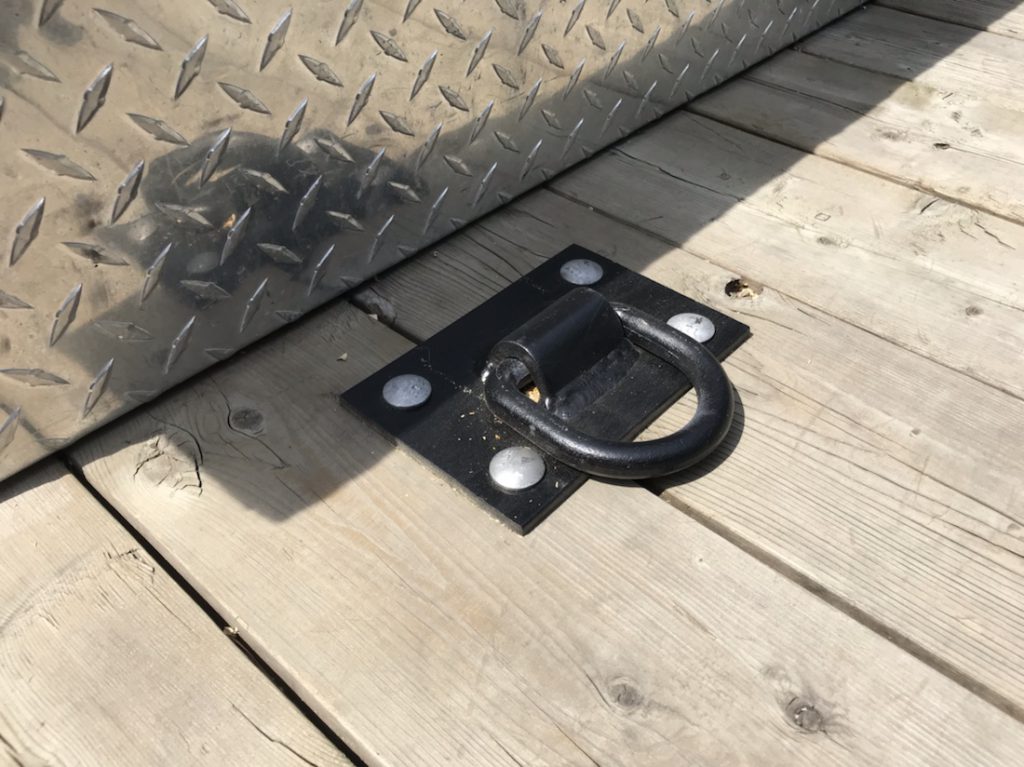
Next up, was some new tie downs. I wanted to secure the jeep with straps that were parallel with the length of the trailer.
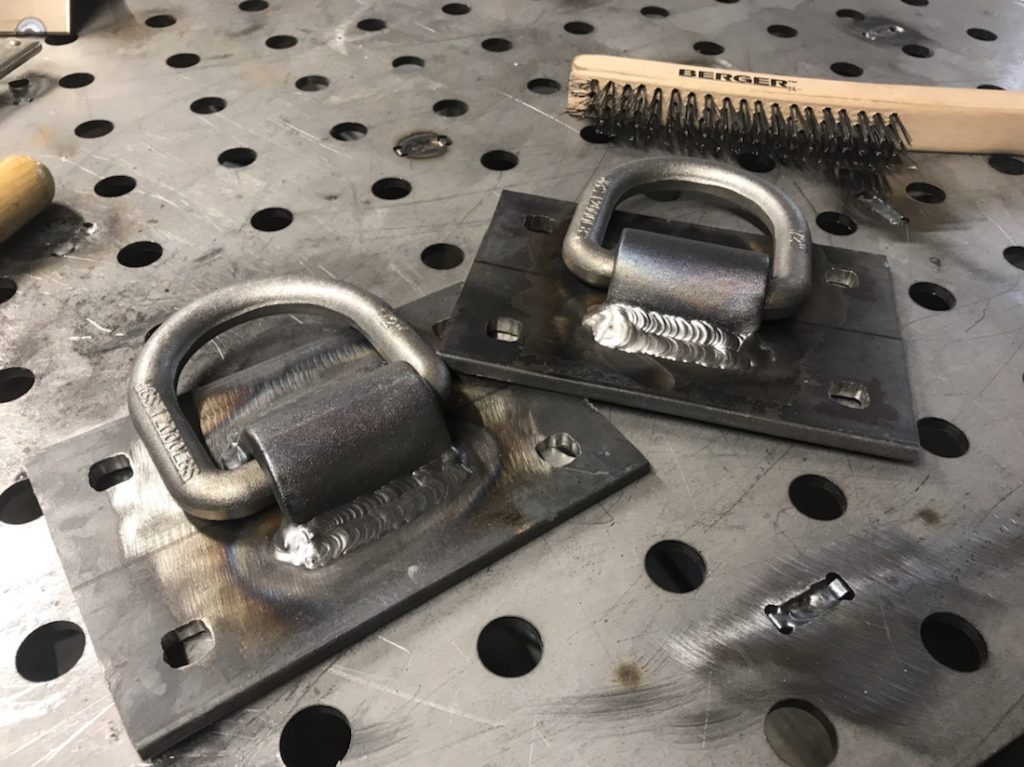
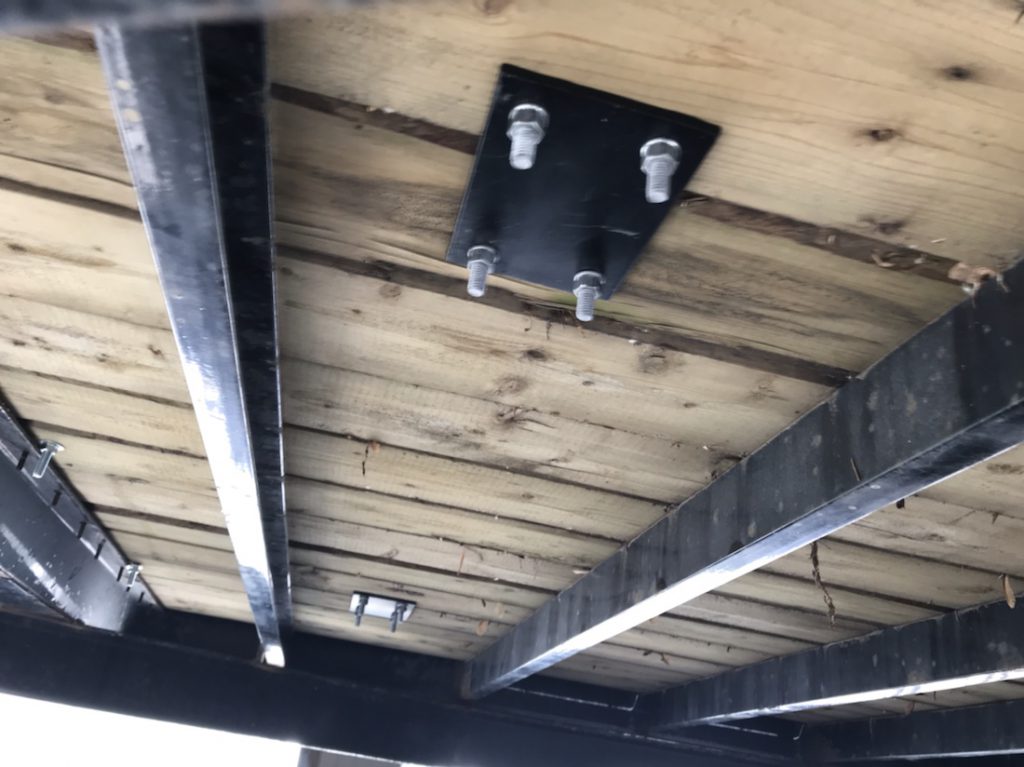
I had previously been crossing the fronts and using axle straps to secure the rears to the rub rail on the rear of the trailer. The front mounts were welded together and I mounted them through the deck. Keeping the straps straight is a safer alternative.
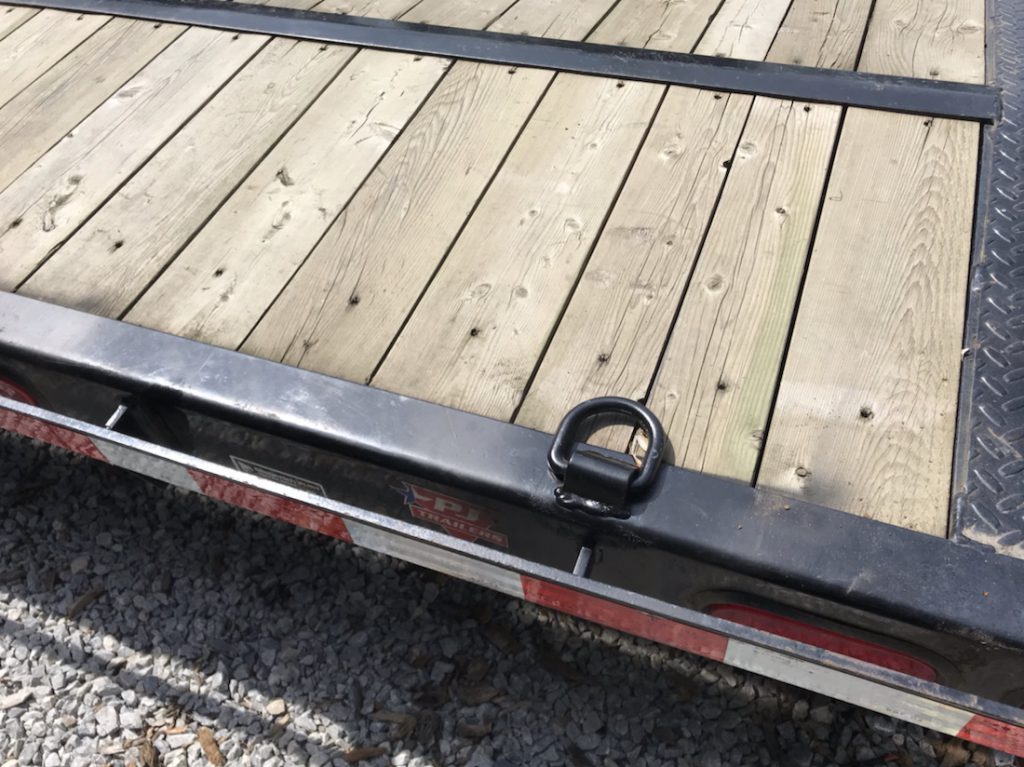
And for the rear, I just welded them to the rear frame. I had trouble with the driver’s side – the wind kept blowing away my shielding gas for the welder. It’s an ugly weld, but it’ll hold. AFter putting these on, I am wondering if I shouldn’t have welded these on some 1/4″ plate and then welding those onto the frame of the trailer. I may end up cutting these off and redoing them. At least I could clean up the welds.
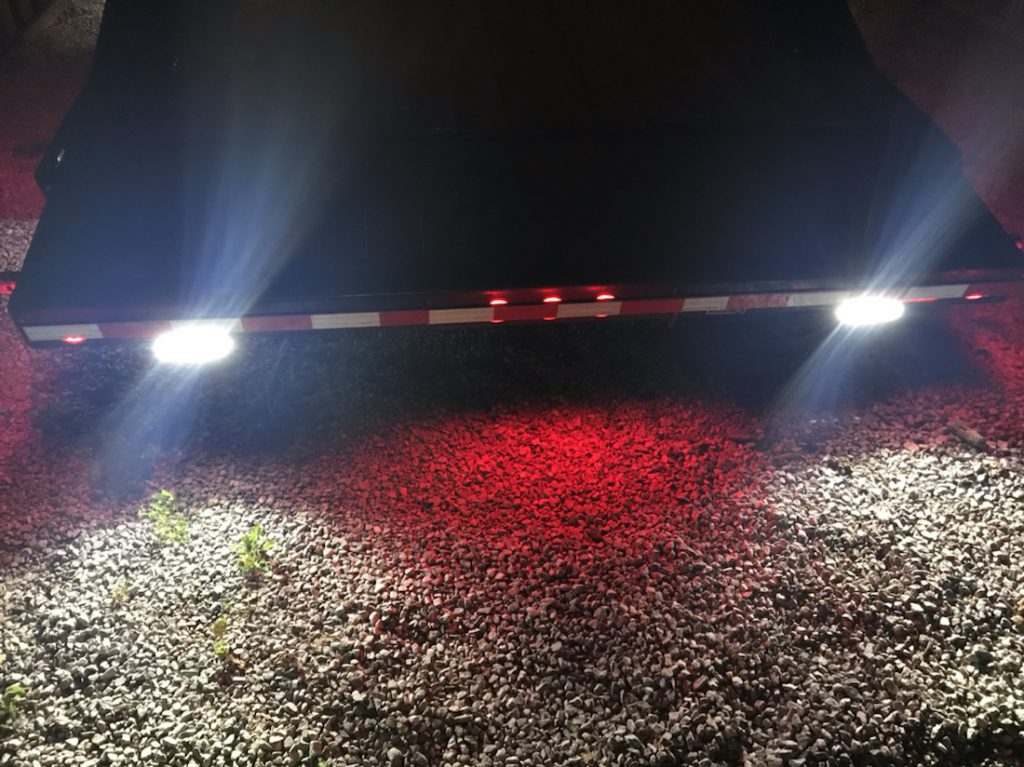
Most trailers don’t come with reverse lights. I’m not sure why. But I wanted them and I wanted something bright, so when I’m backing into my driveway, I have a little more visibility on where the back of the trailer is, and I will lessen my chances of hitting something I don’t want to.
Problem is, the pigtail that came on the trailer was missing the center pin, which is the pin that supplies power to a reverse light. I replaced that with one I bought from Amazon. It also came with a terminal box which made splicing it into the existing wiring rather easy.


That gave me the ability to fish some wires down the inside of the trailer and attach some reverse lights. I welded the brackets for these to the underside of the rear frame.
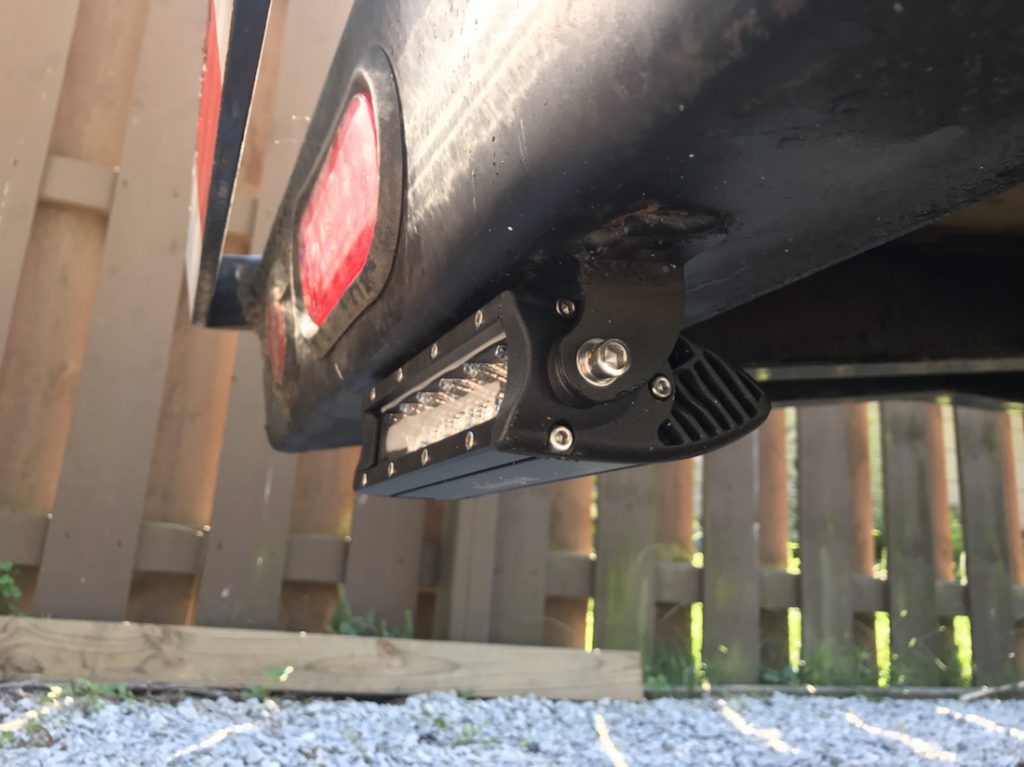
They certainly brighten up the area.
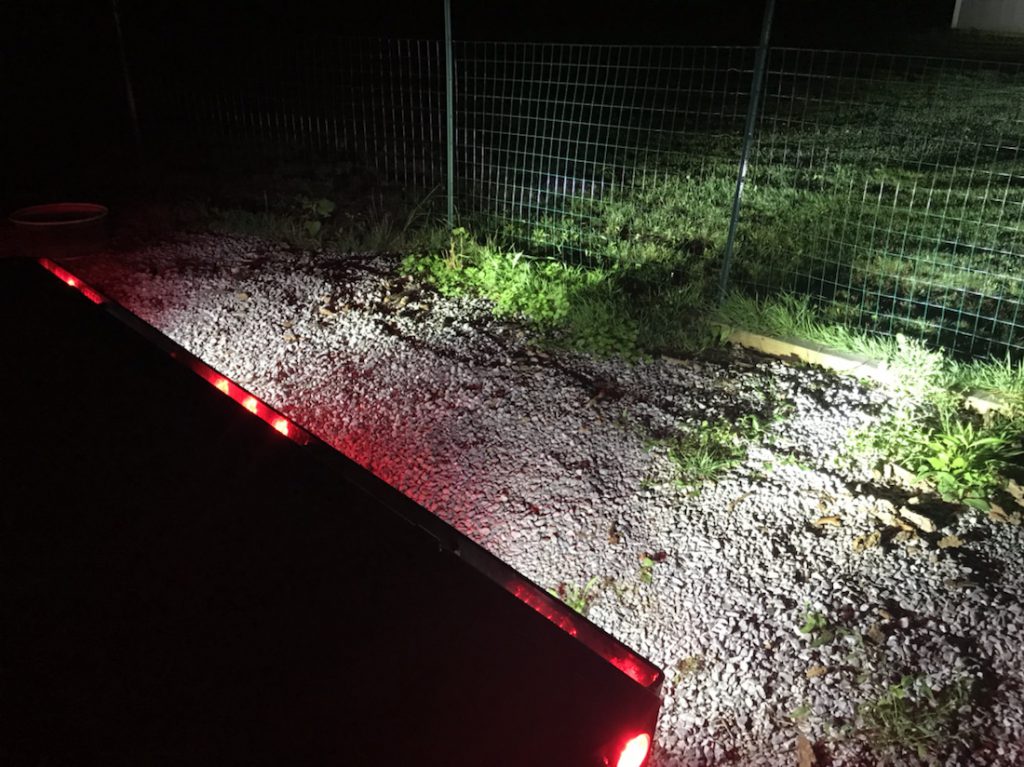
And in that same vein, I often find it challenging to see the trailer in my side view mirrors at night. My windows are tinted, and then they are up, it’s hard to see where the trailer is tracking. I like to be able to see the tires, to make sure I’m not too far over in the center or towards the shoulder. I added some small lights just in front of the axle to illuminate the ground in front of the tires.
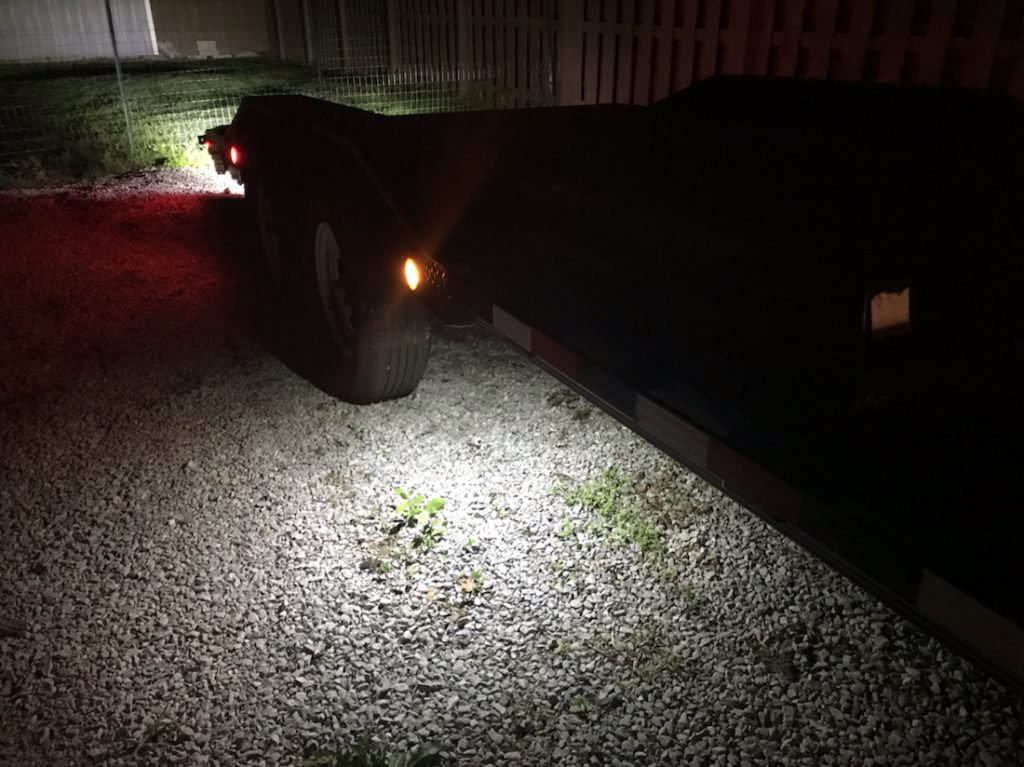
This will solve that problem.
I still have some other improvements to make, most notable is a backup/rear view camera system that can unplug easily from the truck. I have most of the parts I need, I just need to make a bracket to mount it on the Jeep’s spare tire, for when I am towing the Jeep, and something to mount it to the trailer deck when I am not. I had a wireless setup, but it was pretty unreliable.
Bathroom Cabinet Project – Part 1
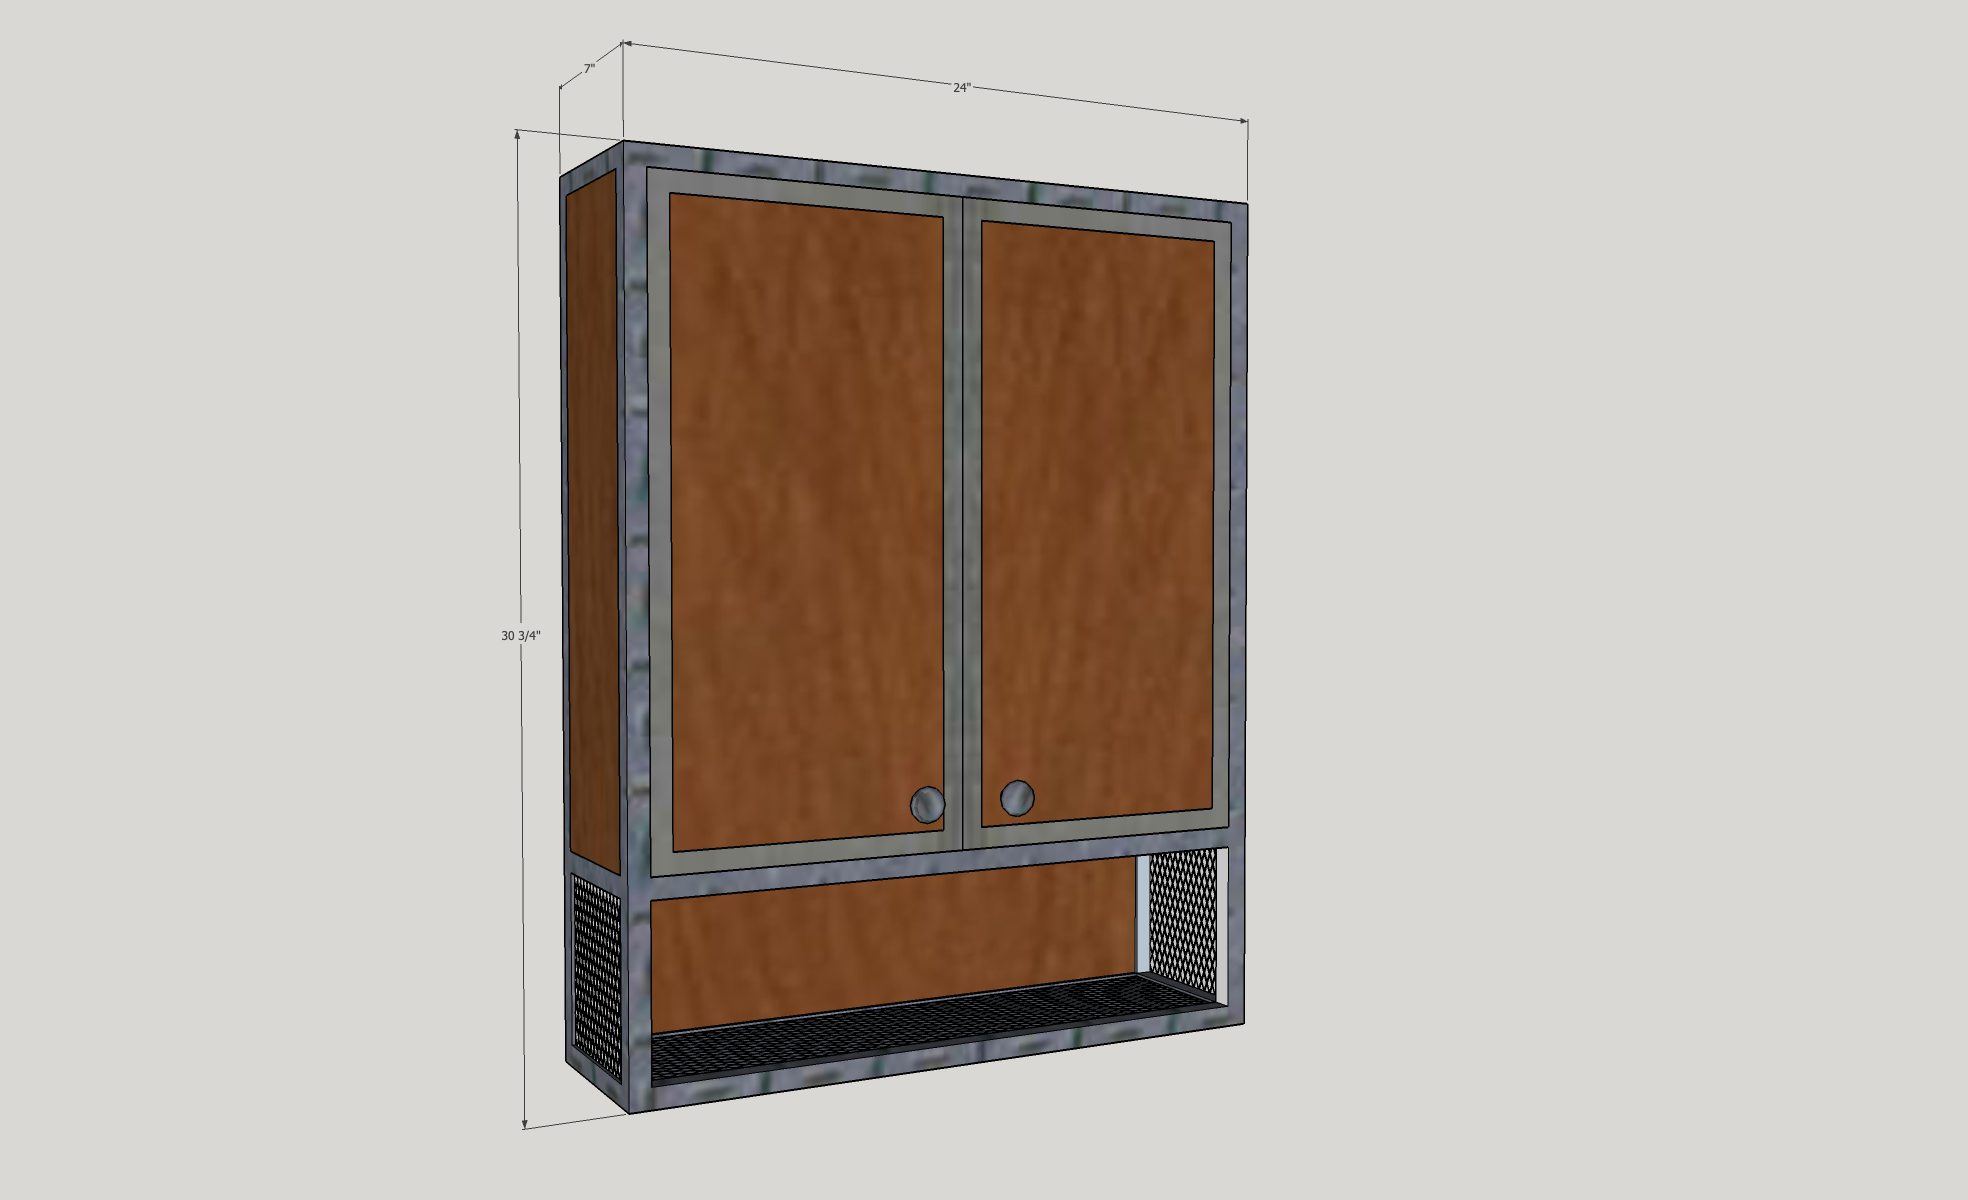
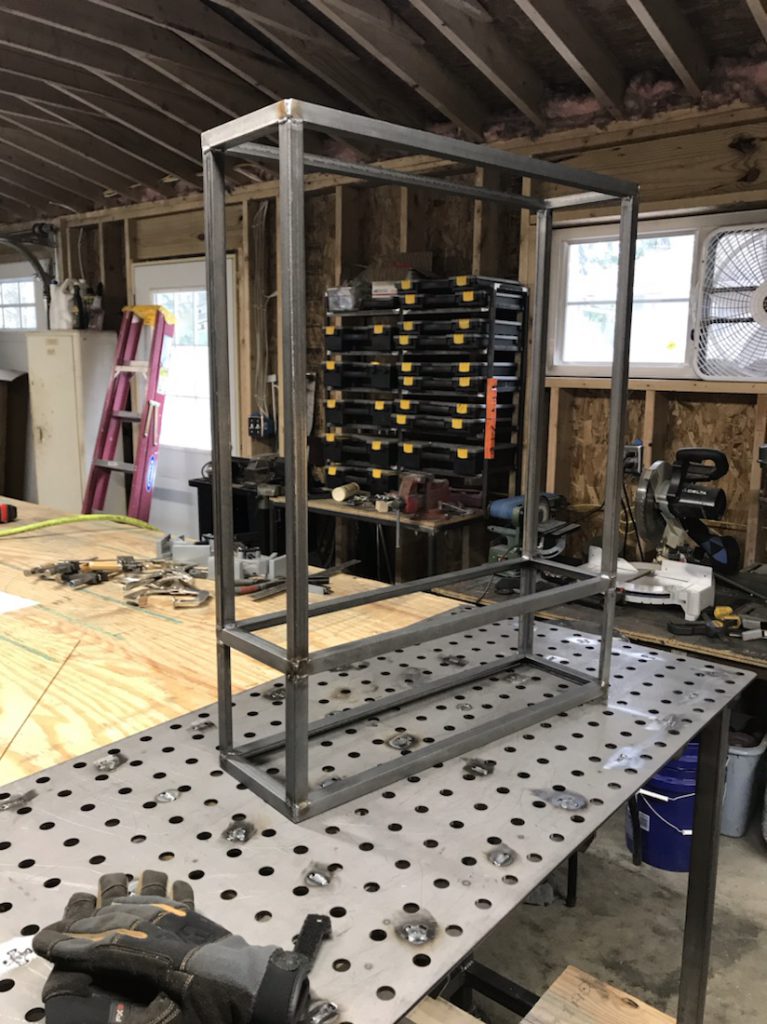
One of the projects I have been wanting to build for a couple years now is a new wall cabinet for our downstairs half bath. This room is very small, barely enough to fit a toilet and an extra small sink. There’s no storage at all. I thought about just buying a cabinet to go over the toilet, but I wanted to make something. Something from steel and old wood. I designed it in SketchUp.
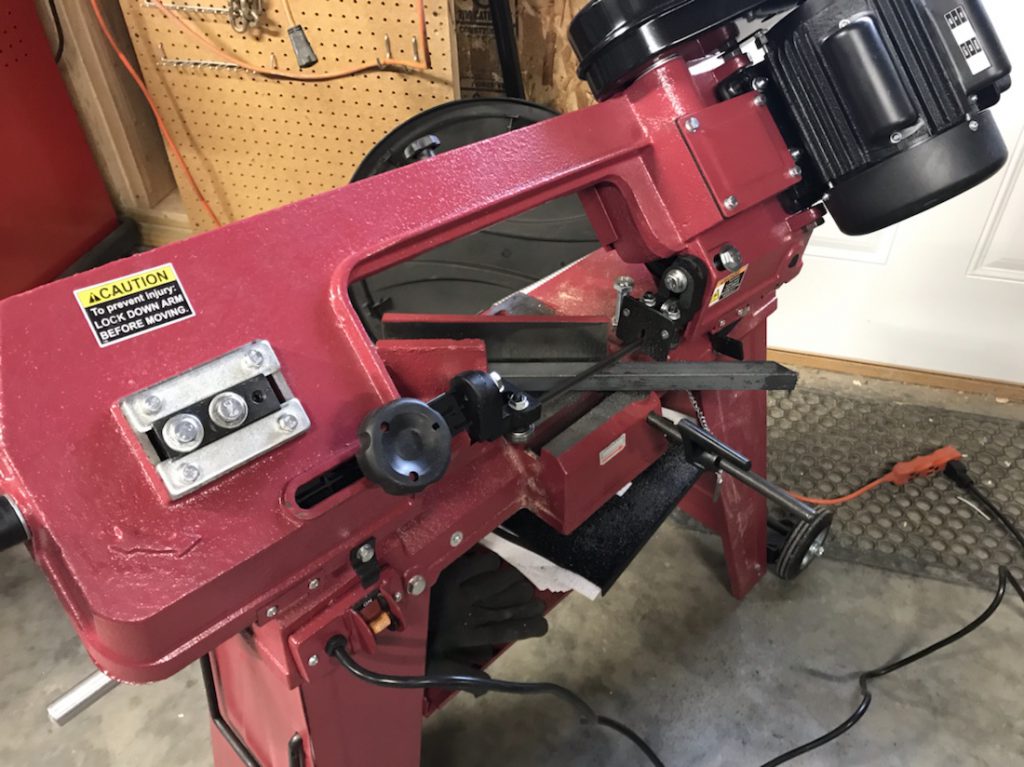
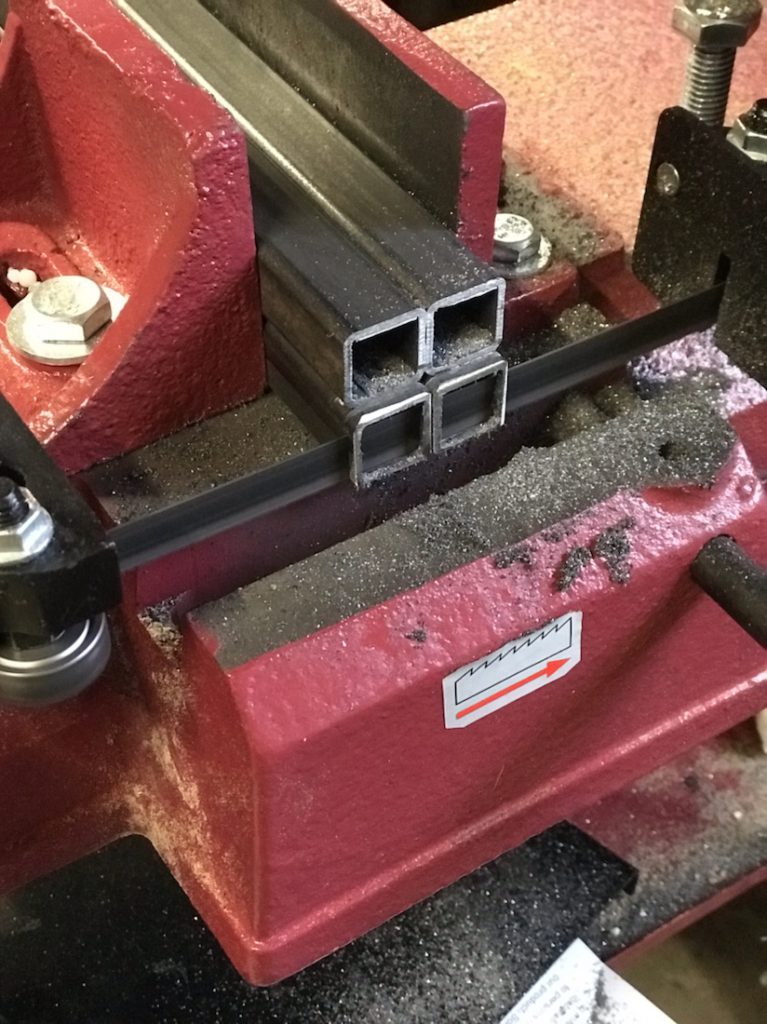
I had the steel lying around for a while, I bought it before the workshop even existed. I put the Harbor Freight bandsaw to use cutting each of the pieces of angle and square tube.
For a cheap saw, I have it dialed in to cut very straight and accurate. I needed quite a few small pieces, needed to do a little bit of grinding to get the lengths just right.

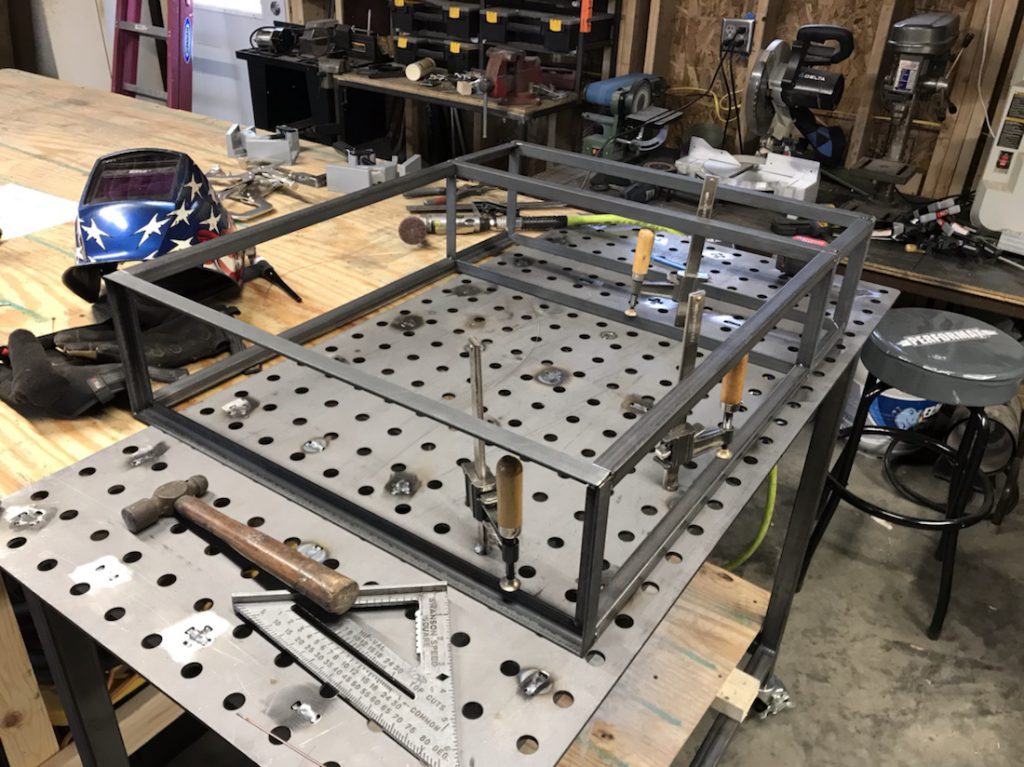
I still need practice with the TIG welder, so I decided to use this project. Tacked everything together before finish welding with the TIG 225X.
Having the welding table and my homemade clamps made this a lot easier. I also used a set of Hobart corner clamps to get me started.
One of these days I will have to invest in some Fireball Tools squares, but they are very expensive. I might try designing a set and cutting them out on the water jet at CWRU.
I need to go get the rustic wood for the cabinet, and make the doors yet, and the figure out what I want to do for a patina. But with the Coronavirus lock down, I can’t really go anywhere.
Generator Transfer Switch
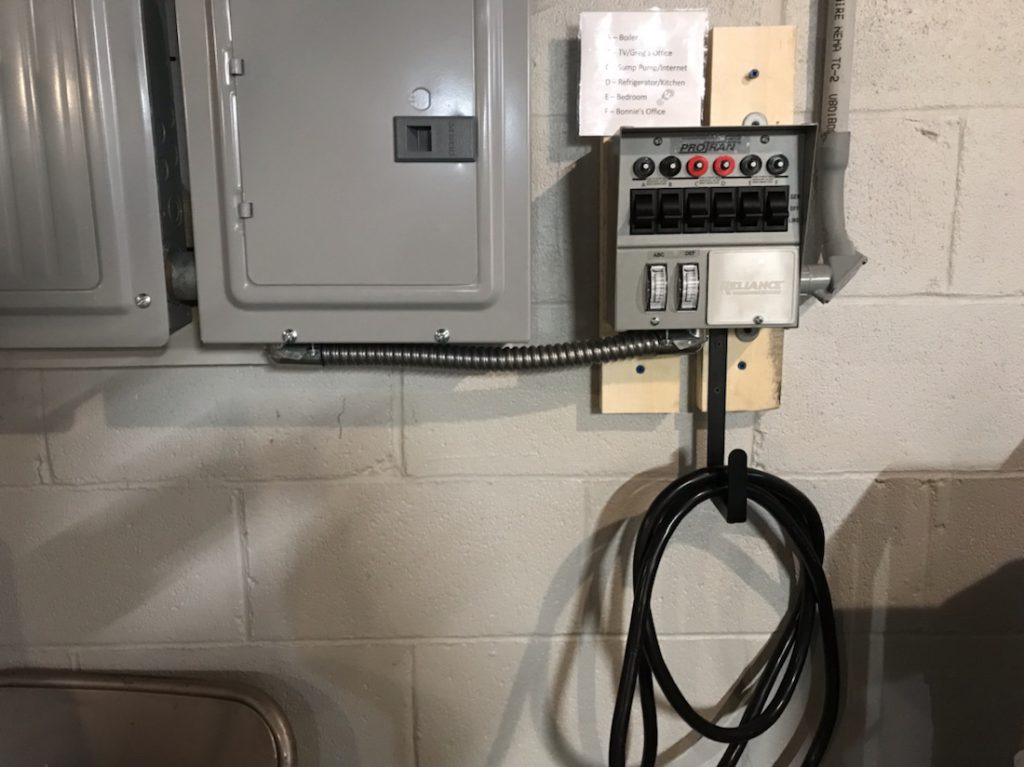
I’ve been wanting to install one of these for a while. Especially since we moved into this new house. The house we are in today, has a sump pump. On on rainy days like today, you can hear it kick on about once an hour or so.
Not long after we first moved in a couple years ago, it was a rainy winter day, the sump pump was kicking in on regular basis, and we lost power. Yikes. So I did what any reasonable person would do, I panicked ad rushed out and bought a generator.

I assembled it, filled it with gas, and ran an extension cord through my basement window, after cutting it’s screen, to the sump pump. It must have been pretty full (I didn’t take the lid off to check) because it ran for what seemed like 4 times its normal duration.
Since then, we’ve had a few other outages, and I have had to do the same thing. But I got creative and ran a second cord to the TV and internet modem so we could have something to watch. I even ran another cord upstairs to keep the heat lamp for our bearded dragon on.

And now that my wife works full time at home, and since I have been working at home for the past couple of weeks due to the Coronavirus shut down, I decided now would be a good time to direct wire a generator transfer switch into the breaker panel.
All in all it was a fairly easy job. I just had to choose which six circuits I wanted to have operating off the generator. I installed an outlet in the side of the house for the cord to the generator. Ran some #8 THHN building wire through some conduit into the transfer switch. And then wired the transfer switch into the breaker panel.
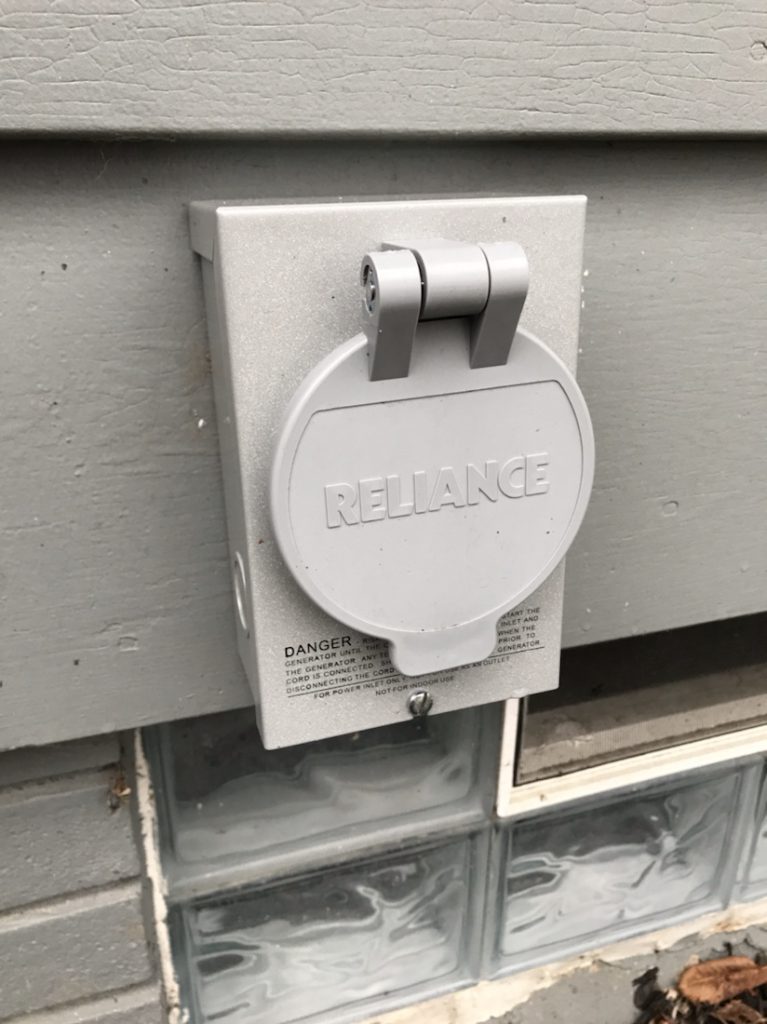
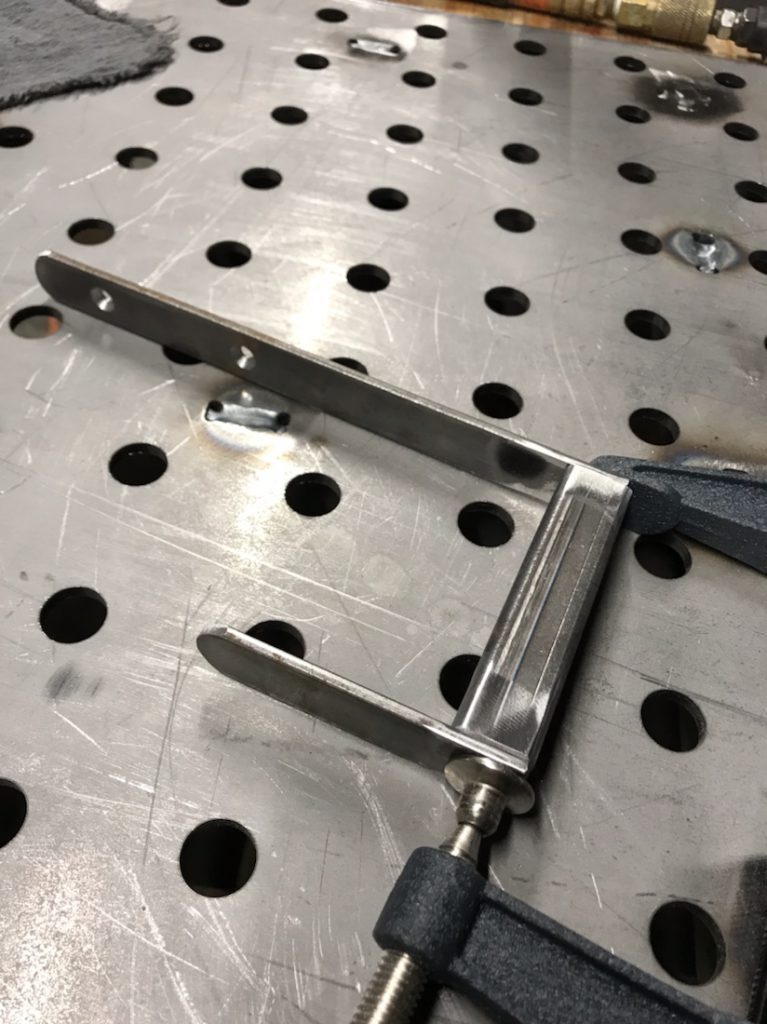
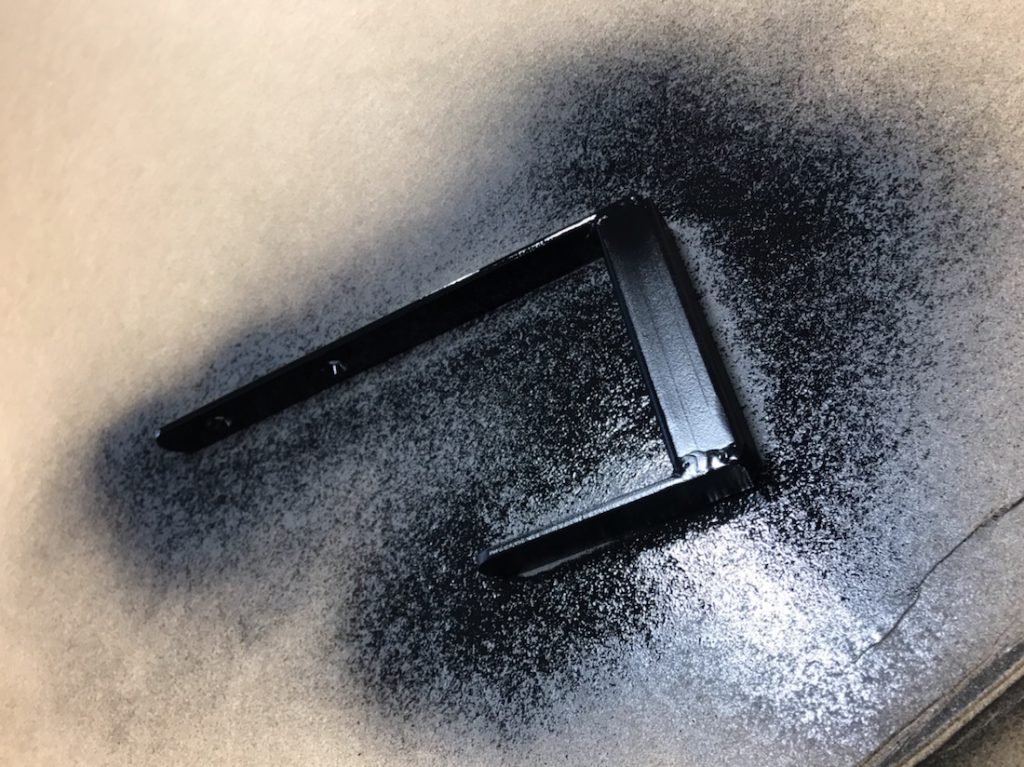
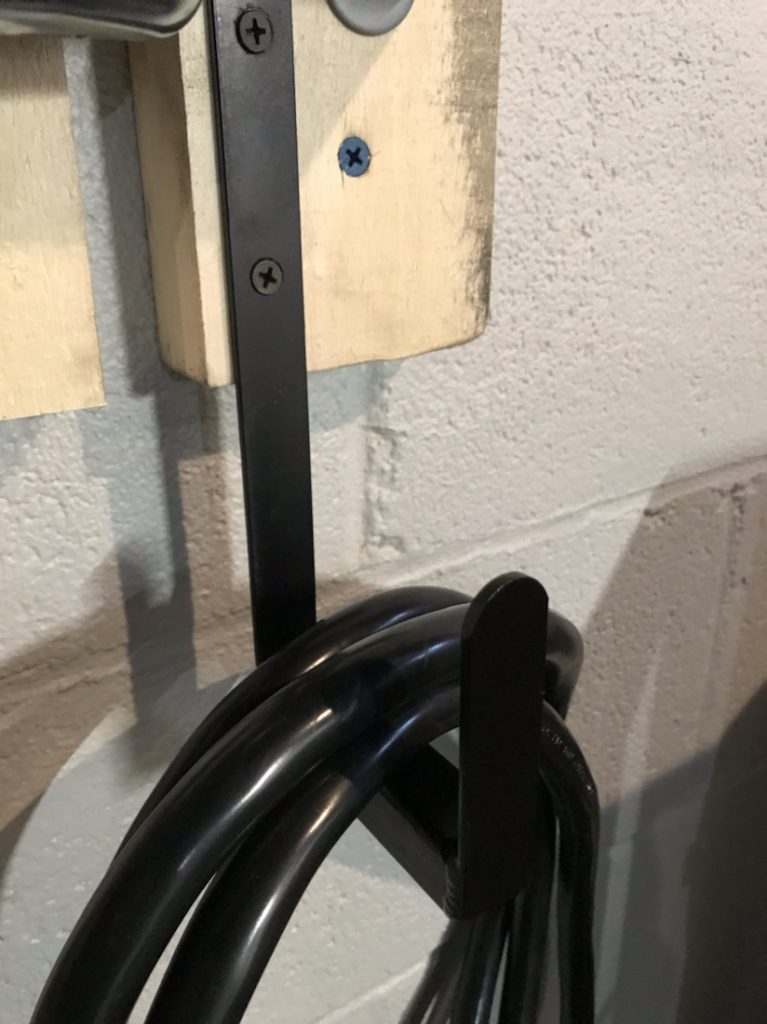
Also grabbed some scrap metal and welded up a hook for the power cord and mounted it below the transfer switch.
The system tested out fine. I was able to run our boiler, the sump pump, the fridge, the internet modem and wifi, my office, my wife’s office, the downstairs TV and an outlet in our master bedroom.
Now I just need to wait for the next power outage.
