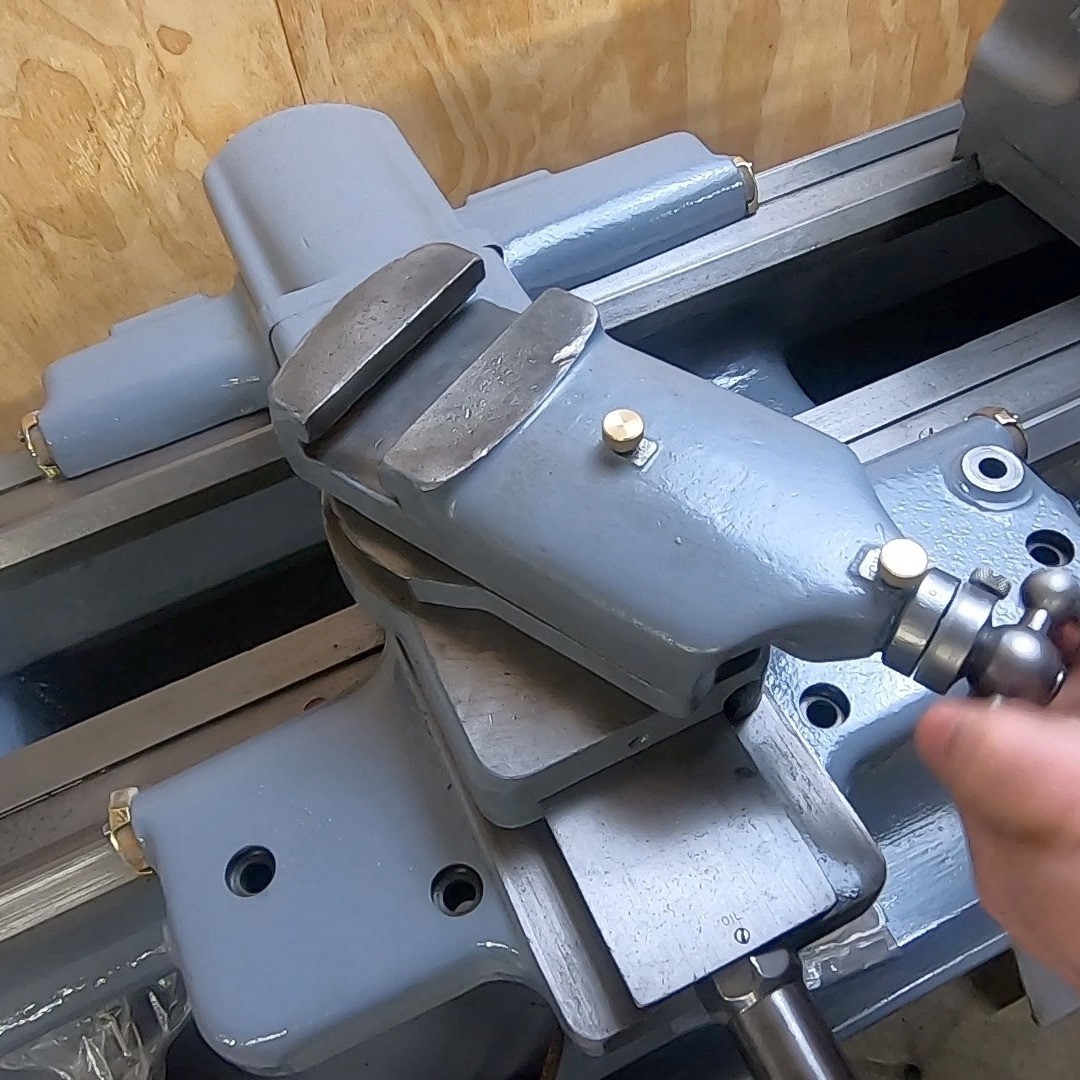
My 1941 South Bend lathe is starting to come back to life! I finally get the saddle, cross slide and compound reassembled and installed, but not without issues. The compound feed nut was not original and had been replaced with something that wasn’t working.
.
.
.
.
.
.
.
Work continues on the 1941 South Bend lathe.
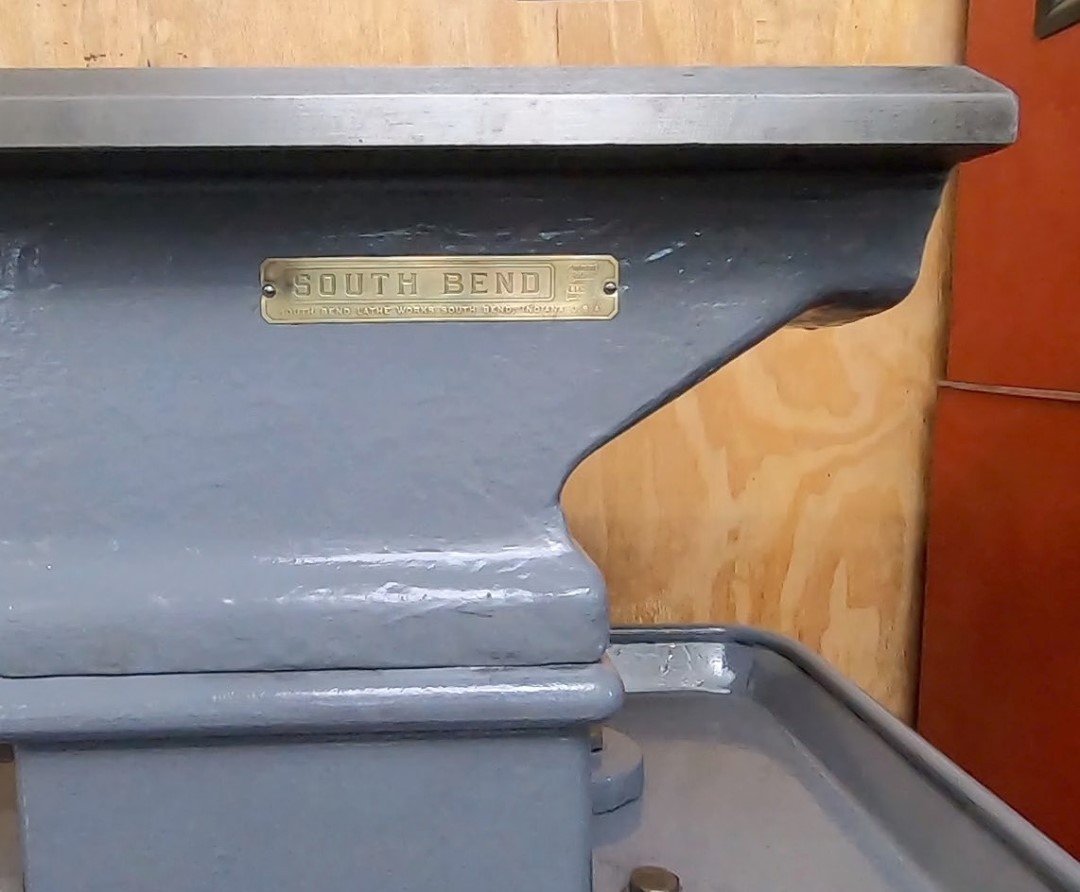
Work continues on the 1941 South Bend lathe. I’ve cleaned up the motor housing, the chip pan and the bed and can start putting those pieces back together. The badge on the bed was painted over. I would liked to have restored it to the factory red and black colors, with just the letters staying brass, but it would have been very difficult. I decided for these, I was just going to leave it as is.
.
.
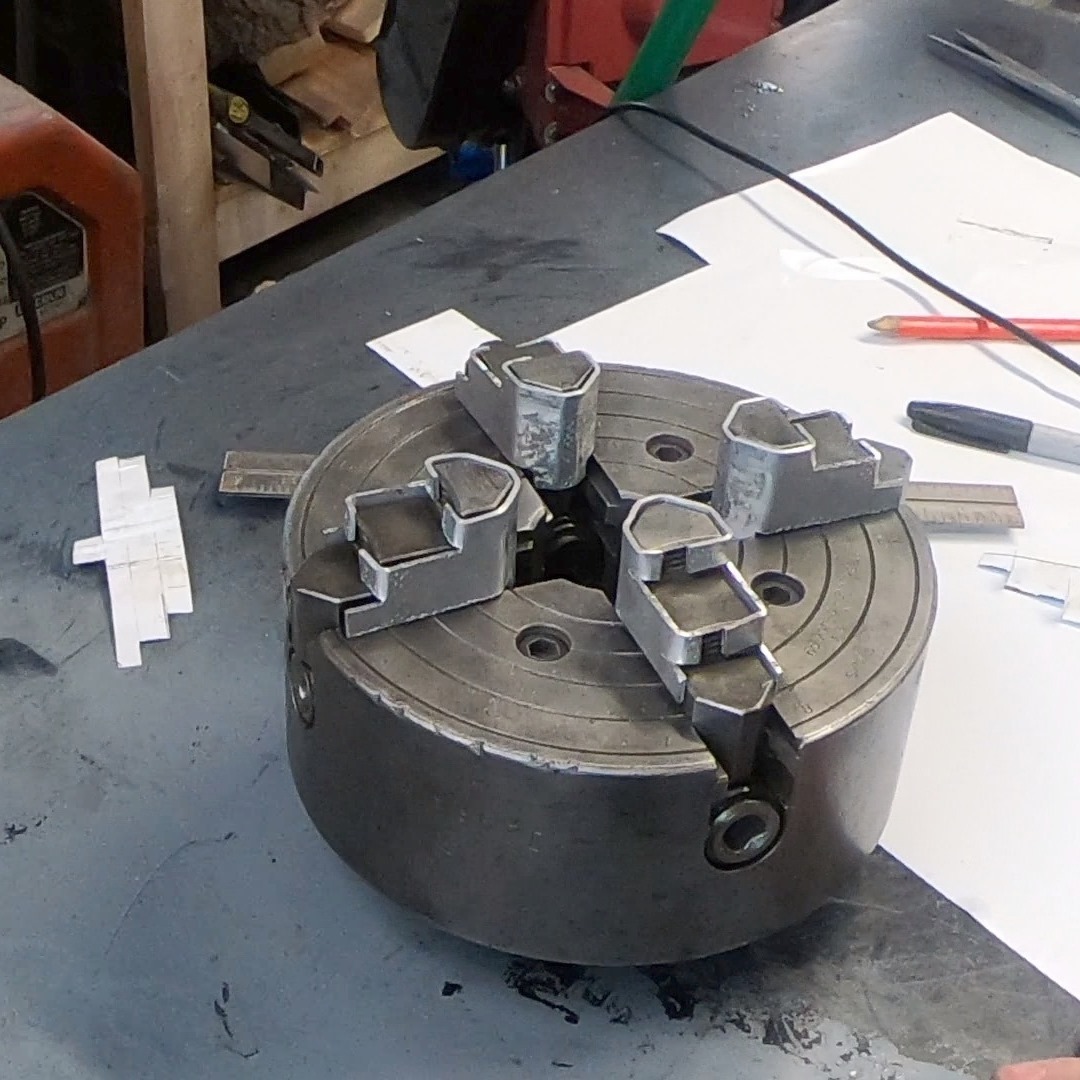
As if I didn’t have enough to do, I made a set of removable soft jaws..
As if I didn’t have enough to do, I made a set of removable soft jaws for a 4-jaw lathe chuck. I have an upcoming project idea that will require this chuck and I don’t want to damage the work piece. Took a short break from the restoration project to put these together.
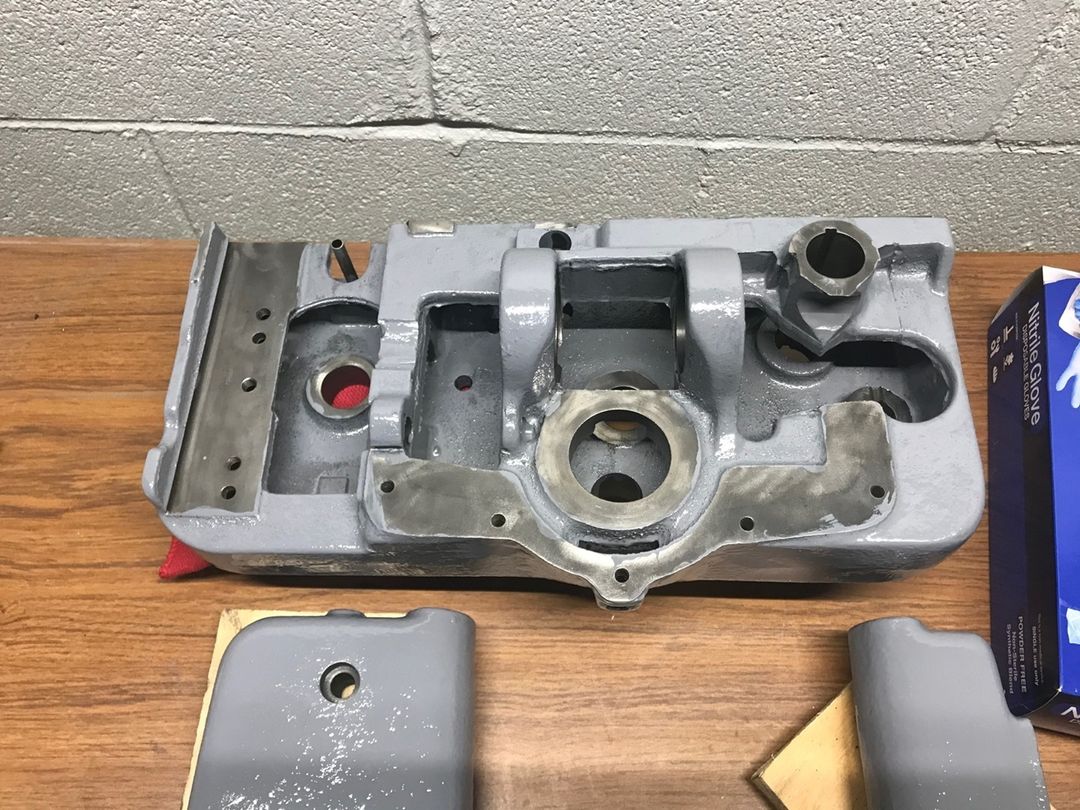
I have the apron cleaned up, painted and ready to be assembled.
I have the apron cleaned up, painted and ready to be assembled at some point on my 80 year old lathe. Need to get through some other parts of this machine first.
.
.
.
.
.
.
.
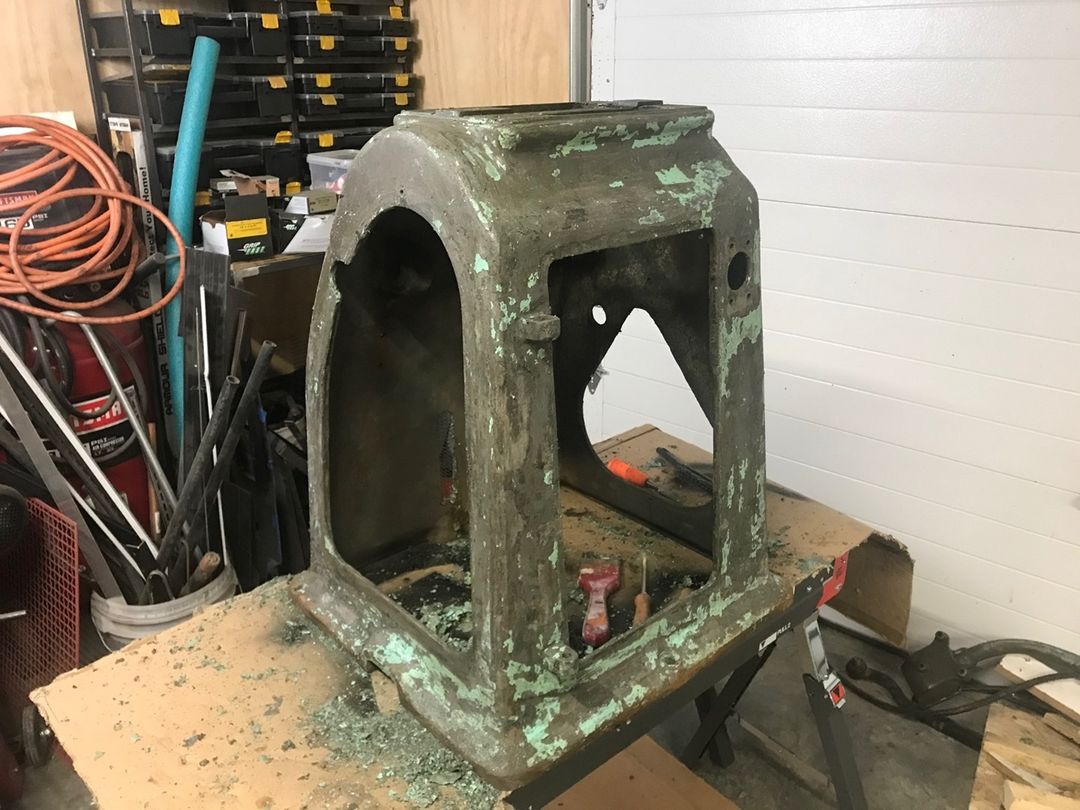
Instead of going to Moab this year, I get to clean and strip the paint off of this!
Instead of going to Moab this year, I get to clean and strip the paint off of this motor housing. Yay, me!
.
.
.
.
.
.
.
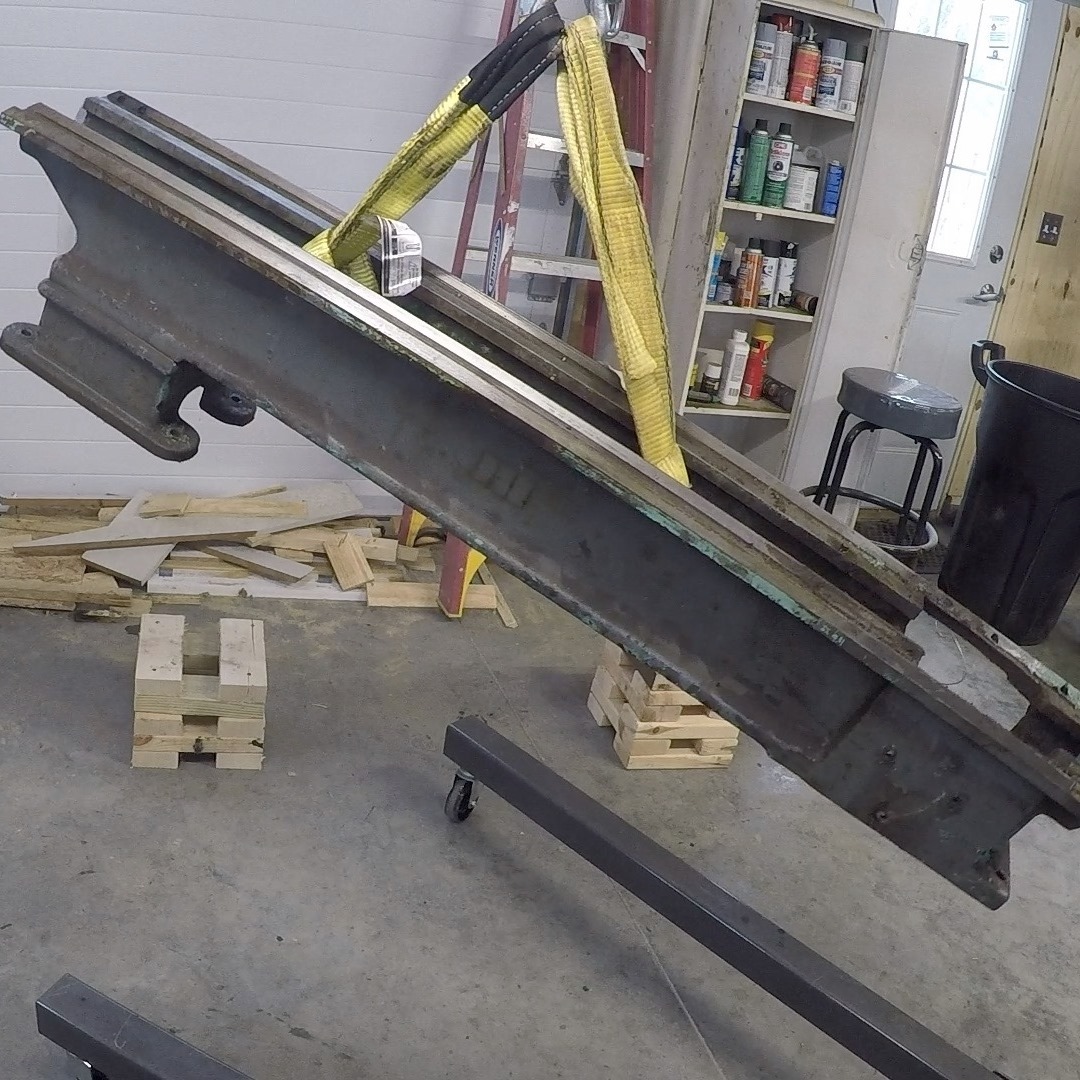
Look! In the air! Is it a Bird? A Plane? No! It’s the lathe bed!
Look! In the air! Is it a Bird? A Plane? No! It’s the lathe bed! I finally got around to disassembling the major components of my 1941 South Bend lathe. Got the motor assembly out, the bed off the lefs, and the chip pan is clear. Getting closer by the day! Check the link in my bio for a video I made.
.
.
.
.
.
.
.
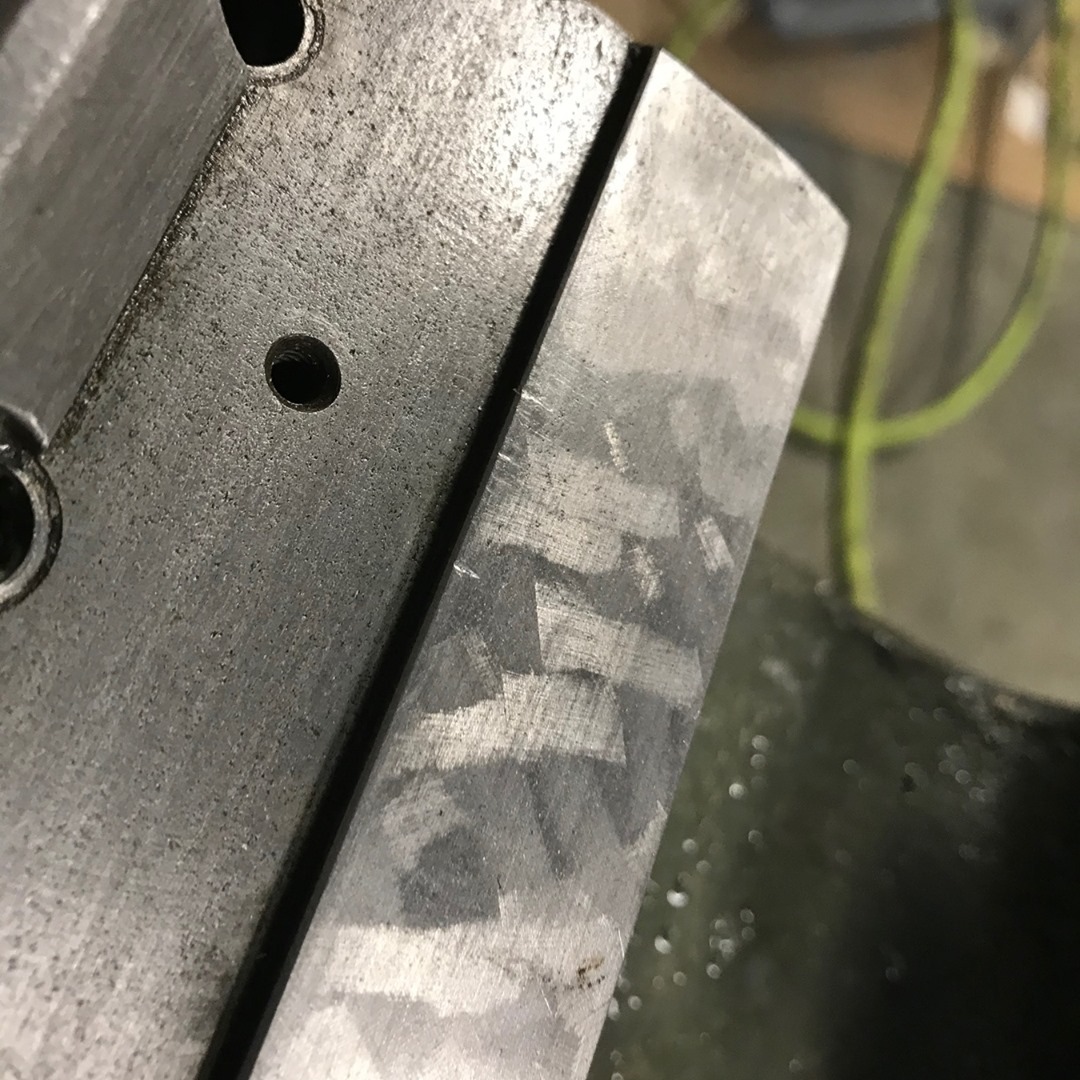
You can still see some of the original scraping on the ways
You can still see some of the original scraping on the ways that were hidden by the headstock of my 80 year old lathe. The exposed, working area, of the ways have been worn down quite a bit. I thought about having them ground and then hand scraping them, but I’m not sure it would be worth it.
.
.
.
.
.
.
.
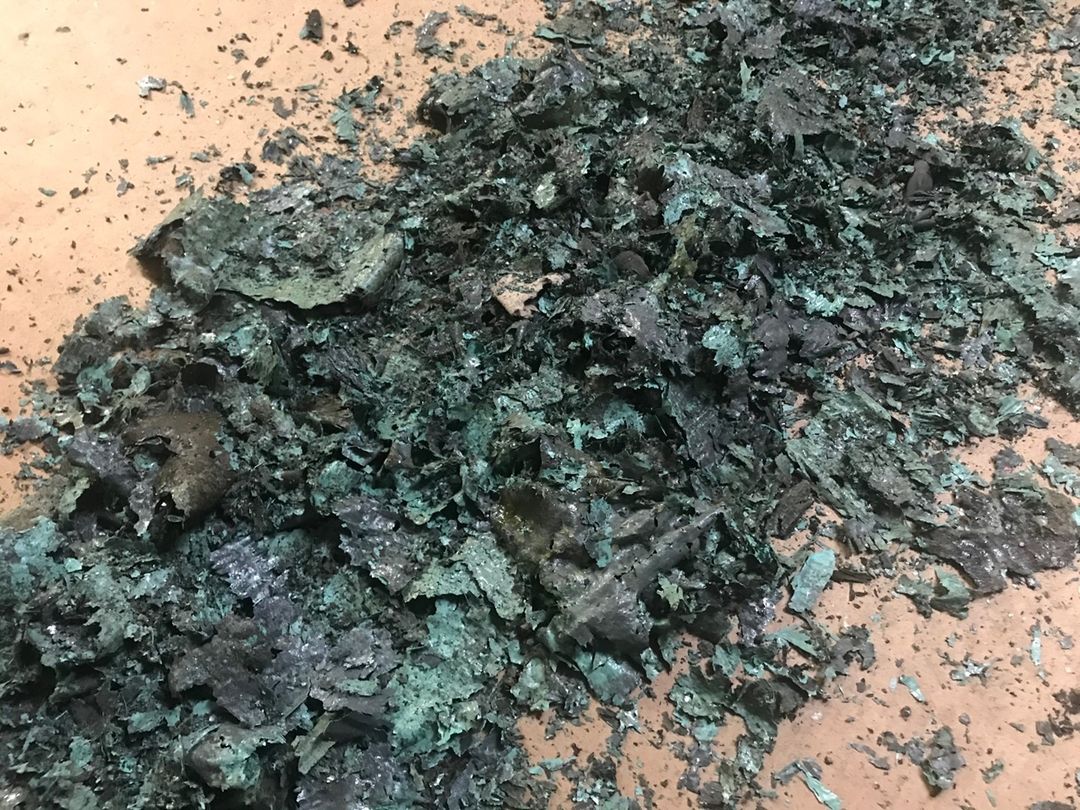
I have no idea how many layers of paint this is.
I have no idea how many layers of paint this is. But I am glad it’s no longer part of my lathe.
.
.
.
.
.
.
.
Continuing work on this 1941 South Bend Lathe.
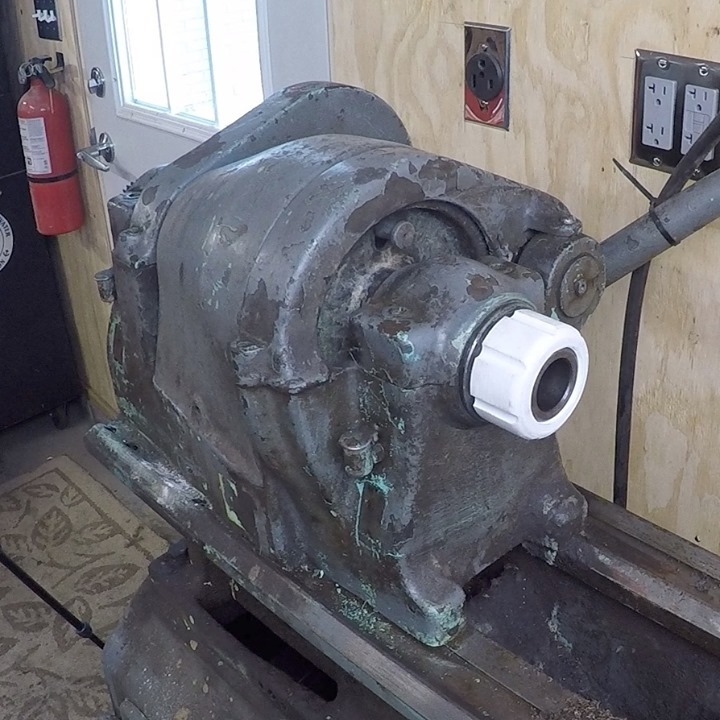
Continuing work on this 1941 South Bend Lathe. Spent some time taking apart the headstock. The white thing in the photo is a 3D printed thread protector. Not completely necessary, but I wanted to try making it. The headstock houses the drive pulleys as well as a back gear that slows the rotational speed of the spindle, as well as the spindle itself.
.
.
.
.
.
.
.
I used some @bluedemonweld Aluminum Bronze TIG rod to repair the worn splines on this shaft
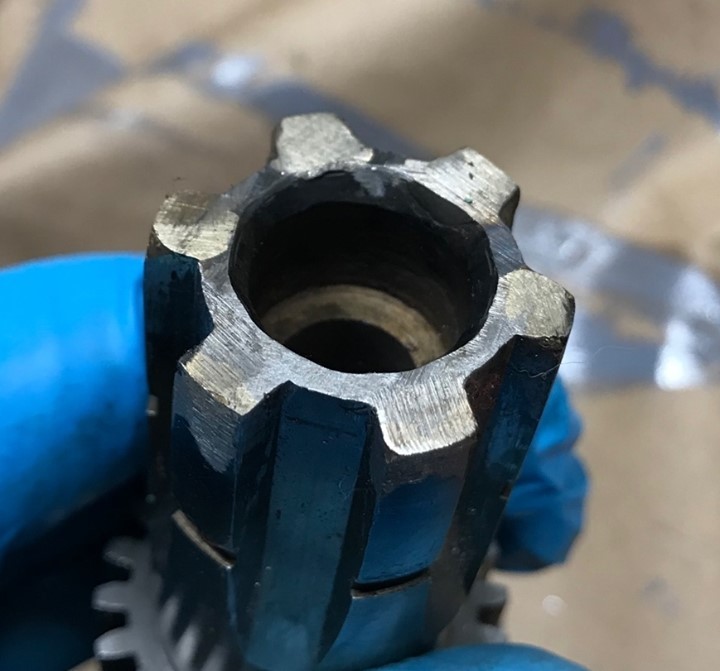
I used some @bluedemonweld Aluminum Bronze TIG rod to repair the worn splines on this shaft from the power feed clutch on an 80 year old lathe. I have never done something like this before, and I think it went well and came out OK. Check the link my bio for a video.
•
•
•
•
•

