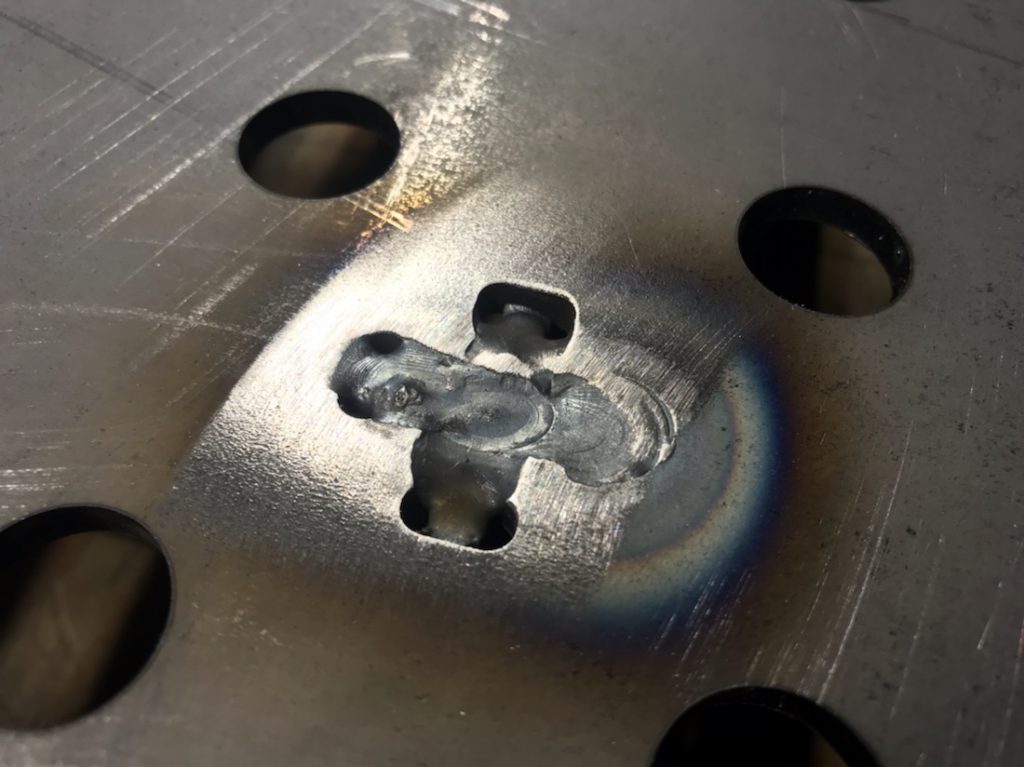
Finished the welding table

After work today, I went ahead and assembled the leg kit for the welding table from weldtables.com. I didn’t take many pictures of the process. Started by tacking it from underneath with the MIG welder.

I could have finish welded it with the MIG, but I really need the TIG practice. In hindsight, I should have just stuck with the MIG. I ended up having to weld a good part of it out of position, and even blew through some of the thinner leg steel in the process. Managed to fix those mistakes and just kept trying and taking it slow.

The welds are a bit ugly, but it’s together and is almost exactly the height I expected it to be. Once I replace the work table top with a piece of 3/4″ plywood (it’s currently 1/2″) it’ll match the height.

Next step will be to make some minor improvements. I want to skin the bottom shelf with expanded metal or sheet metal. It’s the perfect height for the TIG foot pedal when I am seated on the shop stool. Plus, I would like to make something to hang my angle grinders from off on one side, and a place to hang clamps on the other.

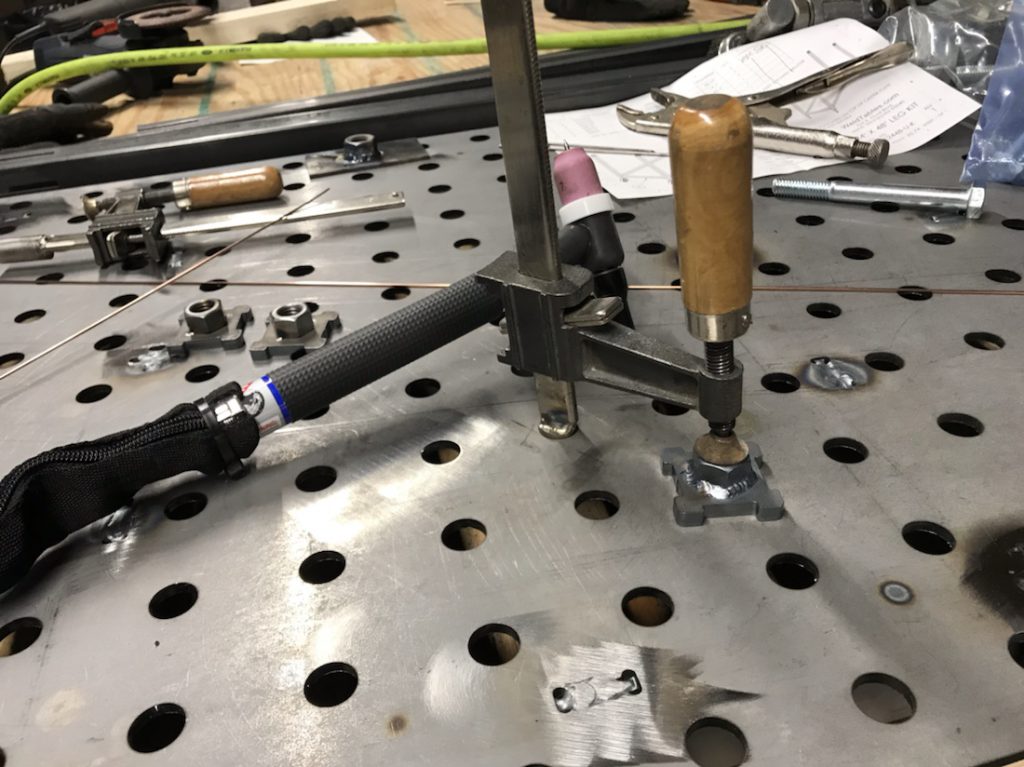
Welding table legs

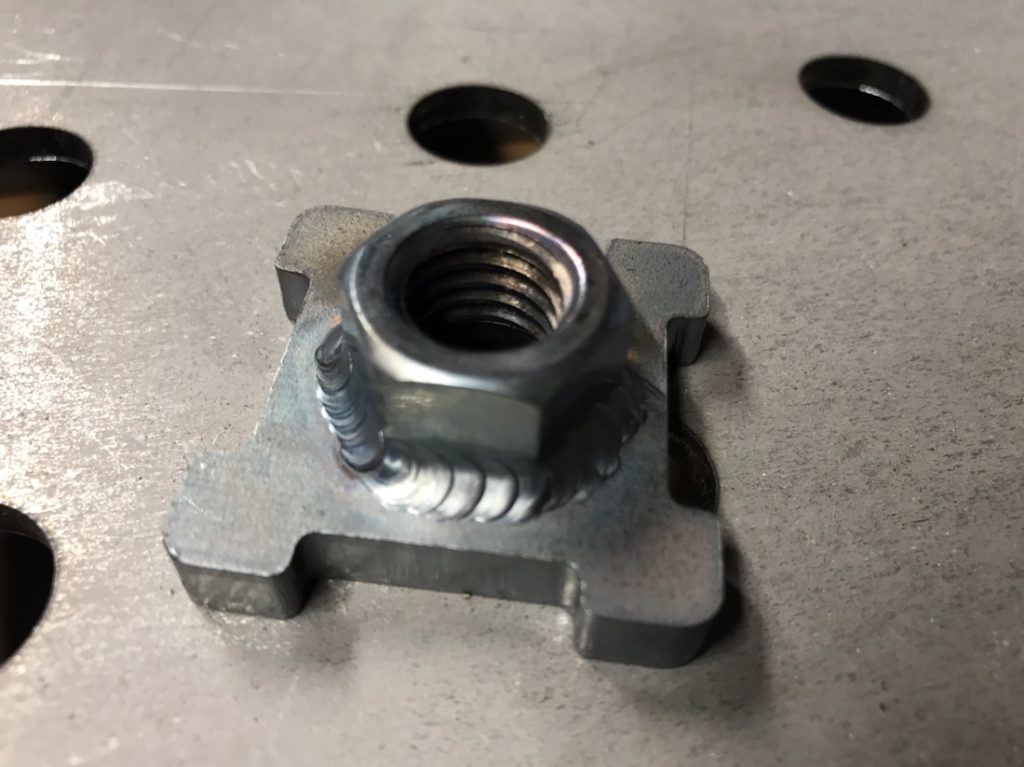
The kit for the welding table legs from weldtables.com came in yesterday. I started by welding in the nuts for the casters.

The kit comes with inserts that fit into the bottom of the square tube that makes up the legs as well as some nuts. Taking this as an opportunity to practice my TIG welding a little bit more. I tacked them up first before finish welding them.

Set the Primeweld TIG 225x on pulse to get that nice stack of dimes look.

I really do prefer TIG welding over MIG for some stuff. It’s rather therapeutic.

Welding table clamps

Welding 5/8" rod for welding clamp

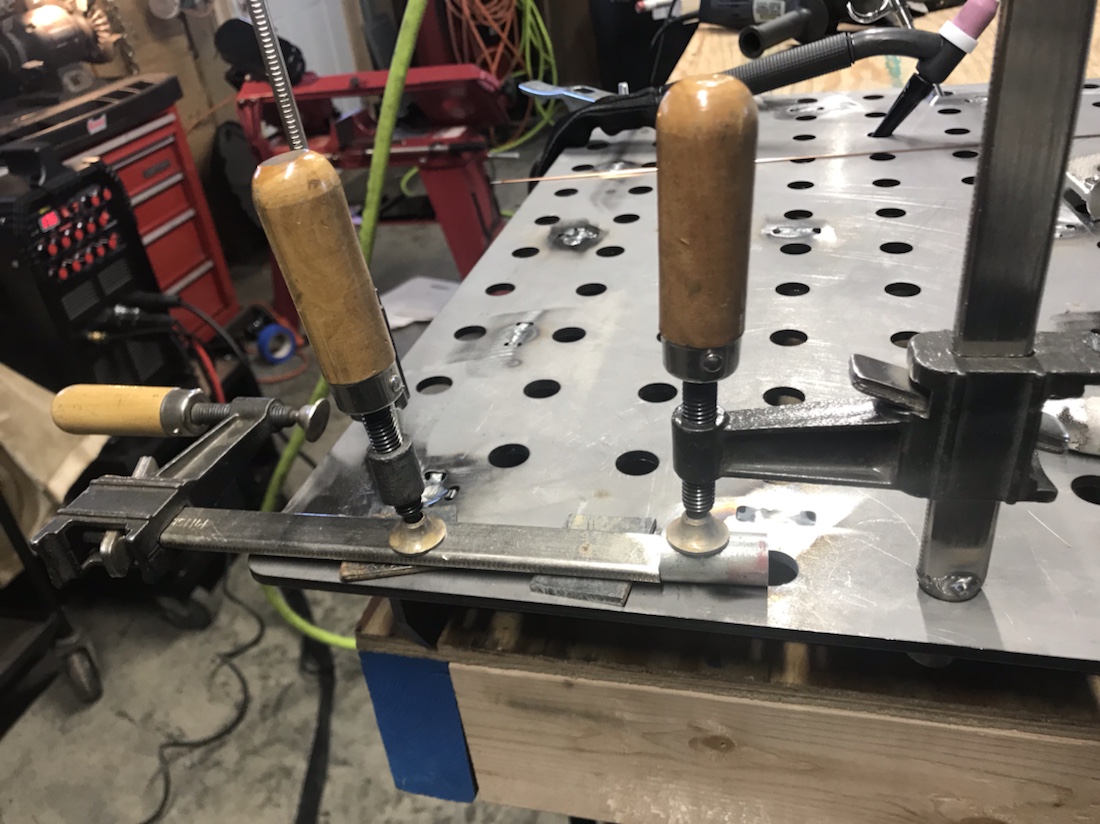
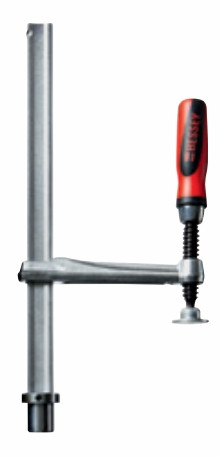
Continuing the Weekend Welding theme, I decided to make some hold down clamps for the new welding table from weldtables.com. I could buy a bunch of these for $45 a piece from Bessey, but that was just a non starter. I have seen many DIY versions of the same thing, so I decided to make my own.

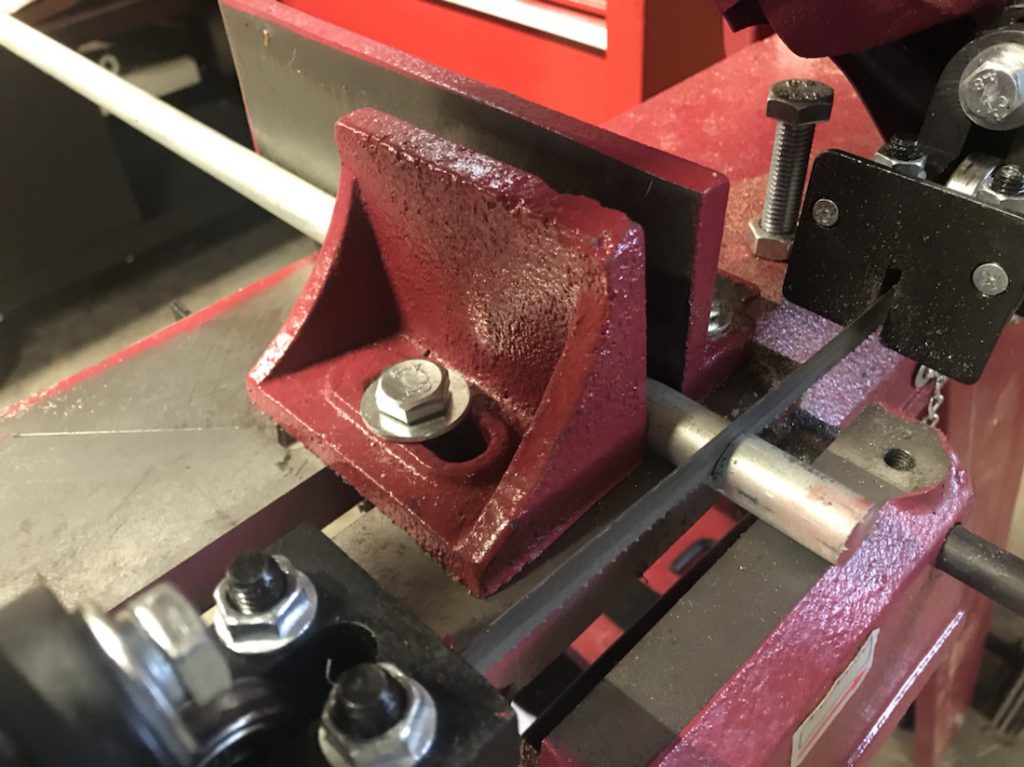
I put the new band saw to use and cut some 5/8″ metal rod into a few 1 1/4″ pieces. I had a few clamps from Harbor Freight that I have had for years. You can find this for between $3 and $5 a piece depending on if they are on sale or not. I cut the end of the clamp off and then ground the rod the other end slides on to a slight angle.

From there, I welded on the small piece of steel rod.

Did this a couple more times, and vioala! I see no point in spending $150 on clamps when I can make them for $5.00 total.

New welding table (almost)

Welding table top

I have been wanting a welding table from Certiflat for YEARS. I can’t remember just where I first saw them. I finally had the space and the budget to get one this year.

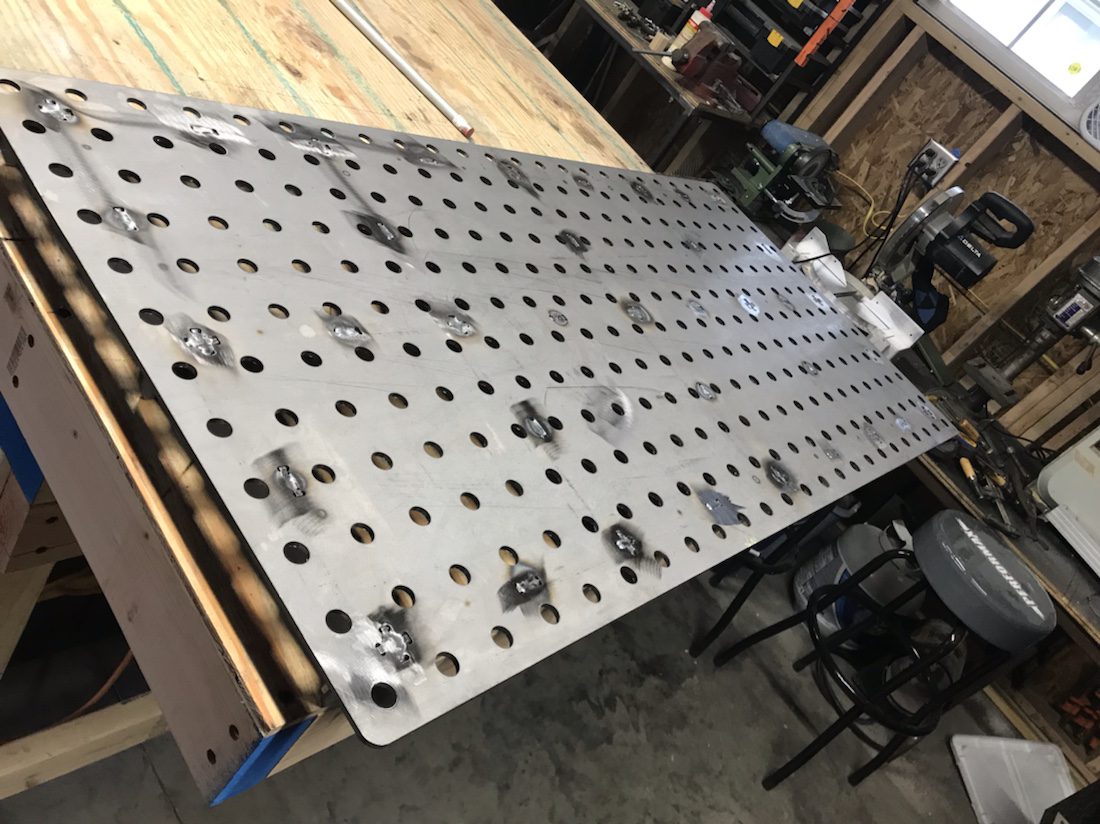
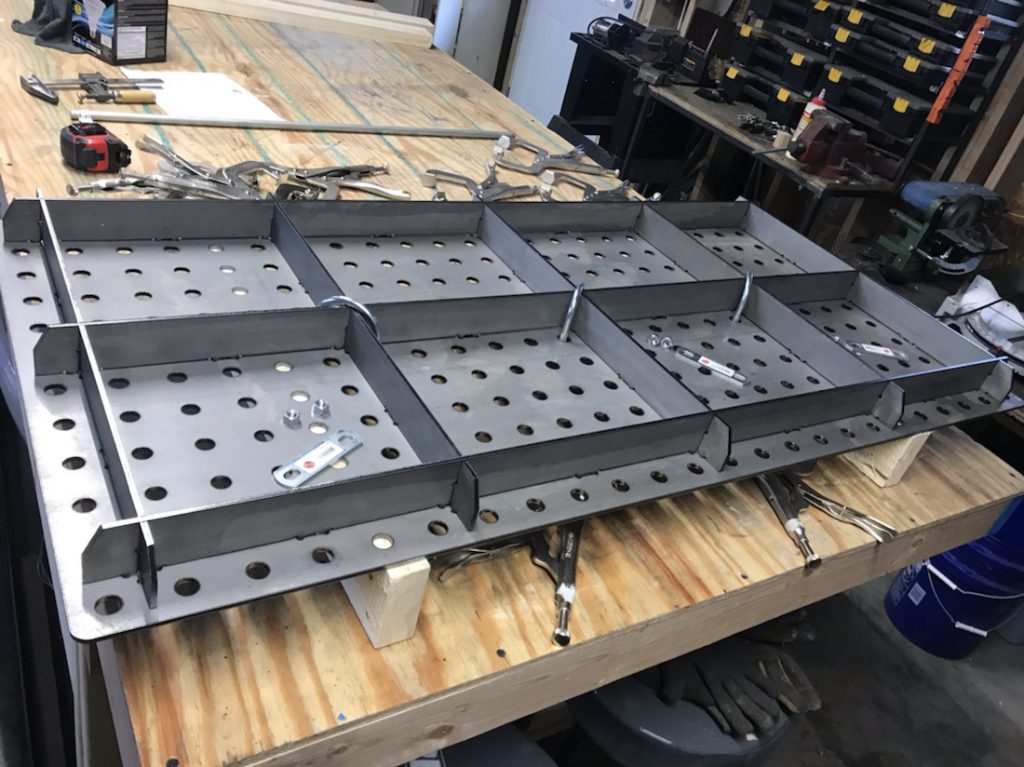
It comes in pieces. A flat top, laser drilled with 5/8″ holes every 2″. There are also slots cut into the top where the tabs on the support ribs fit into.

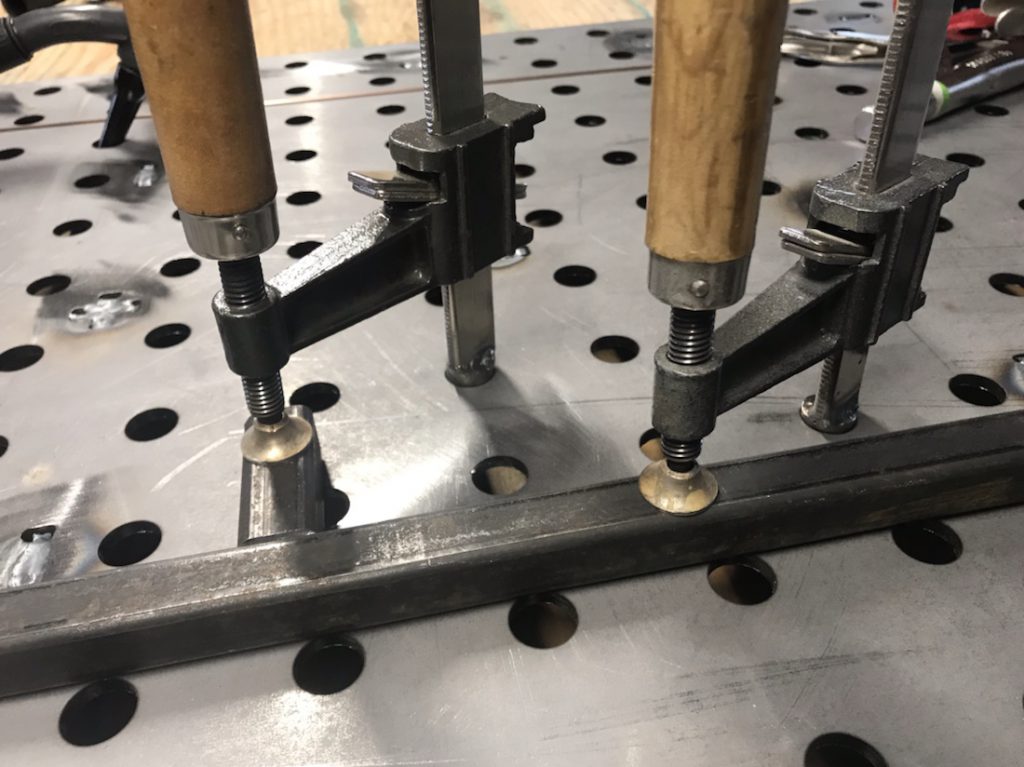
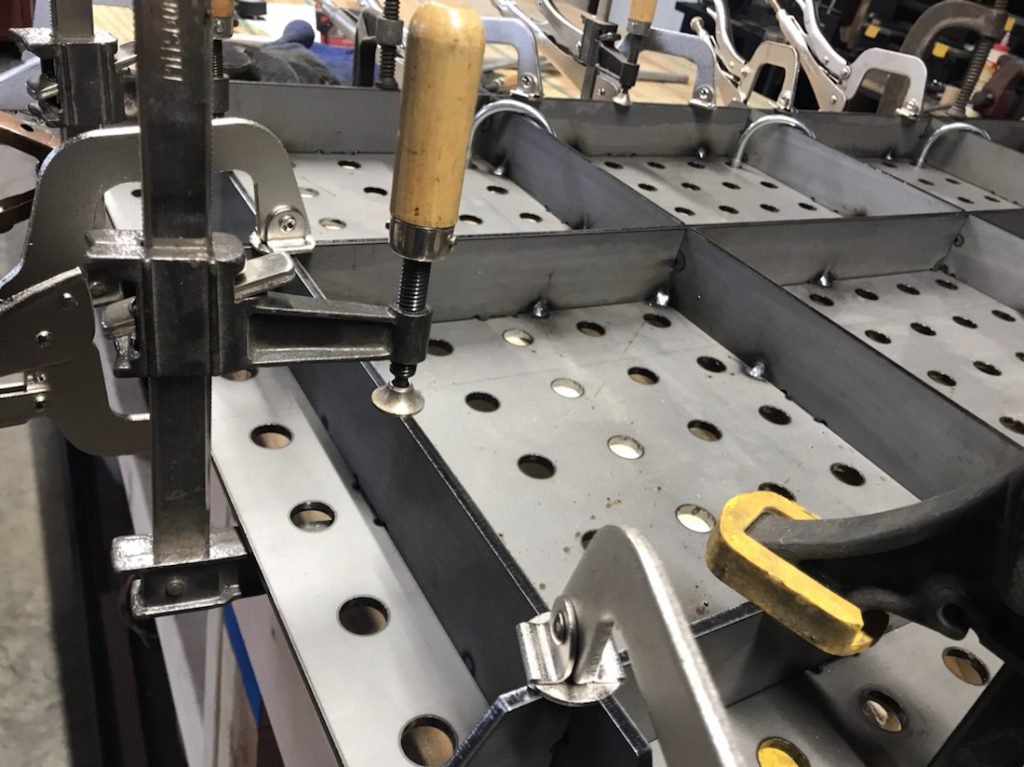
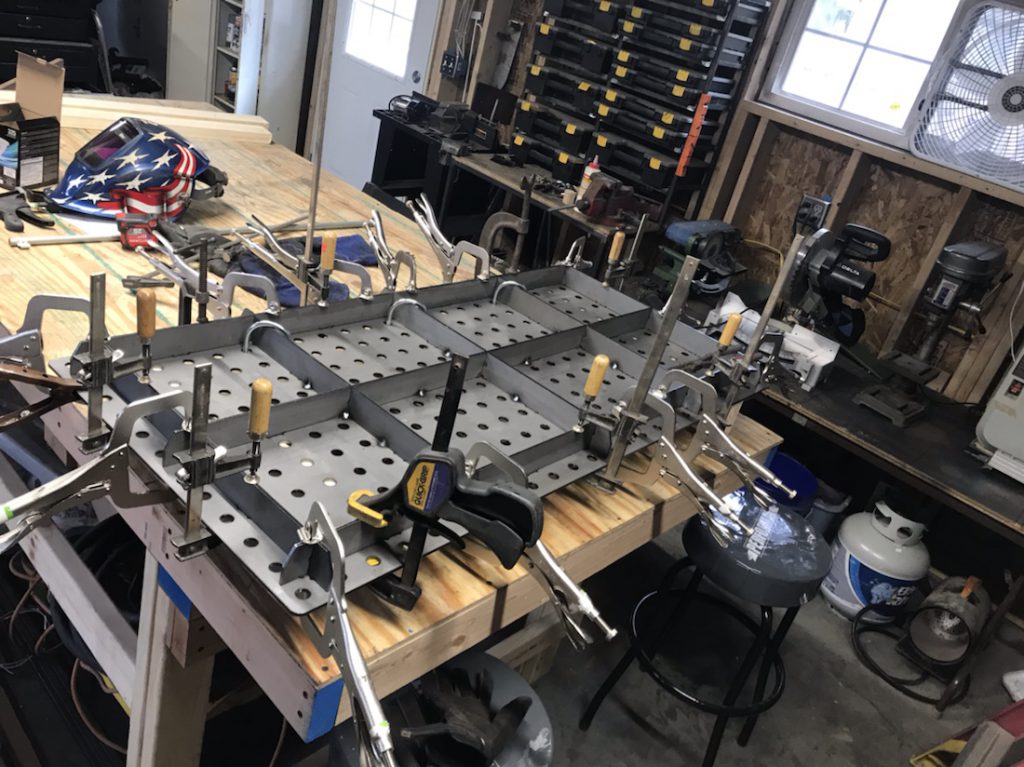
You start the build upside down, clamping the ribs to the top piece. You have to clamp it down completely to ensure the top comes out flat.

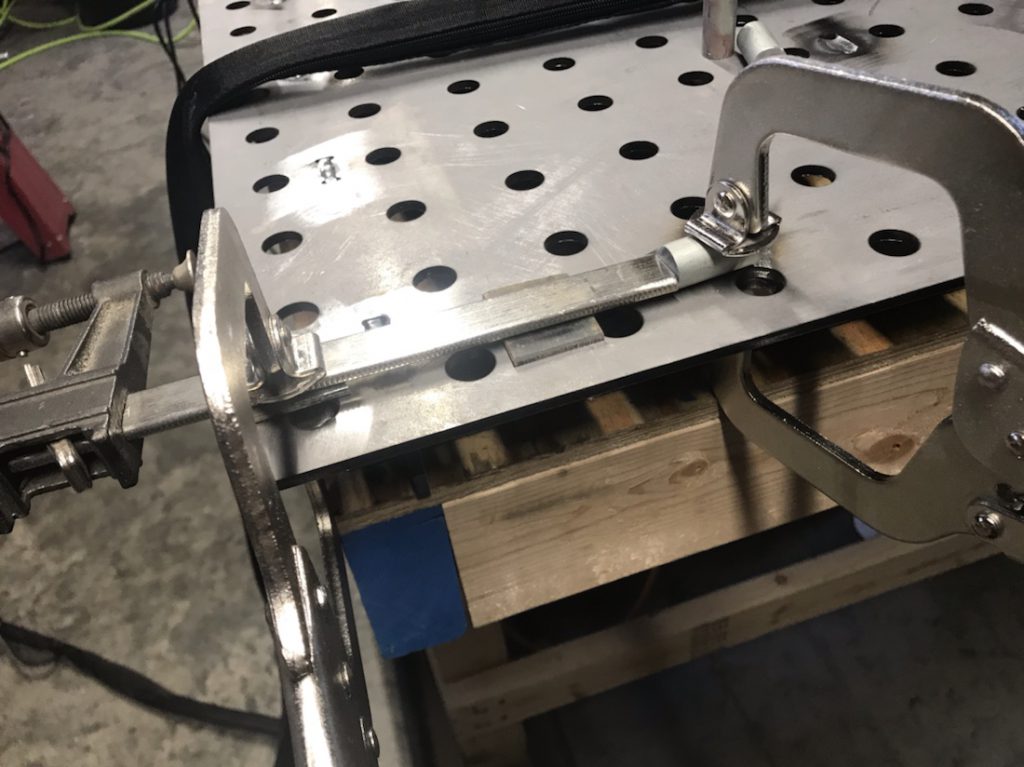
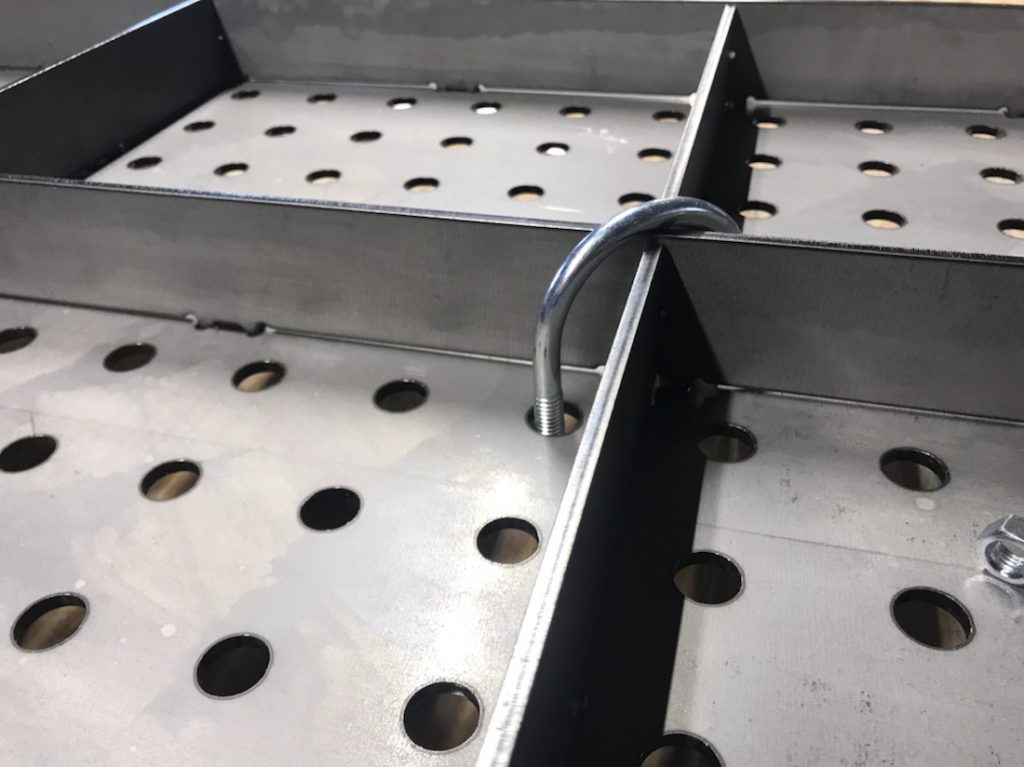
I used u-bolts to clamp down the center pieces.

I used the MIG to tack weld the center parts of the ribs together and to the table top. and then added more clamps to the outsides of the ribs.

A lot of clamps. You can never have too many. I used a flashlight to make sure there was no space between the ribs and the top, shining it on the side opposite to where I was standing, making sure I saw no slivers of light come under neath the rid.

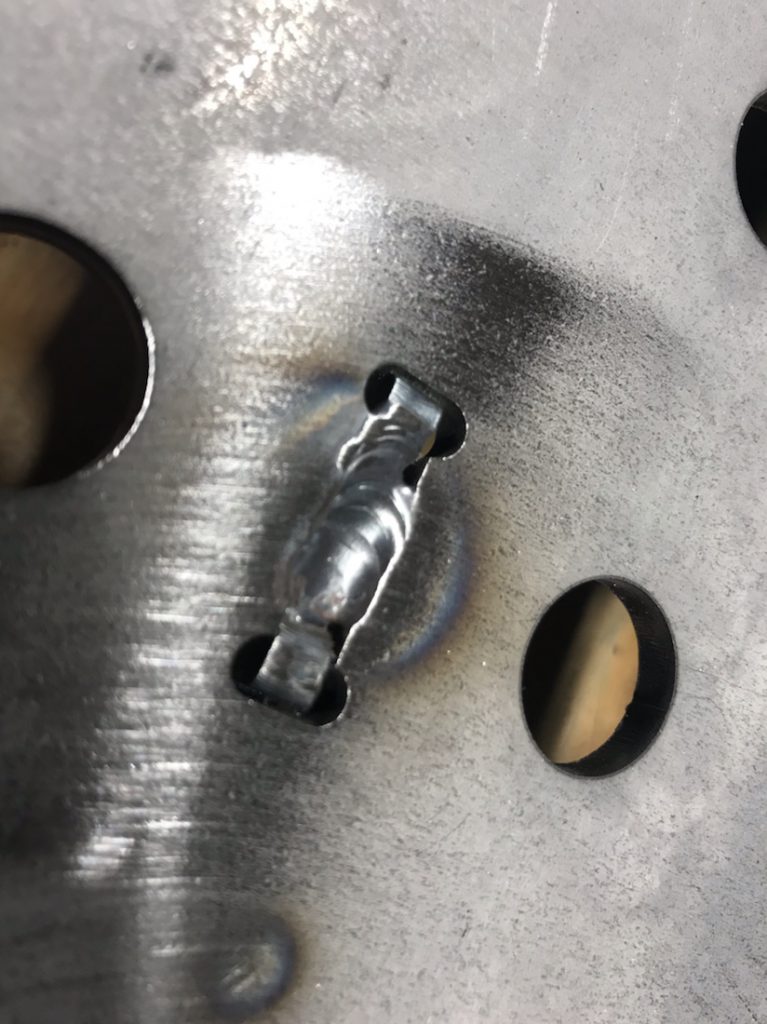
Once it was completely tacked together, I turned it over and used the TIG welder to complete the welds of the tabs and slots.

My TIG welding still needs practice, but that’s part of what this table is for. I’m debating on if I will finish welding the ribs below. I don’t think it really needs it.

The legs I ordered with this table haven’t been shipped yet. Once those are in, I’ll be able to complete this project.

UPDATE: Leg kit arrived.

Height does matter

I built this temporary work bench on top of a 6’ folding table. I plan on starting from scratch at some point and adding drawers and other storage. Perhaps some integral tools as well.

This morning I raised the surface to be 40” off the ground. What a difference! I was actually surprised by how much better it felt to lean on it and use it. Plus, my shop stool fits underneath it.

Why the modification? Well, I plan to purchase a small 2’x4’ welding table from Weldtables and the kit comes with legs that put it at a 40” height. I wanted everything to be at the same level so I can use anything as a support or out feed table.