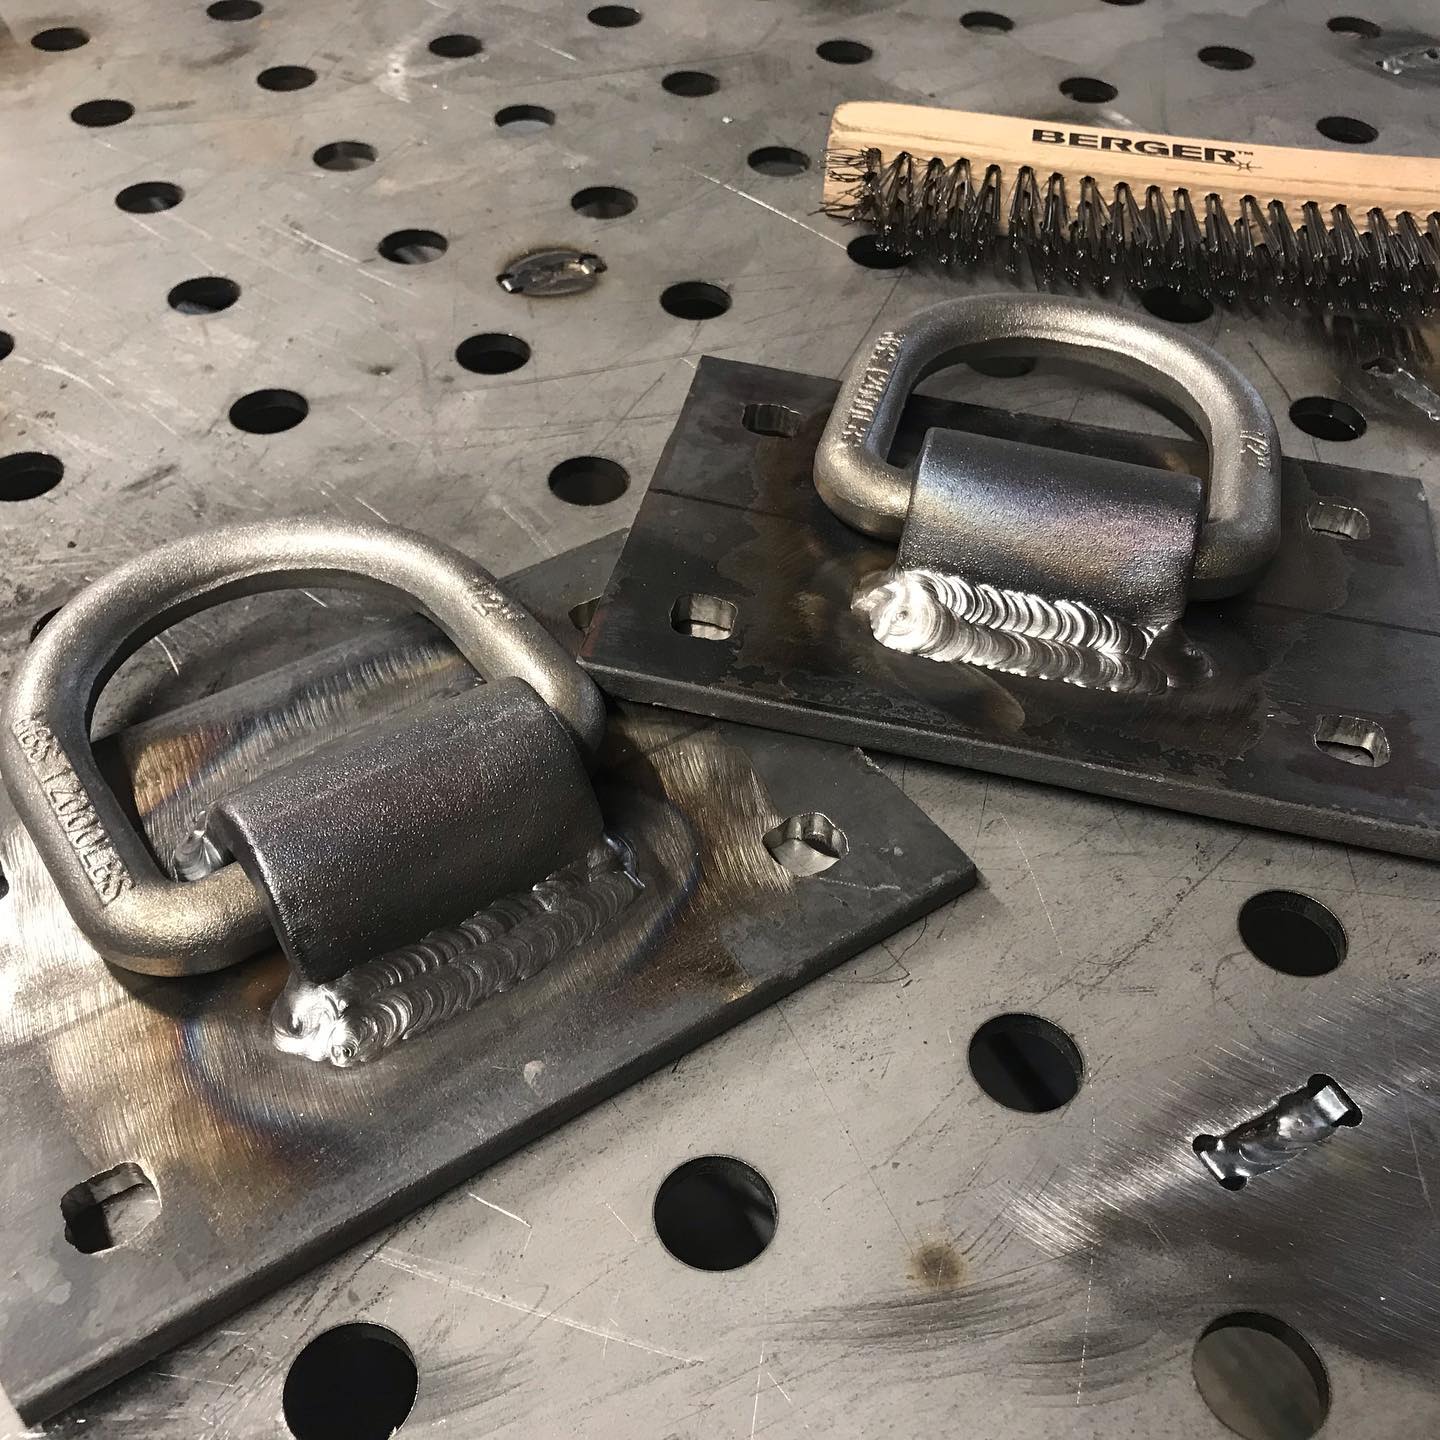
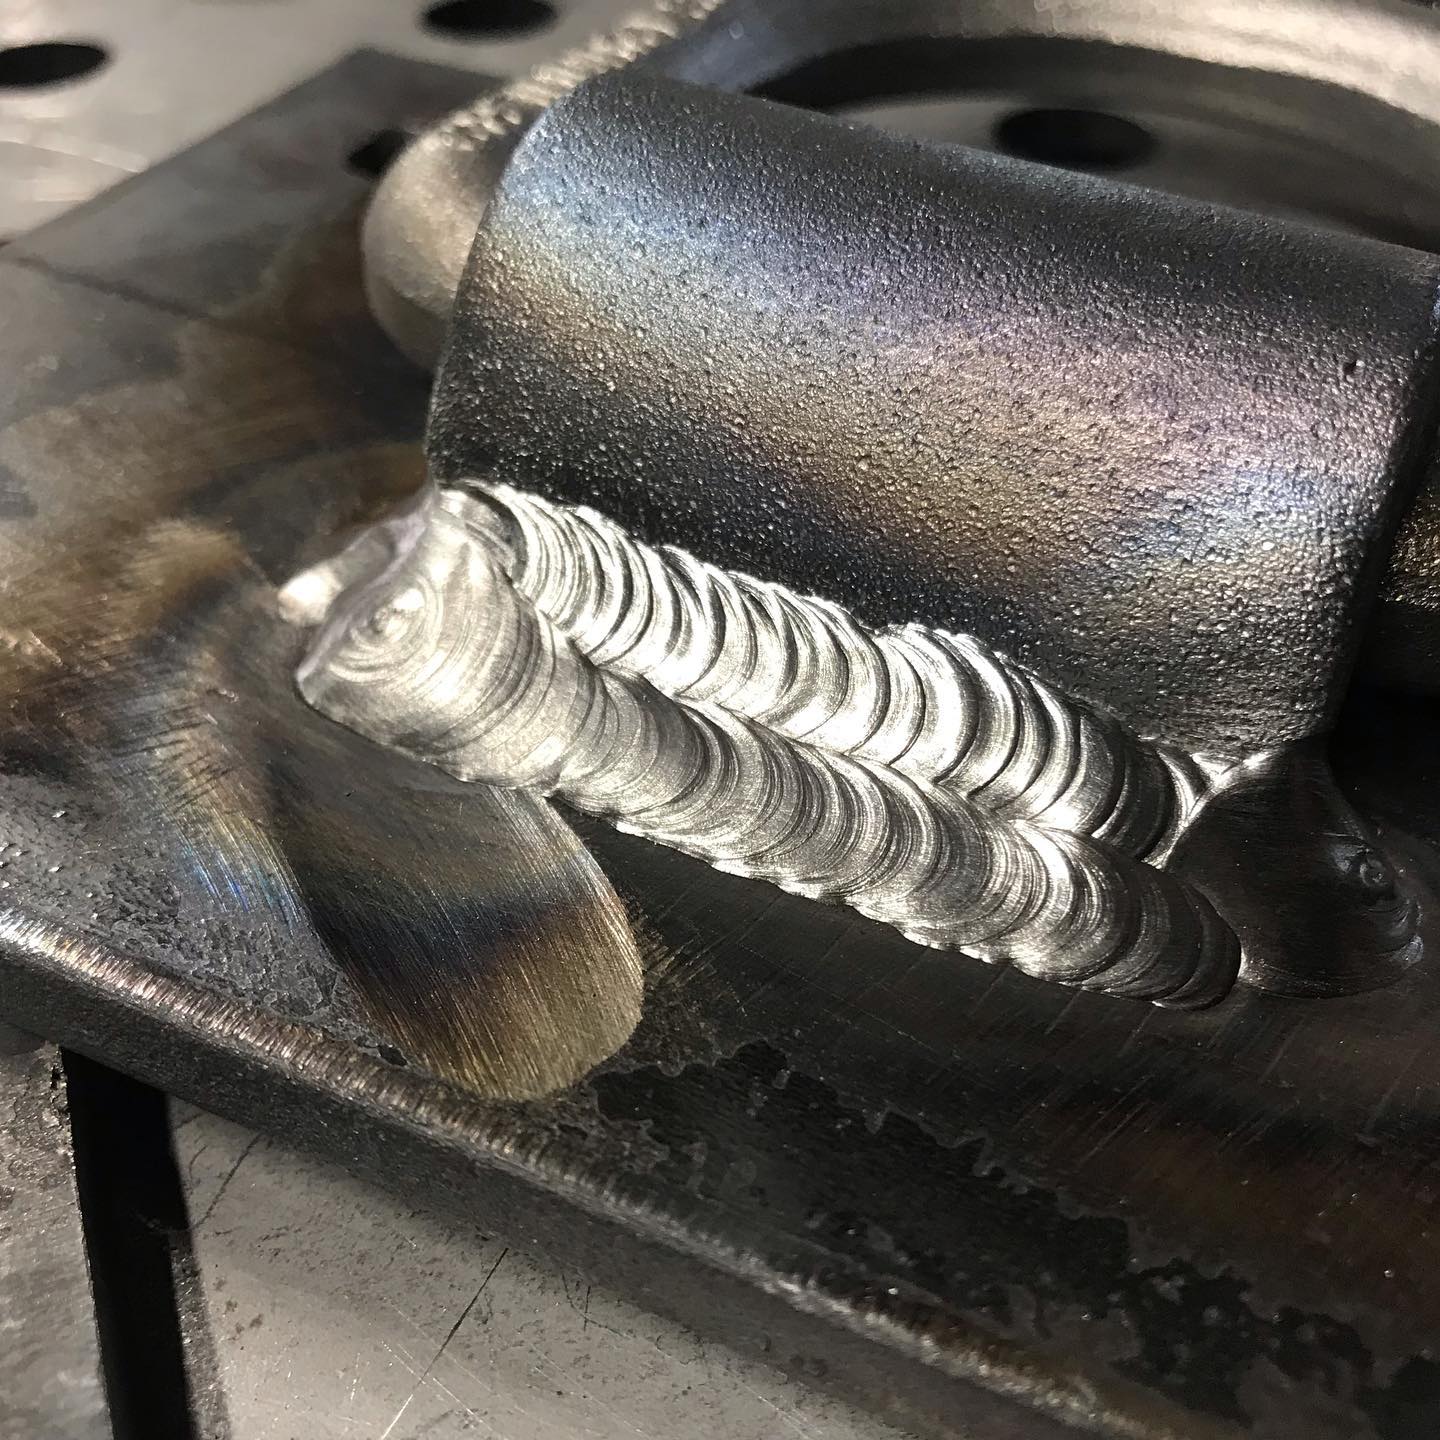
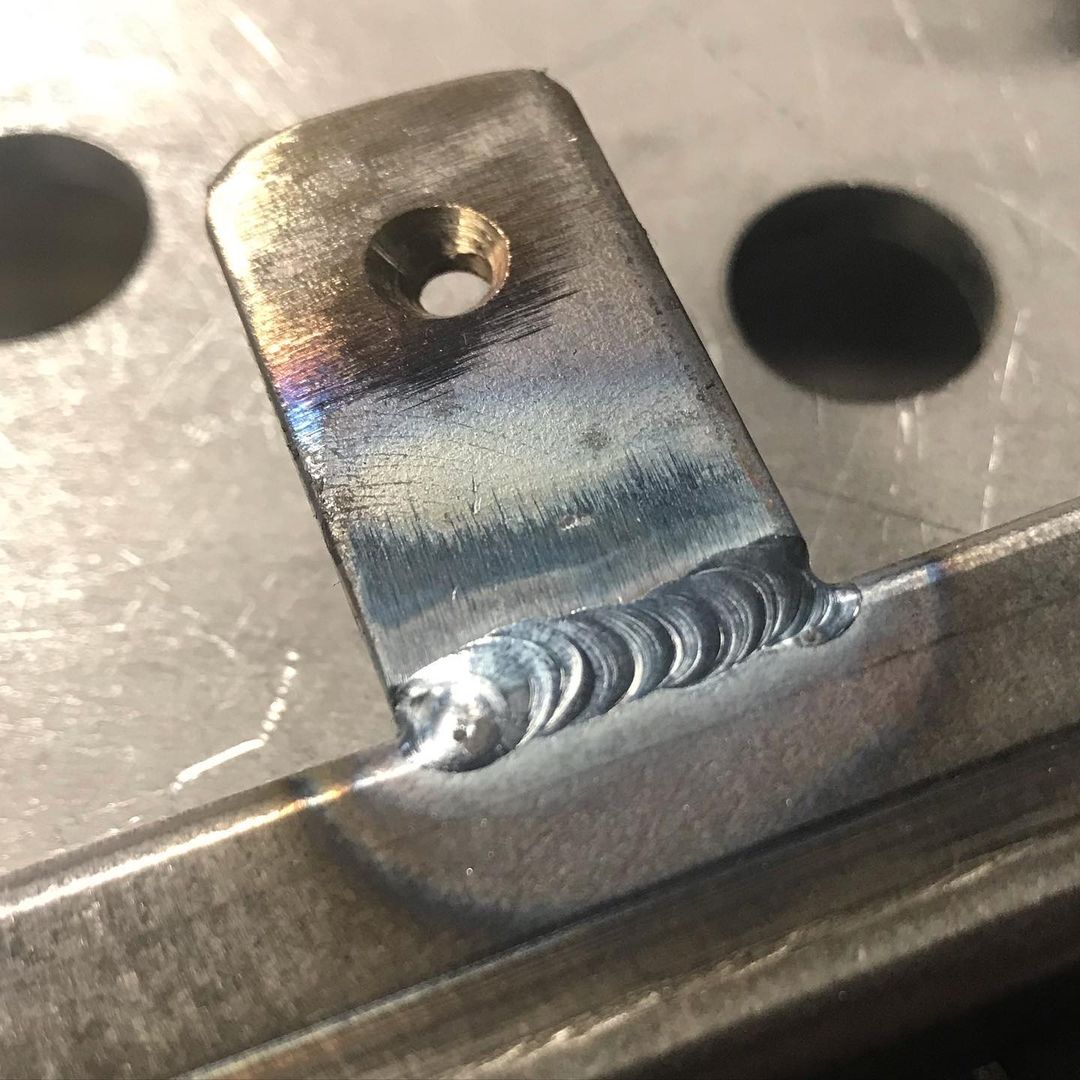
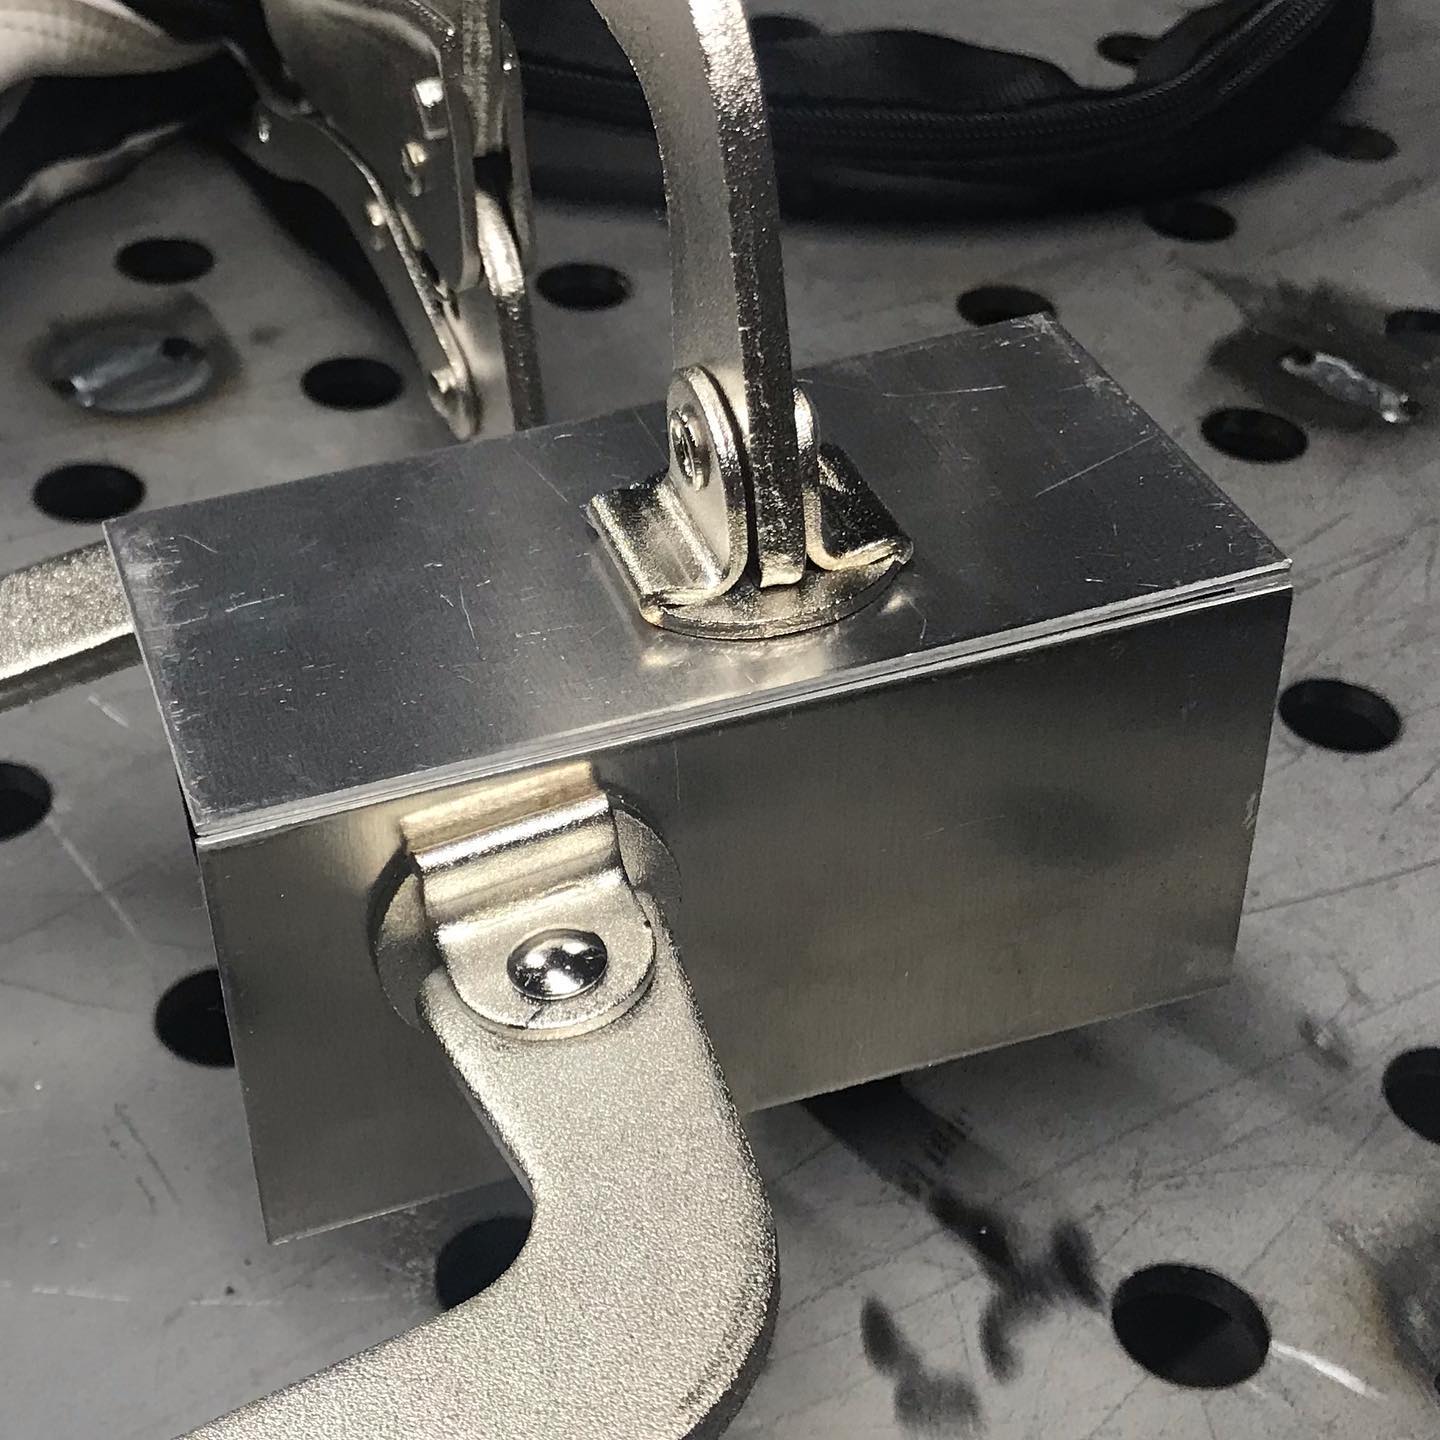
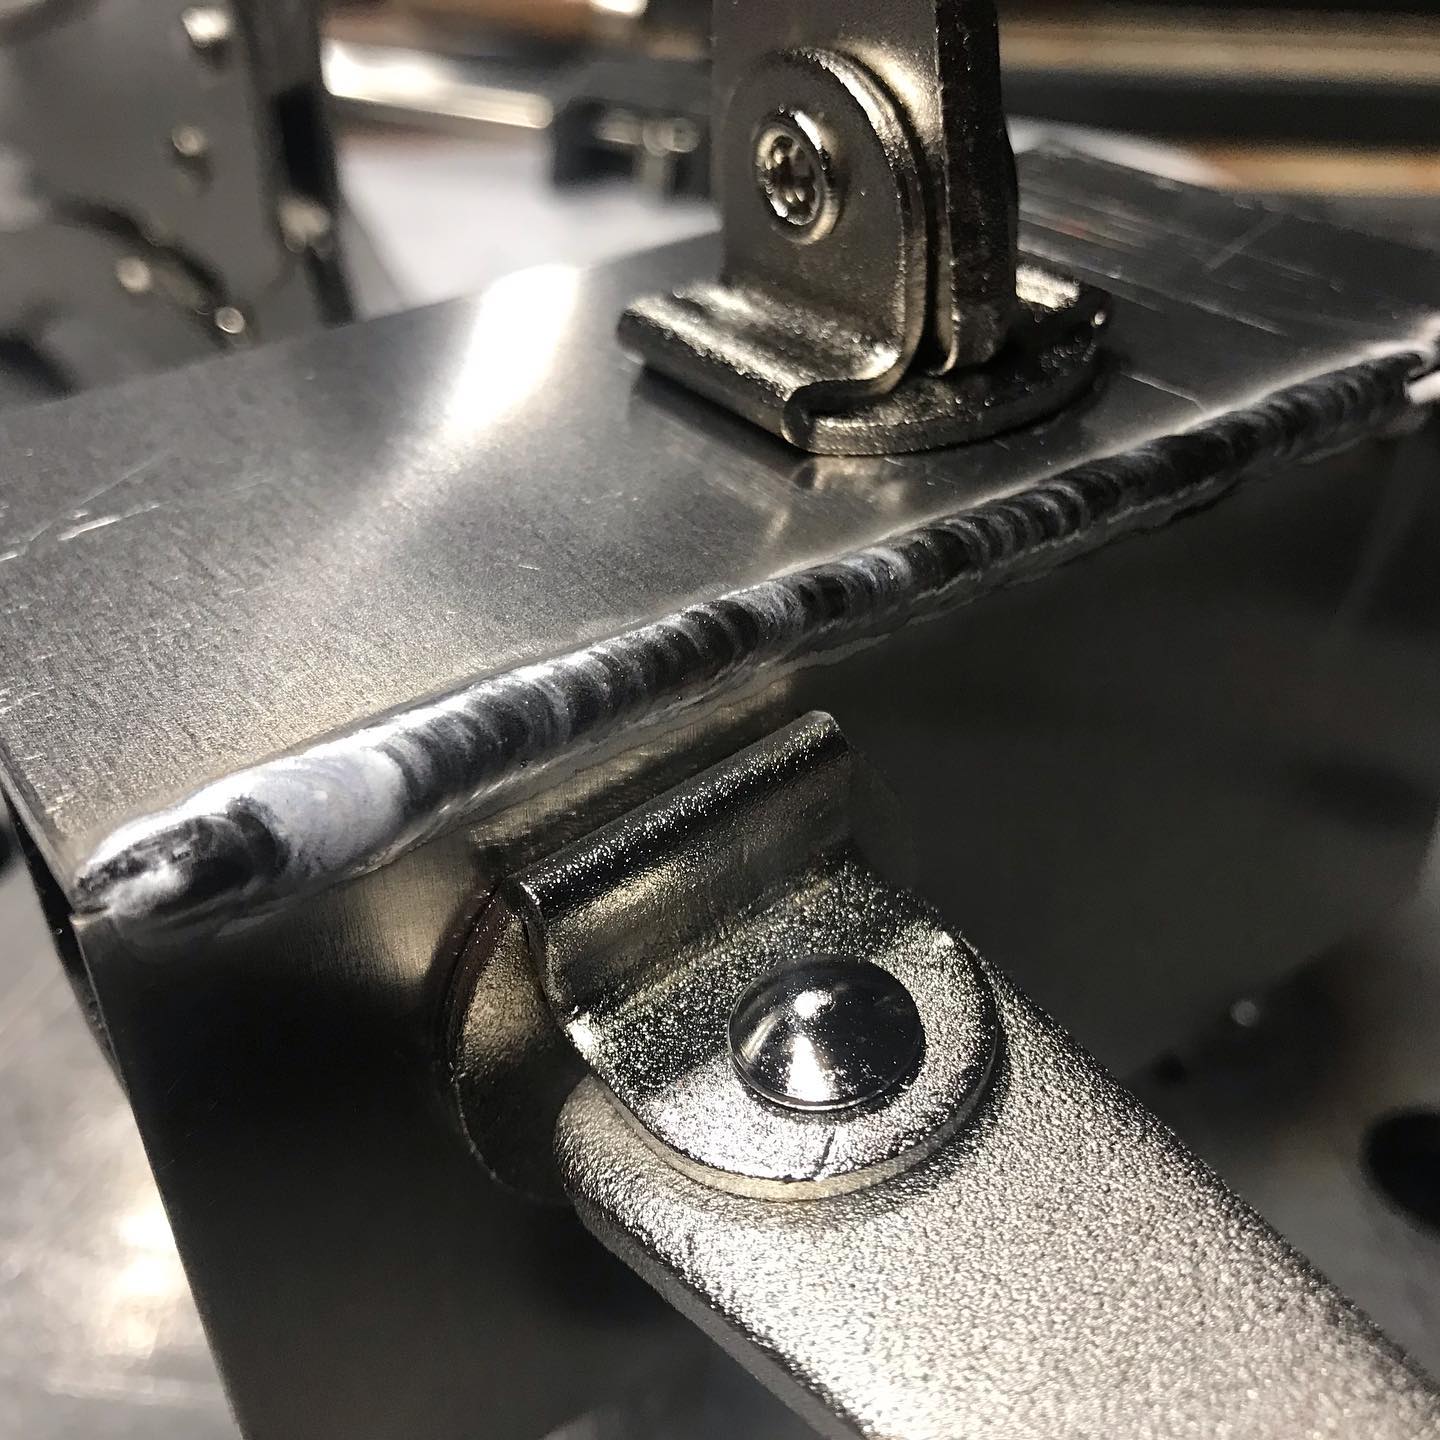
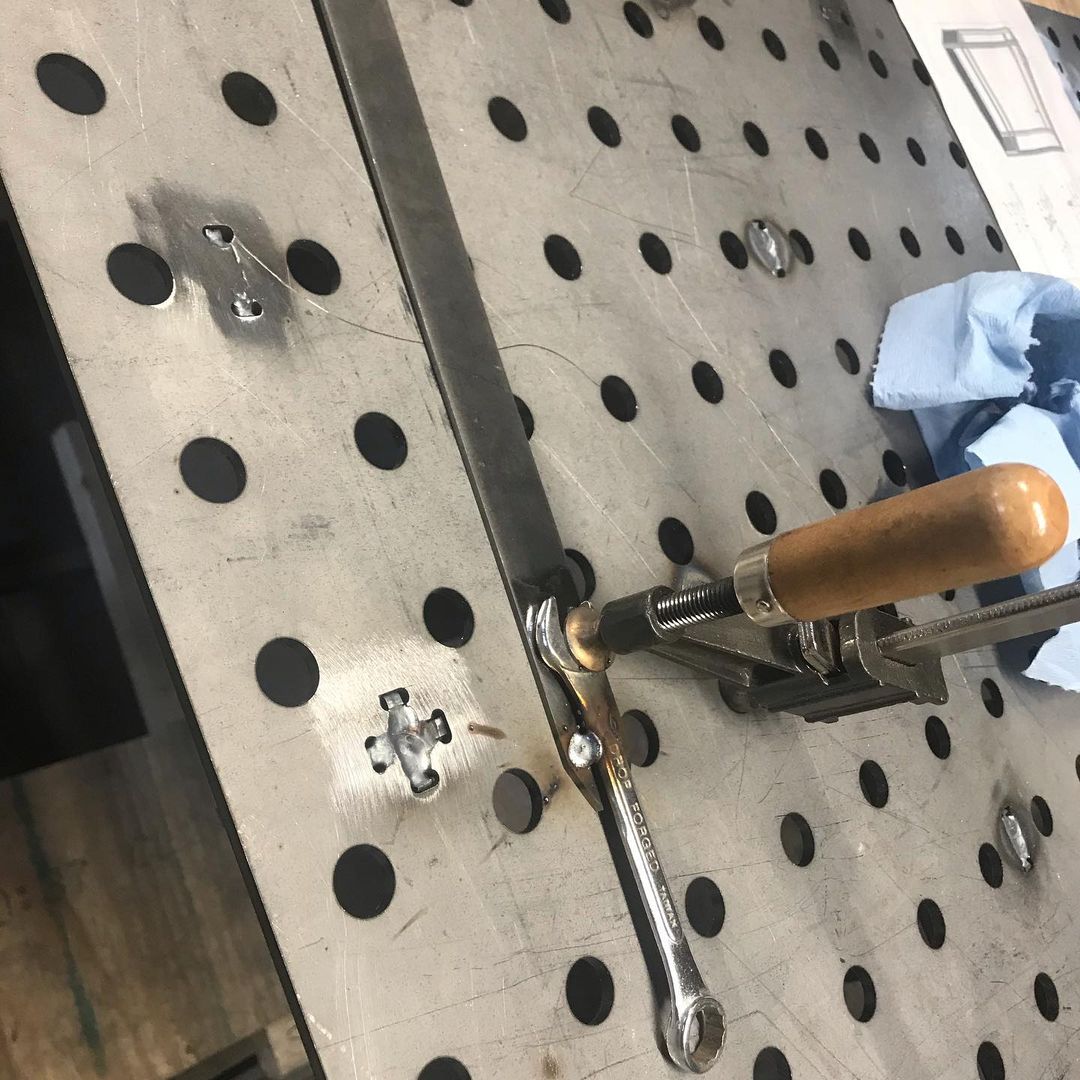
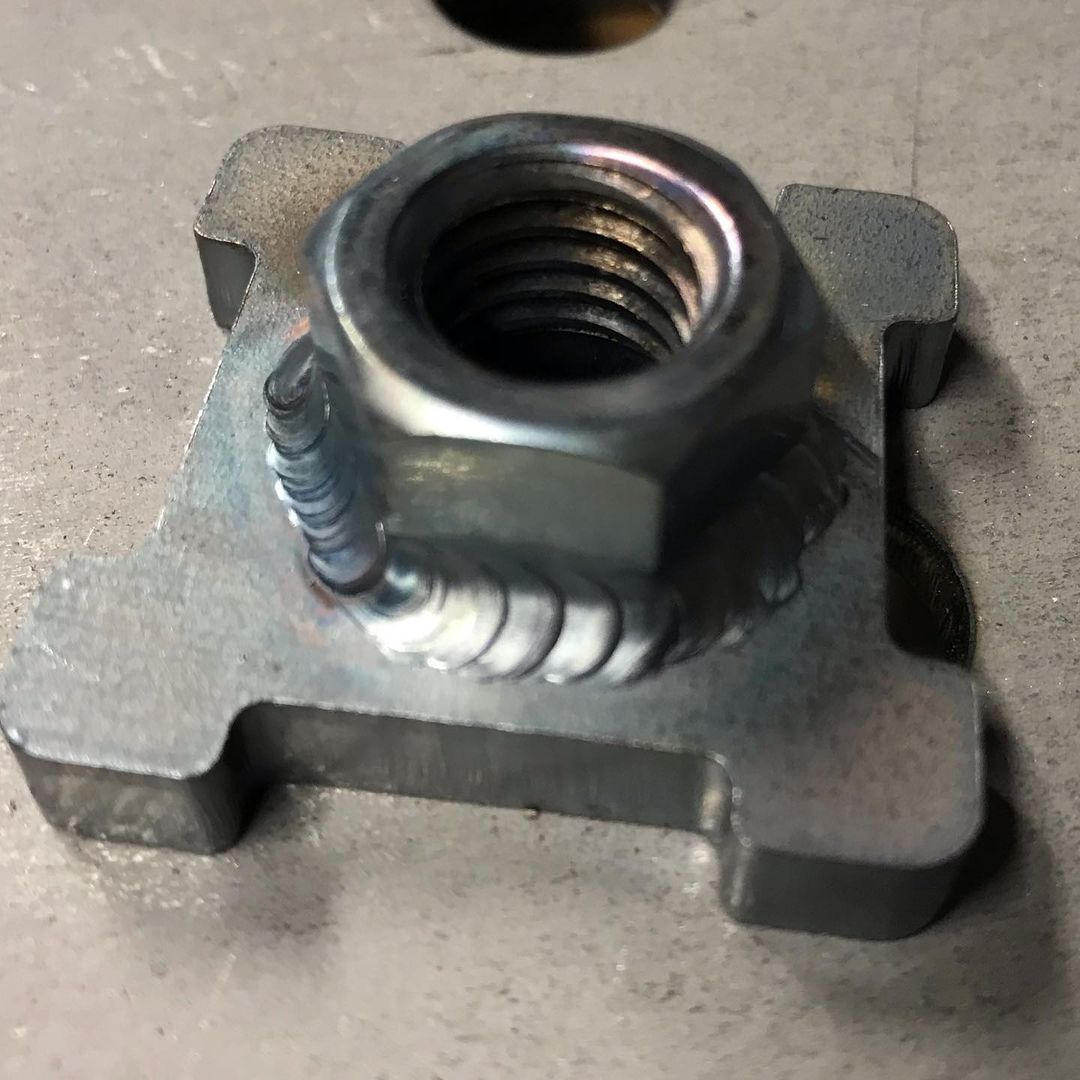
Horizontal it is. .
.
.
Bathroom Cabinet Project – Part 1
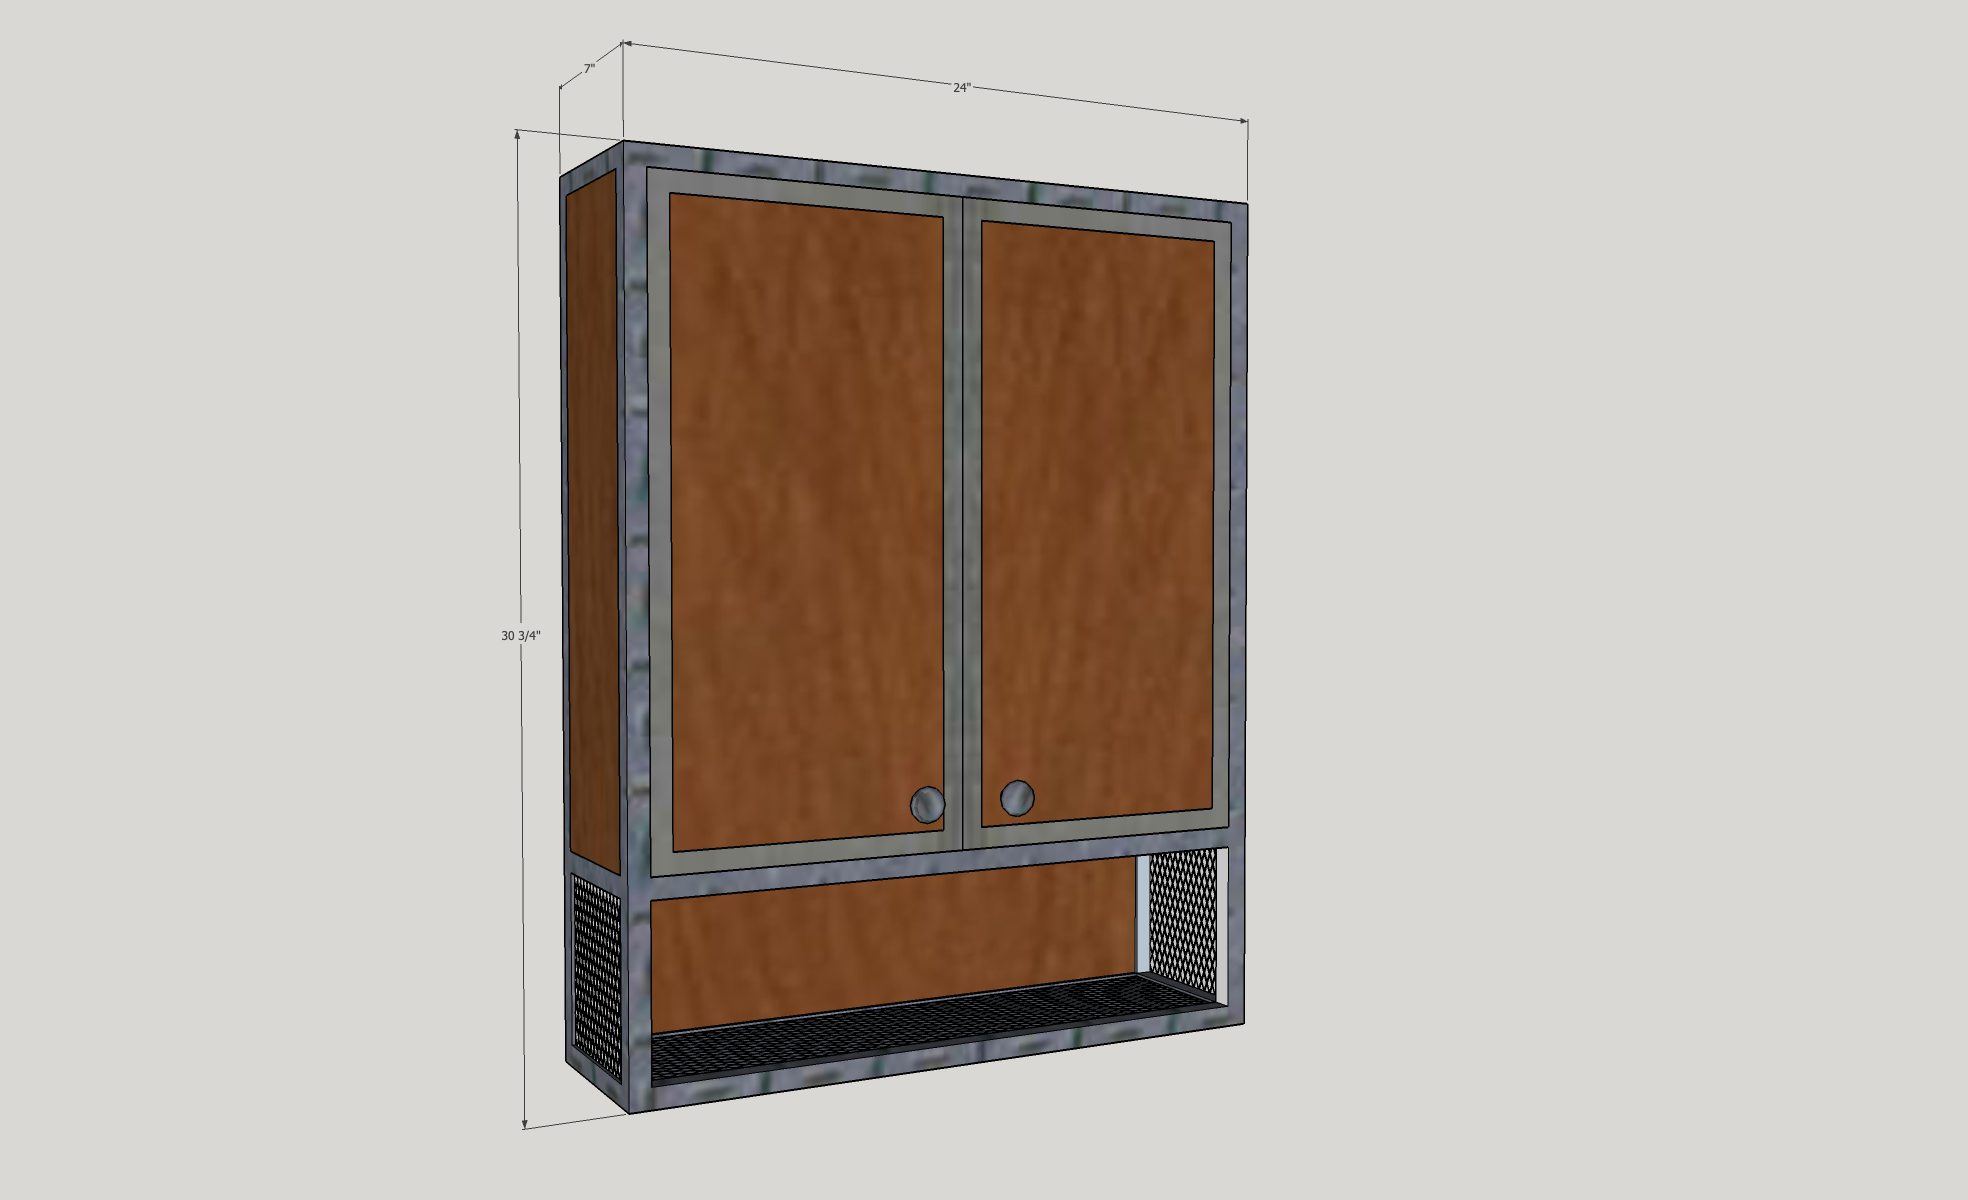
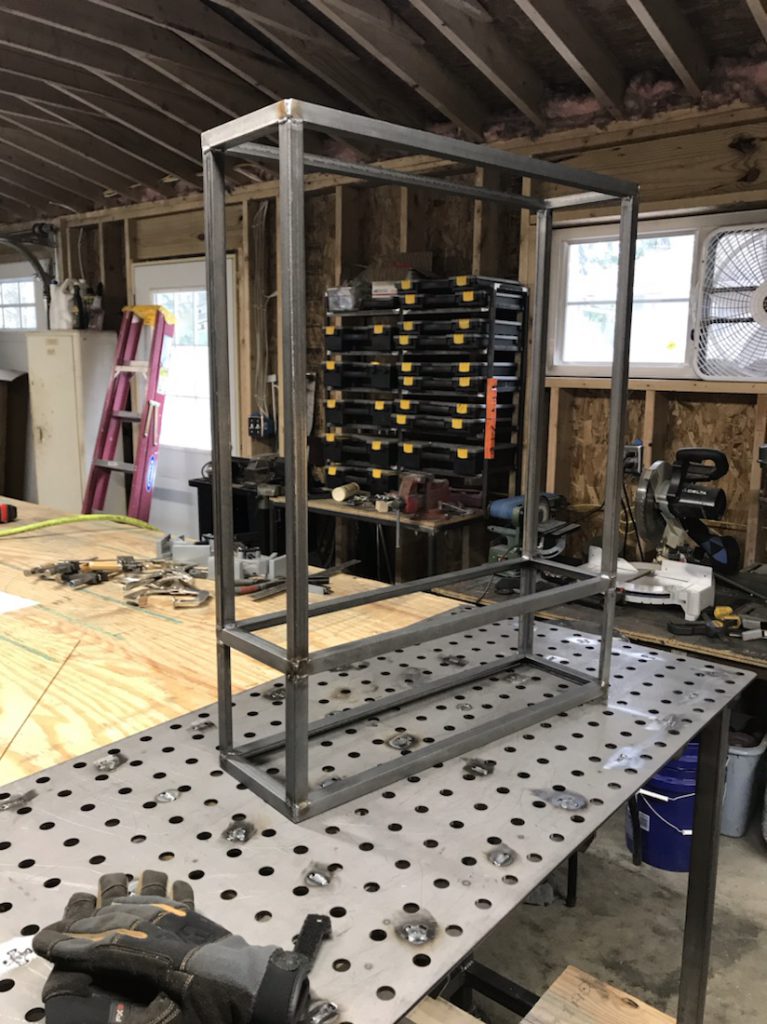
One of the projects I have been wanting to build for a couple years now is a new wall cabinet for our downstairs half bath. This room is very small, barely enough to fit a toilet and an extra small sink. There’s no storage at all. I thought about just buying a cabinet to go over the toilet, but I wanted to make something. Something from steel and old wood. I designed it in SketchUp.
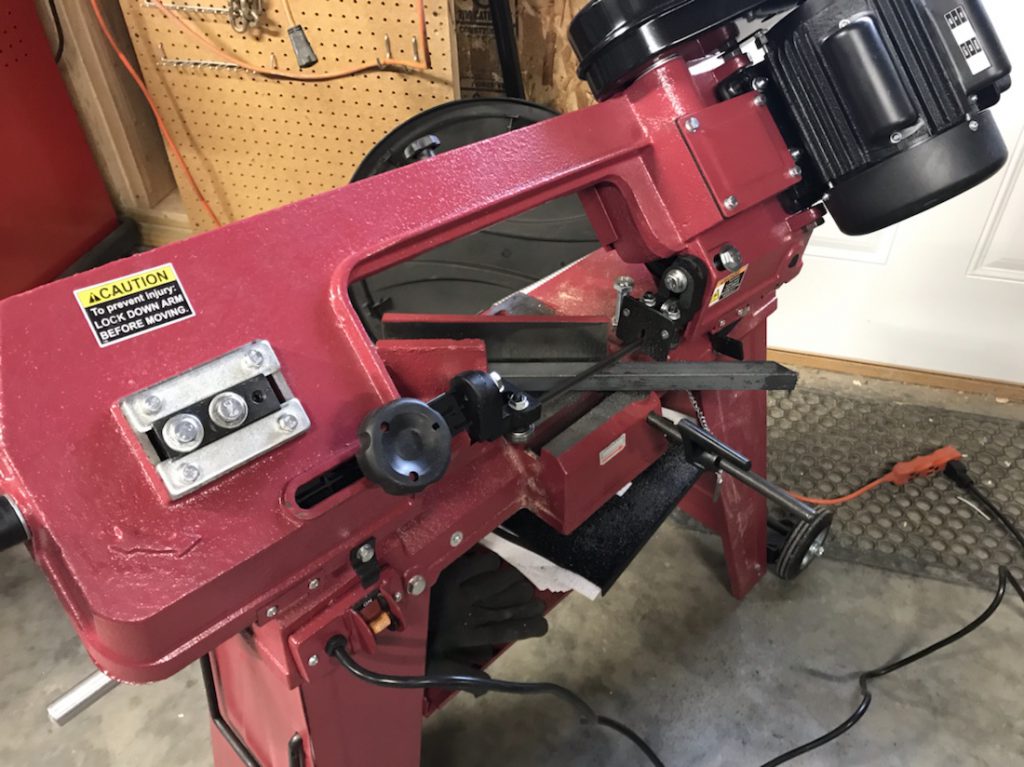
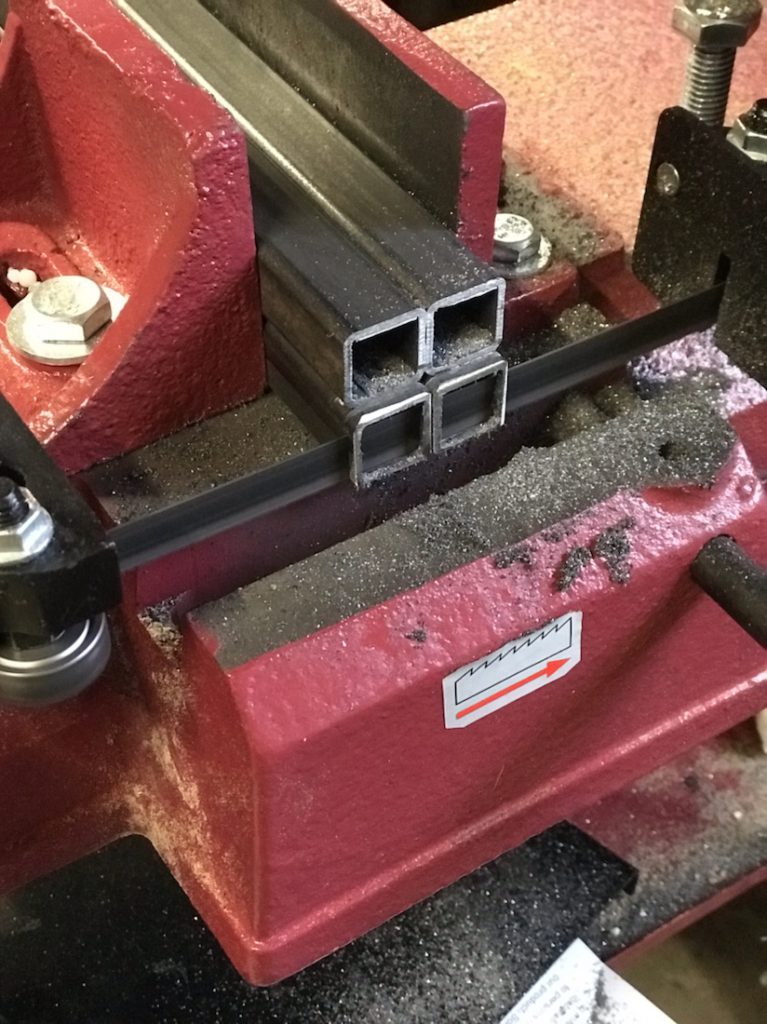
I had the steel lying around for a while, I bought it before the workshop even existed. I put the Harbor Freight bandsaw to use cutting each of the pieces of angle and square tube.
For a cheap saw, I have it dialed in to cut very straight and accurate. I needed quite a few small pieces, needed to do a little bit of grinding to get the lengths just right.

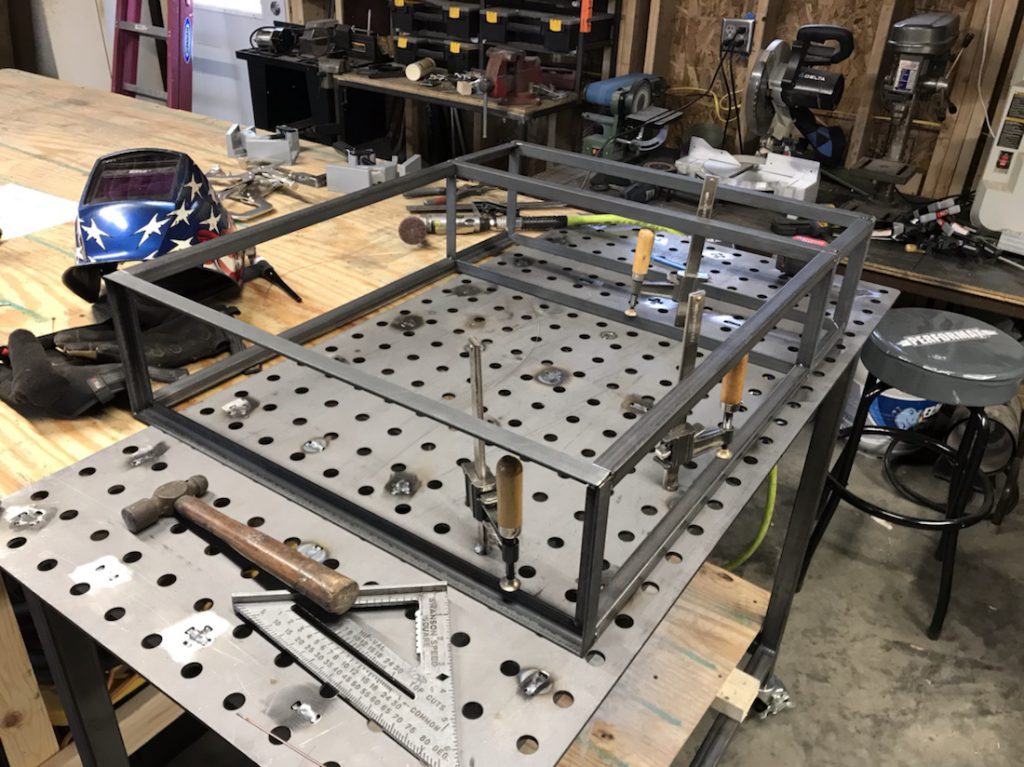
I still need practice with the TIG welder, so I decided to use this project. Tacked everything together before finish welding with the TIG 225X.
Having the welding table and my homemade clamps made this a lot easier. I also used a set of Hobart corner clamps to get me started.
One of these days I will have to invest in some Fireball Tools squares, but they are very expensive. I might try designing a set and cutting them out on the water jet at CWRU.
I need to go get the rustic wood for the cabinet, and make the doors yet, and the figure out what I want to do for a patina. But with the Coronavirus lock down, I can’t really go anywhere.
Welding a 2″ Cube
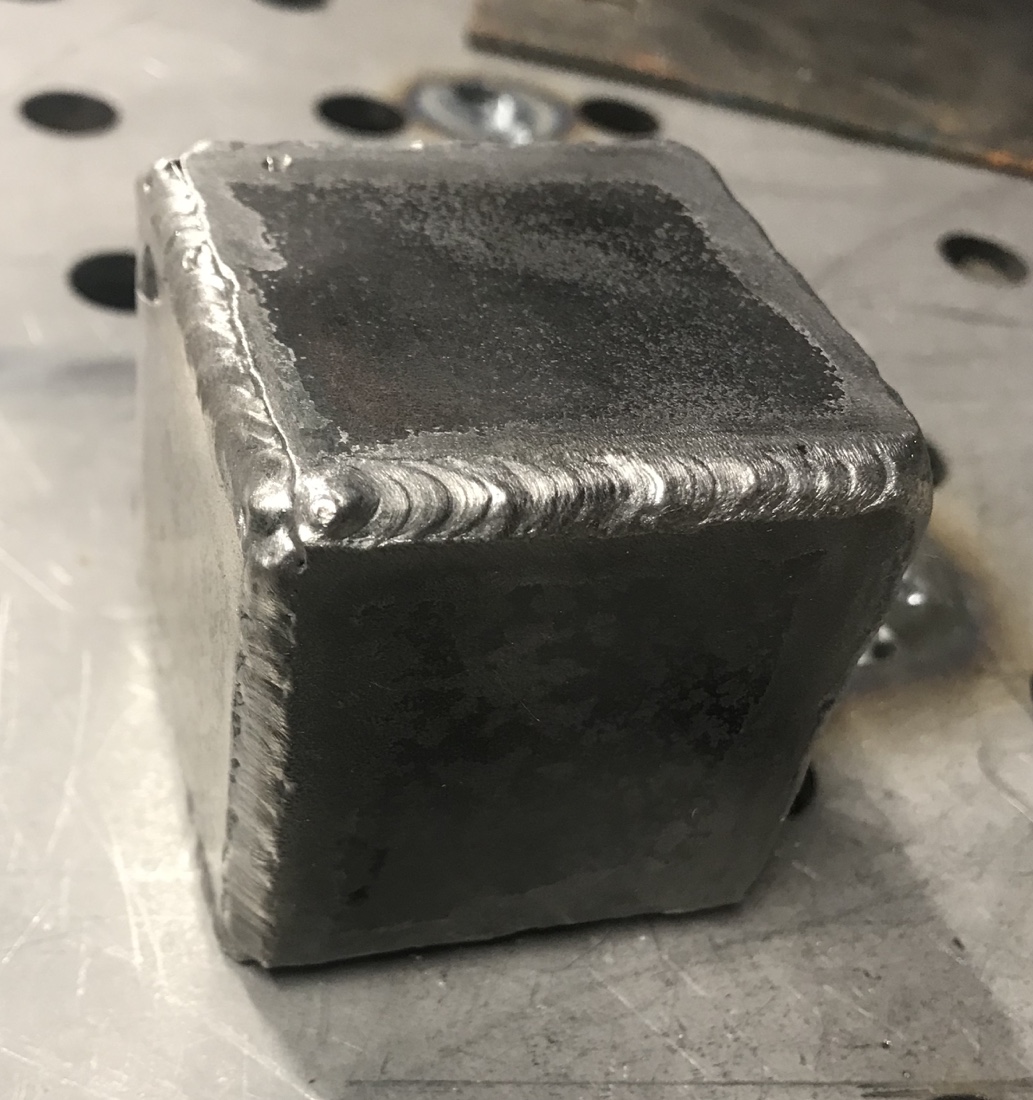
I wanted to get a little TIG practice in with the Primeweld TIG 225X. I had some 2″ mild steel flat bar left over from a different project, so I decided to cut it up into roughly 2″ lengths and weld it together to make a cube.
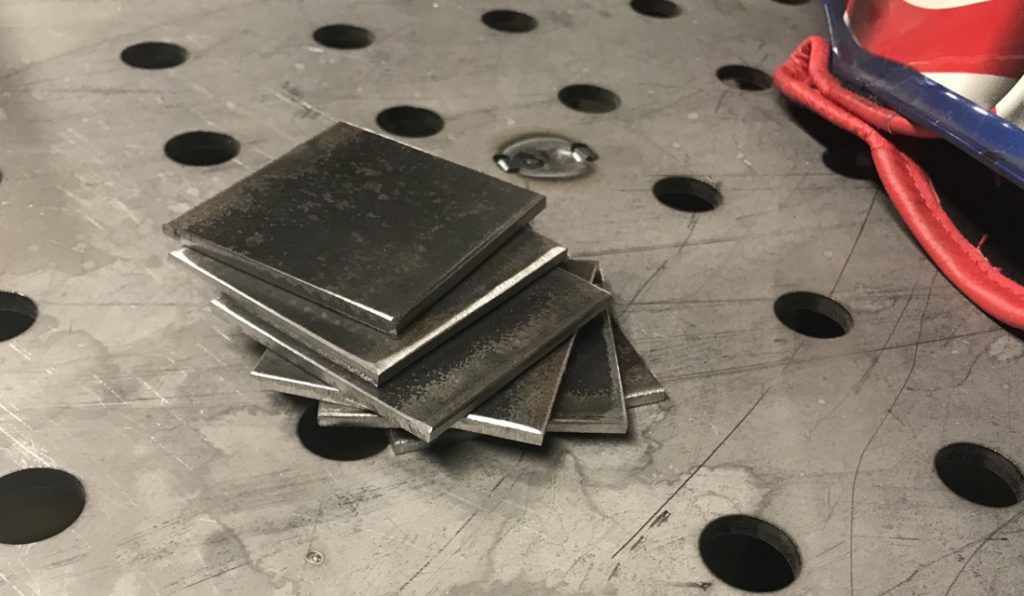
My welds still need a lot of work, but every bit of practice counts. I should have taken my time on this, but, TBH, I was just happy to be welding.
There’s something about TIG welding that is just so satisfying.
There’s something about TIG welding that is just so satisfying. Not the best welds in the world, but I’d say not too shabby. .
.
.
Practicing on some 1/16” aluminum coupons
Practicing on some 1/16” aluminum coupons from @weld_metals_online before I try the real fix.
.
.
.
Need a tool. Make a tool.
If only I knew someone that could TIG weld aluminum.
Finished the welding table
After work today, I went ahead and assembled the leg kit for the welding table from weldtables.com. I didn’t take many pictures of the process. Started by tacking it from underneath with the MIG welder.

I could have finish welded it with the MIG, but I really need the TIG practice. In hindsight, I should have just stuck with the MIG. I ended up having to weld a good part of it out of position, and even blew through some of the thinner leg steel in the process. Managed to fix those mistakes and just kept trying and taking it slow.
The welds are a bit ugly, but it’s together and is almost exactly the height I expected it to be. Once I replace the work table top with a piece of 3/4″ plywood (it’s currently 1/2″) it’ll match the height.

Next step will be to make some minor improvements. I want to skin the bottom shelf with expanded metal or sheet metal. It’s the perfect height for the TIG foot pedal when I am seated on the shop stool. Plus, I would like to make something to hang my angle grinders from off on one side, and a place to hang clamps on the other.
Welding table legs
The kit for the welding table legs from weldtables.com came in yesterday. I started by welding in the nuts for the casters.
The kit comes with inserts that fit into the bottom of the square tube that makes up the legs as well as some nuts. Taking this as an opportunity to practice my TIG welding a little bit more. I tacked them up first before finish welding them.
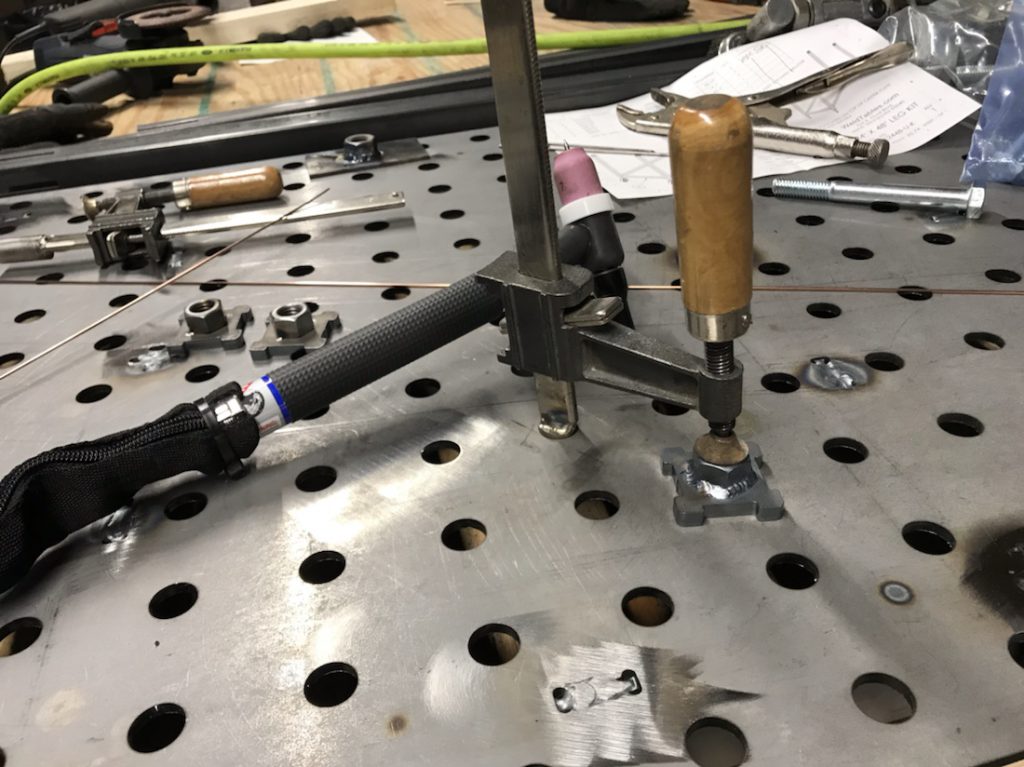
Set the Primeweld TIG 225x on pulse to get that nice stack of dimes look.
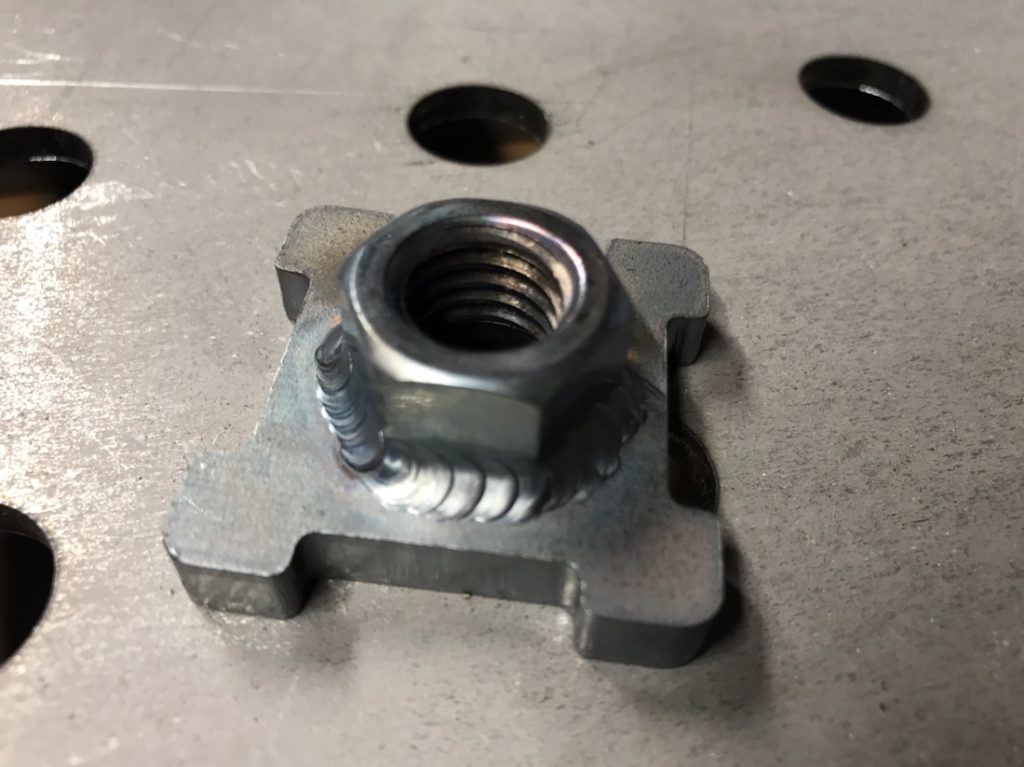
I really do prefer TIG welding over MIG for some stuff. It’s rather therapeutic.
Stacking dimes!
Stacking dimes! Welding nuts on the inserts that will be welded to the bottom of the legs of the welding table. .
.
.

