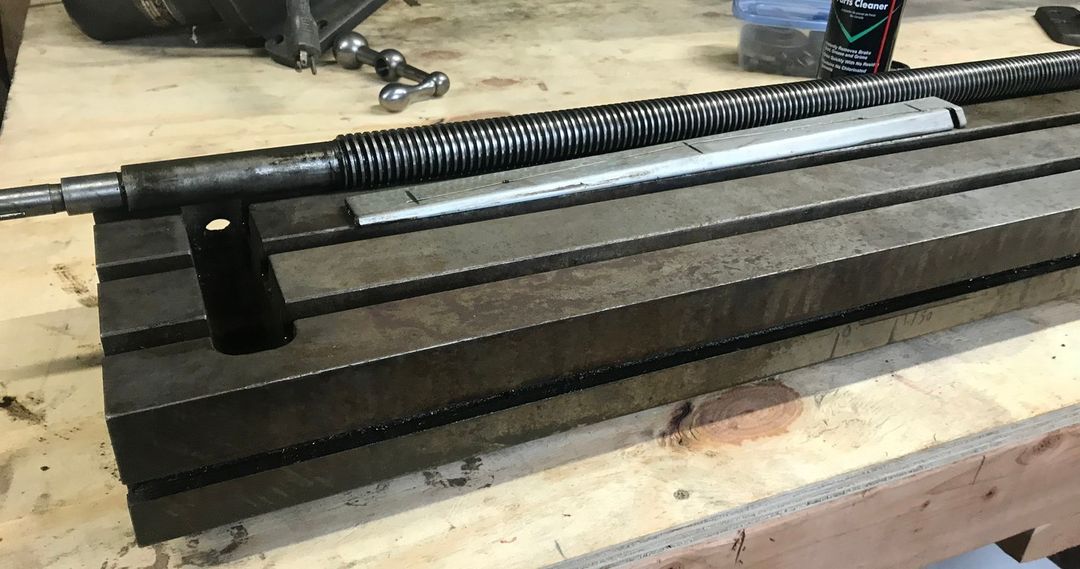
And so it begins. I got the table off the mill and pulled the X axis screw. There’s wear in the screw, but not much. There is some scoring on one side of the ways, but I don’t think this will be a major issue.
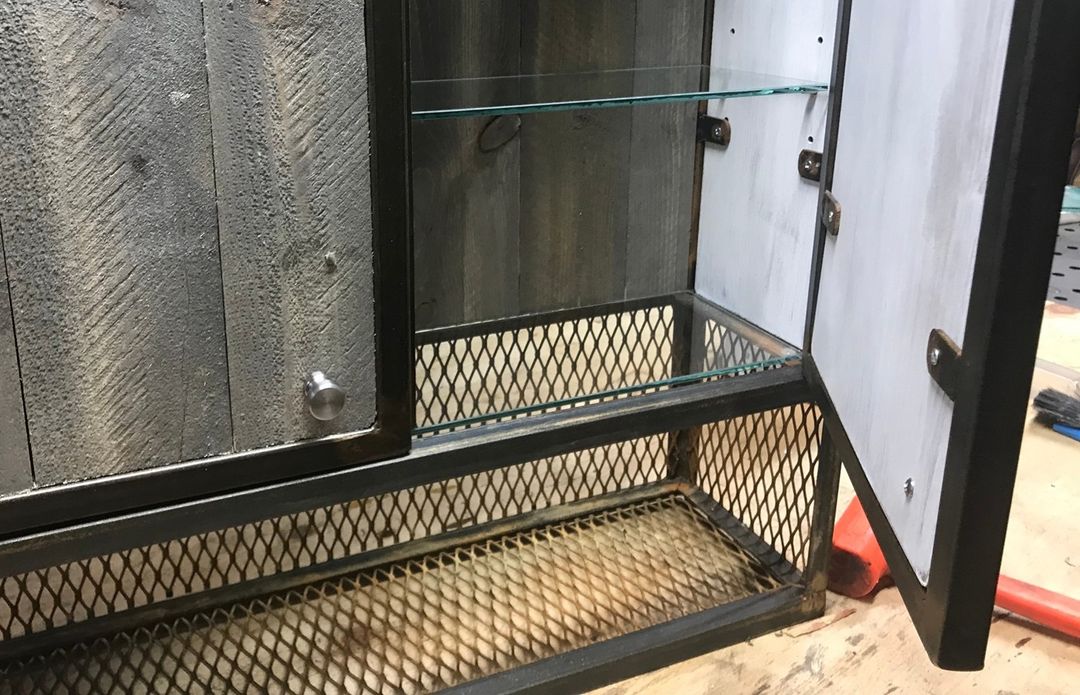
Finally finished this bathroom cabinet I have been making, on and off, for about 2-1/2 years.
Finally finished this bathroom cabinet I have been making, on and off, for about 2-1/2 years. 
.
.
.
.
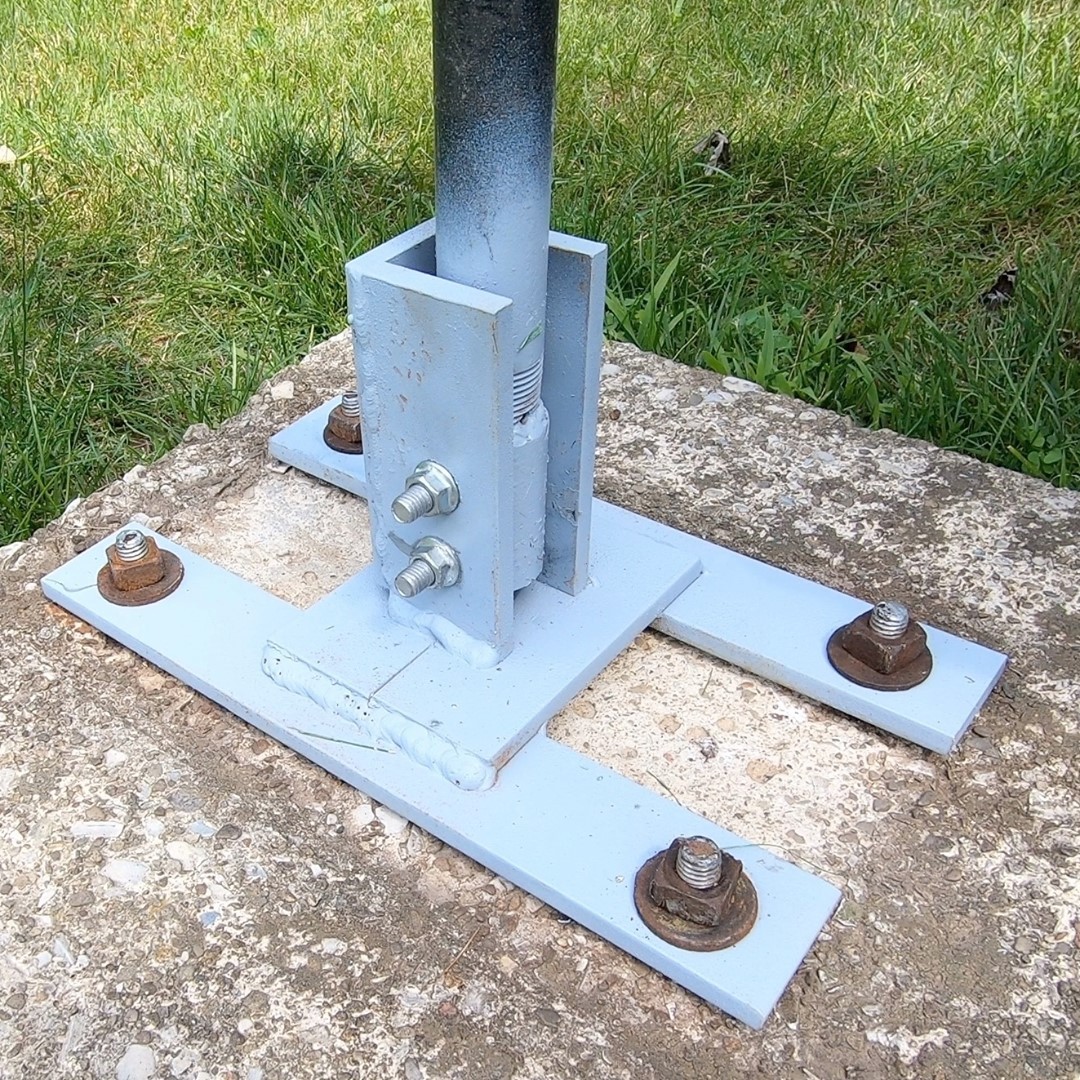
My neighbor asked me to build a hinged flag pole mount.
My neighbor asked me to build a hinged flag pole mount to replace the rusted one that was in his front year.
.
.
.
.
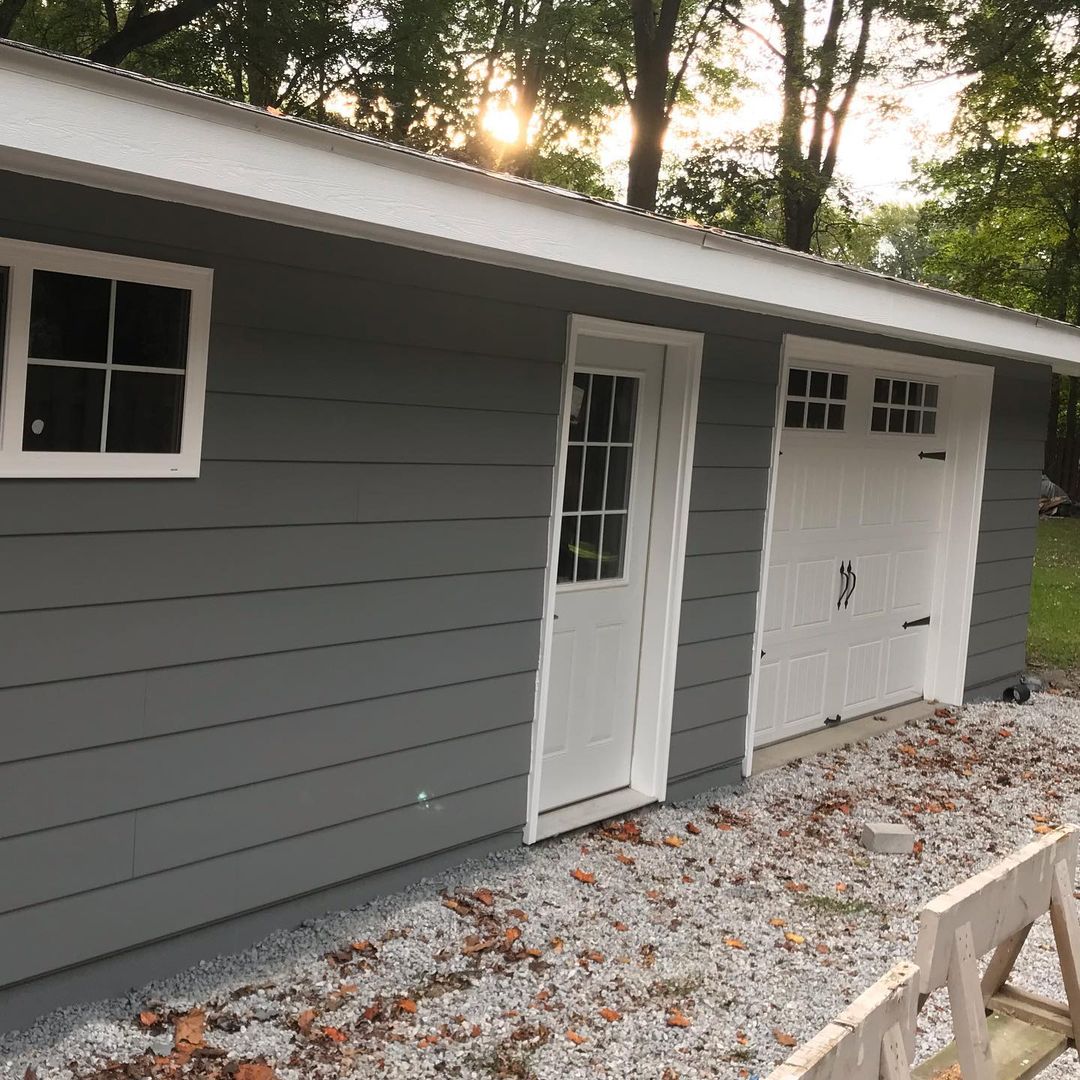
Hard to believe it’s been two years since the workshop was framed and roofed.
Hard to believe it’s been two years since the workshop was framed and roofed. A lot has changed since this photo. And it’s planned usage changed a bit, too. For what was meant to be a combination workshop/winter Jeep storage is now becoming a fulltime workshop. No room for the Jeep with the addition of the lathe, and a future vertical mill.
.
.
.
.
.
.
Horizontal Band Saw
Finally waited long enough to buy one of these Harbor Freight horizontal band saws.
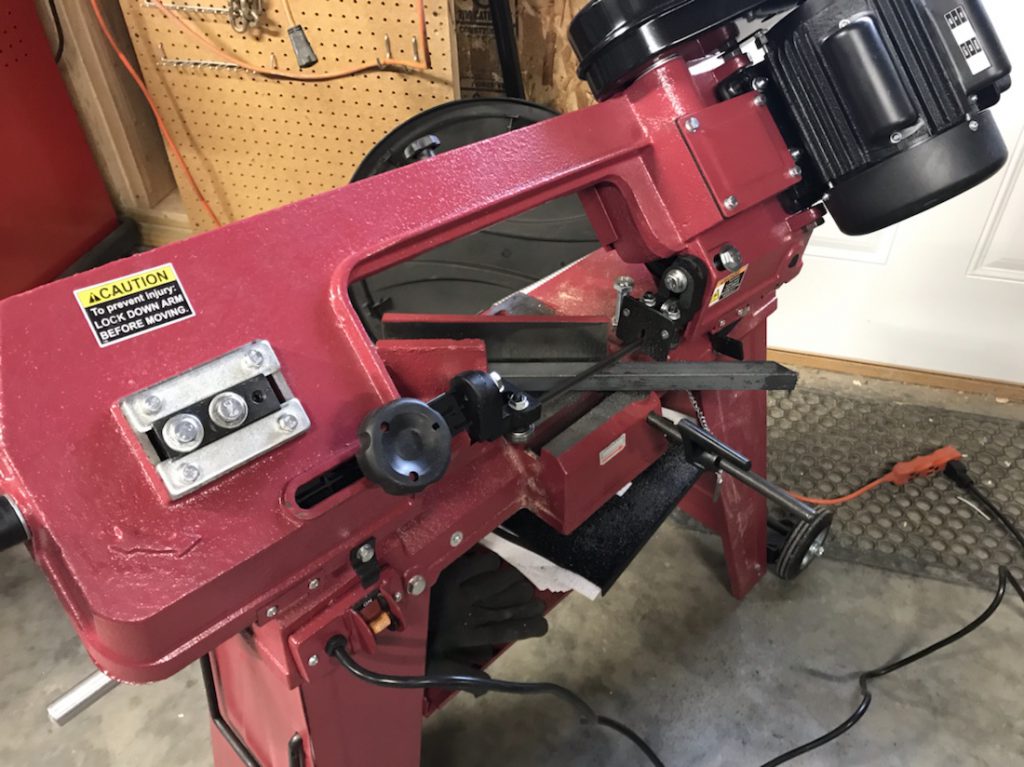
Didn’t bother keeping the stock blade. Bought a new blade right off the bat and used it to set the alignment of the blade. It took a little doing, but it’s dialed in and cutting straight.
I found this document for aligning the blade and adjusting tracking. It’s still not tracking 100% on the lower drive wheel. But I think I have a plan on how to fix that with some help from the internet.

New welding table (almost)
I have been wanting a welding table from Certiflat for YEARS. I can’t remember just where I first saw them. I finally had the space and the budget to get one this year.

It comes in pieces. A flat top, laser drilled with 5/8″ holes every 2″. There are also slots cut into the top where the tabs on the support ribs fit into.
You start the build upside down, clamping the ribs to the top piece. You have to clamp it down completely to ensure the top comes out flat.
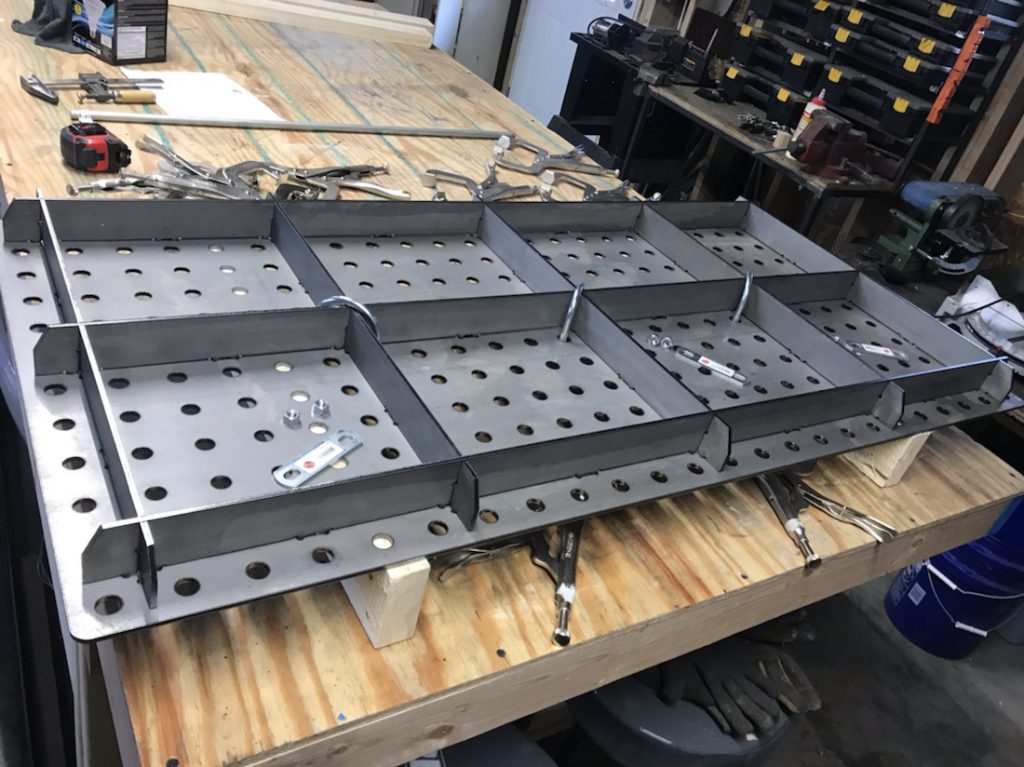
I used u-bolts to clamp down the center pieces.
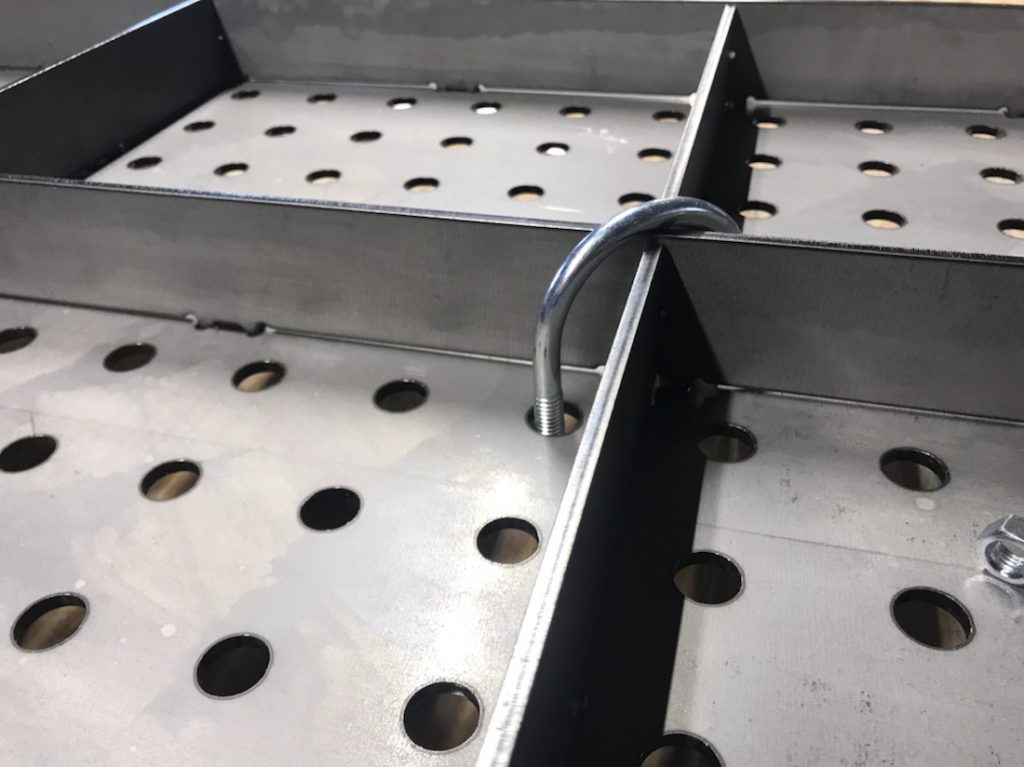
I used the MIG to tack weld the center parts of the ribs together and to the table top. and then added more clamps to the outsides of the ribs.
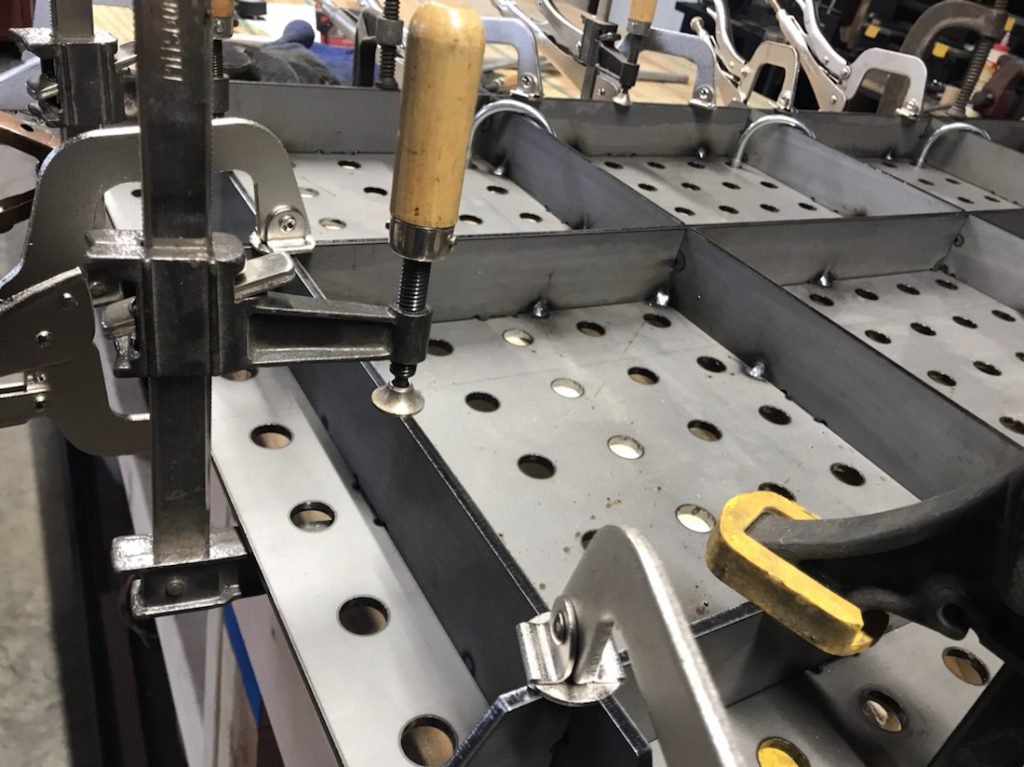
A lot of clamps. You can never have too many. I used a flashlight to make sure there was no space between the ribs and the top, shining it on the side opposite to where I was standing, making sure I saw no slivers of light come under neath the rid.
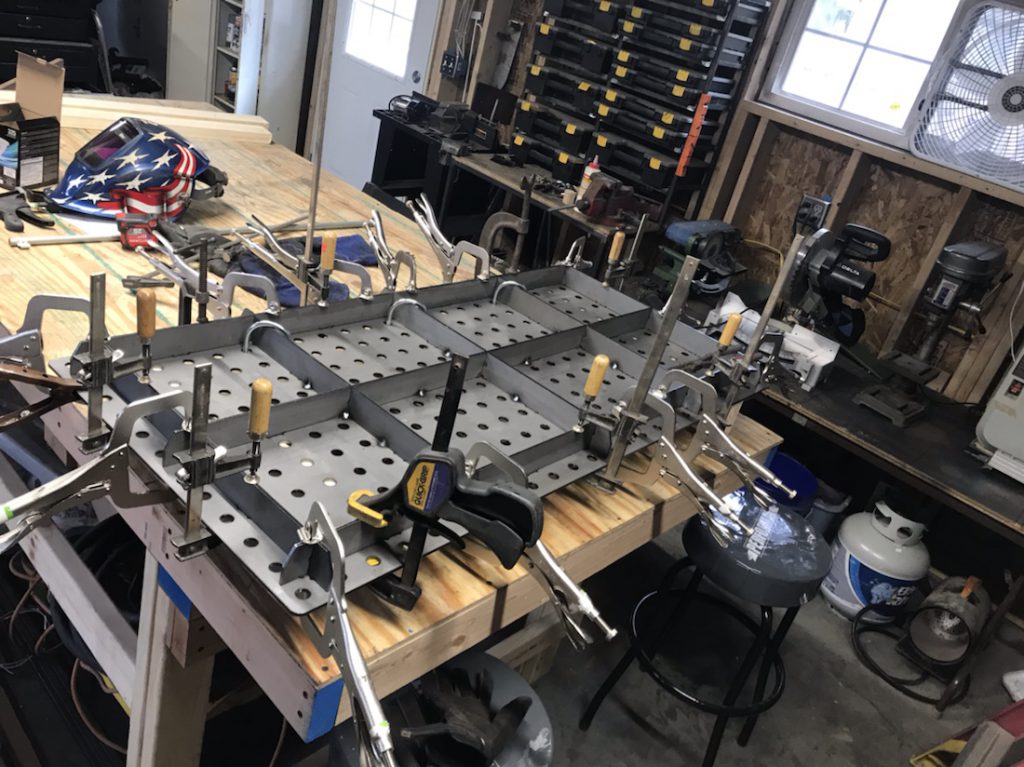
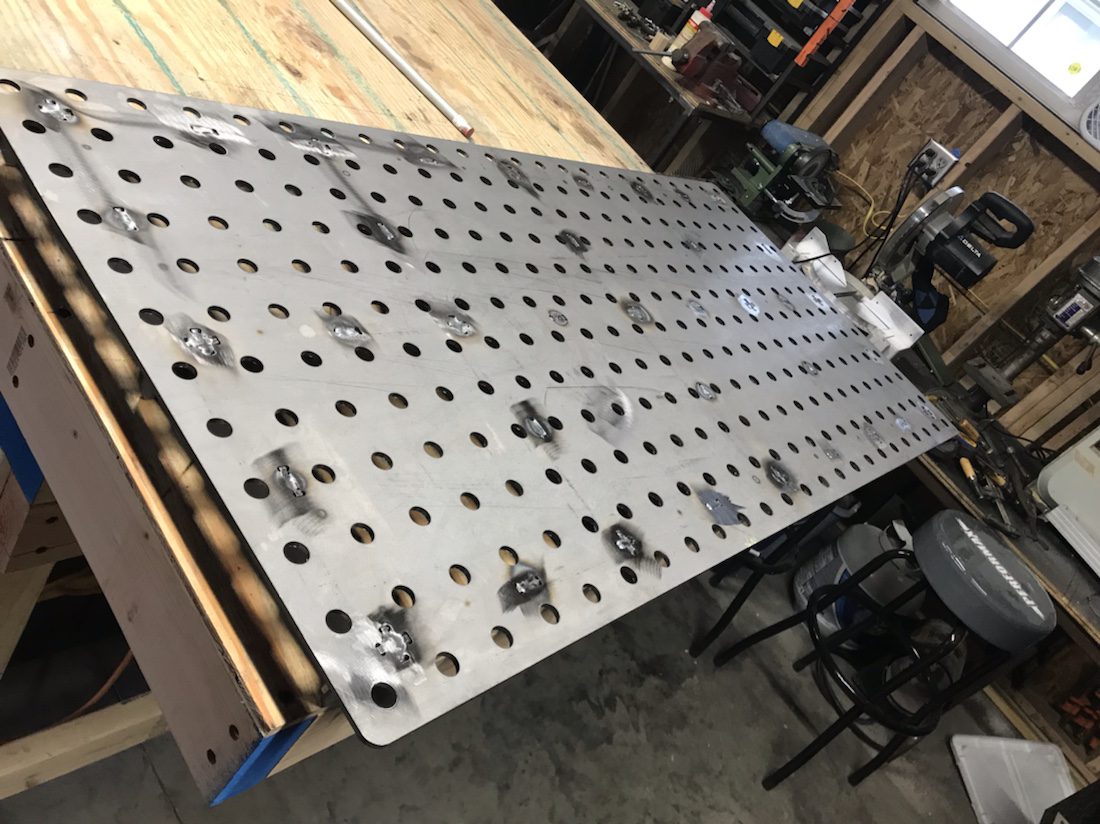
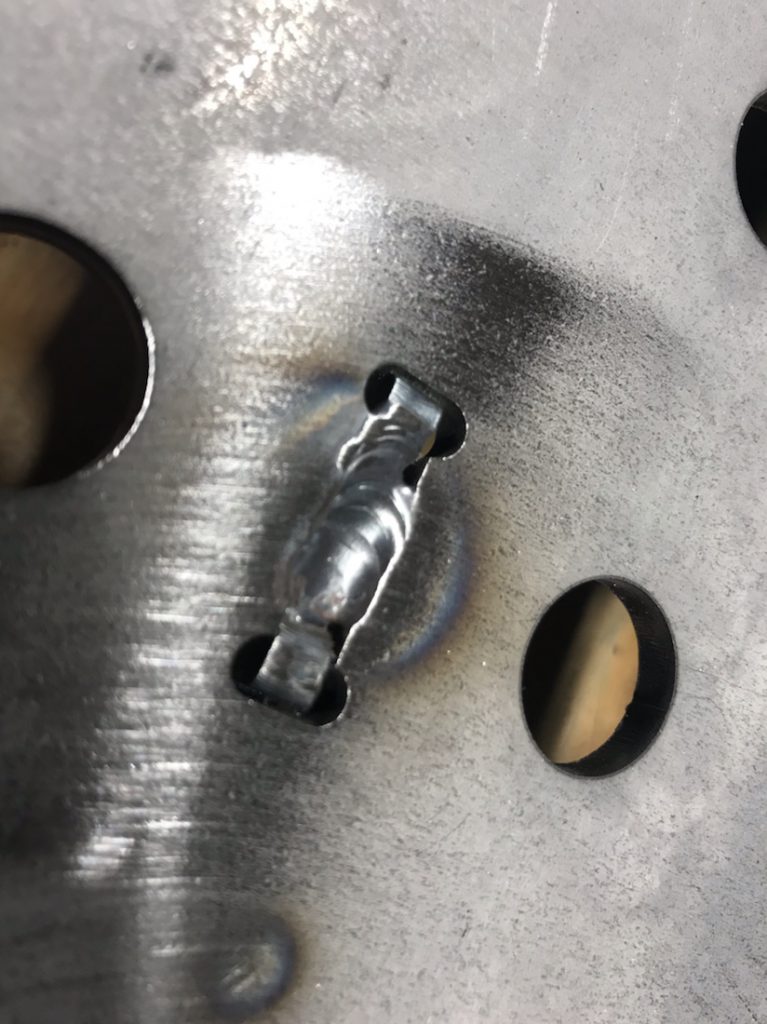
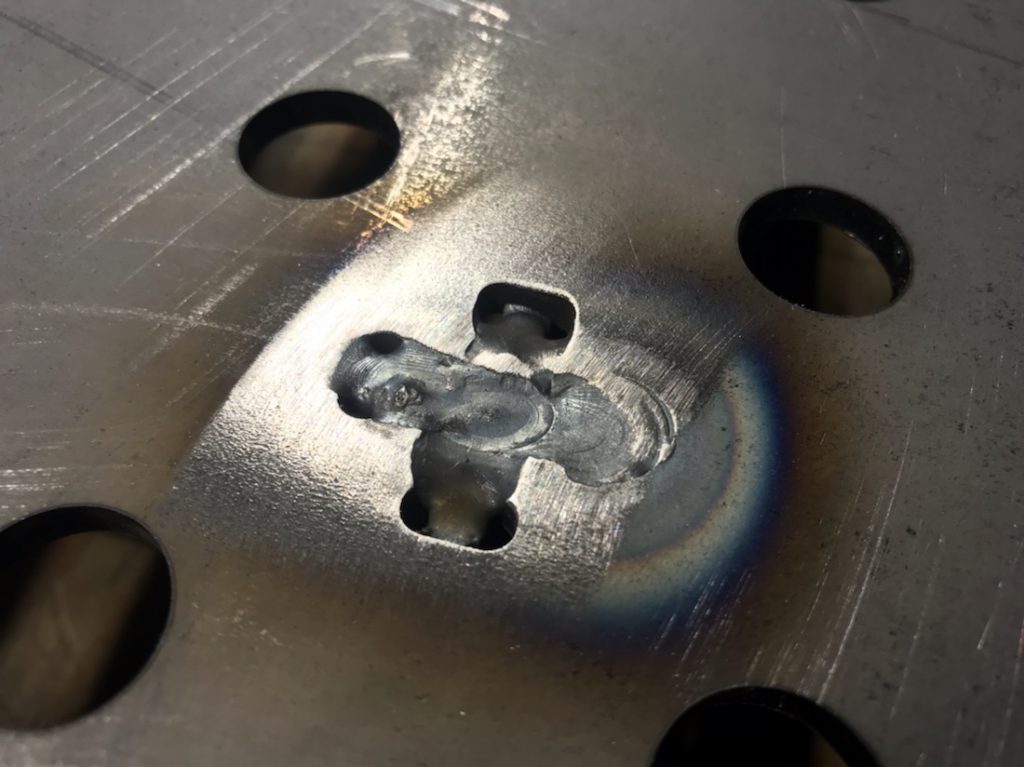
Once it was completely tacked together, I turned it over and used the TIG welder to complete the welds of the tabs and slots.
My TIG welding still needs practice, but that’s part of what this table is for. I’m debating on if I will finish welding the ribs below. I don’t think it really needs it.
The legs I ordered with this table haven’t been shipped yet. Once those are in, I’ll be able to complete this project.
UPDATE: Leg kit arrived.
New TIG Machine
I’ve been wanting a TIG/Stick welding machine for some time. Not because I need one, but because I want to learn how to TIG weld. I looked at a number of options, trying to stay budget friendly. I ended up getting this TIG 225X machine from Primeweld.
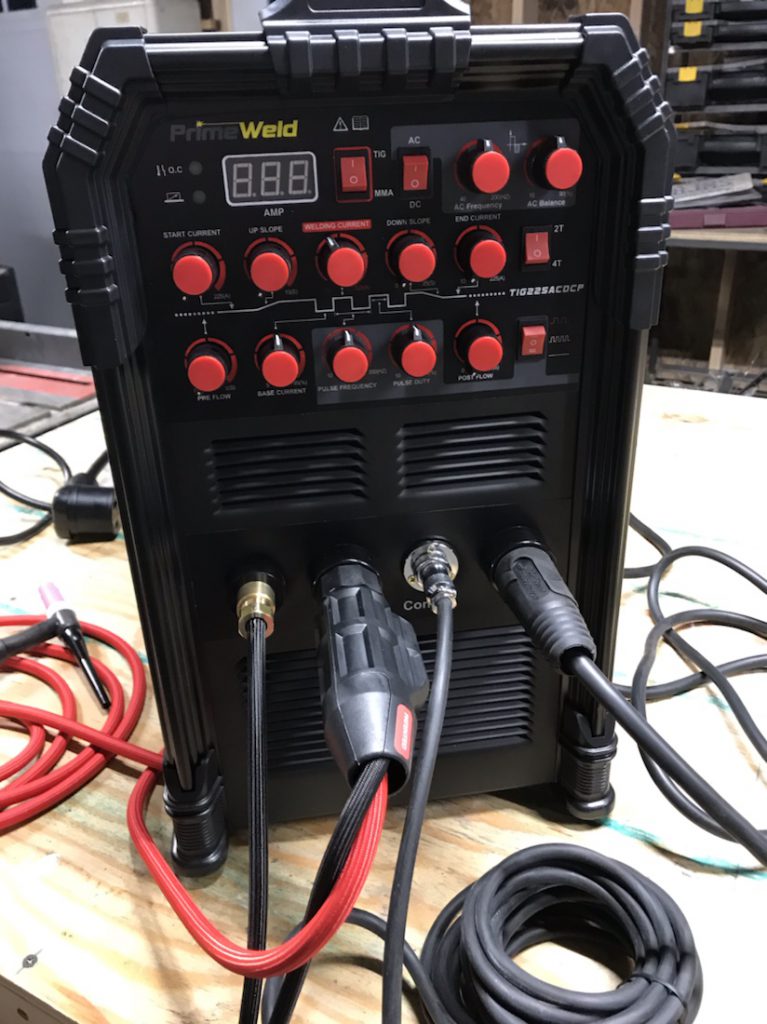
It’s been getting pretty good reviews, especially from some welders that are fairly critical of inexpensive chinese imports.
What sold me on it was not just the price at $775, but that it does pulse as well as AC welding – which means I can weld aluminum!
It came with a CK Worldwide torch and an upgraded foot pedal. I picked up a bottle of argon from a local welding suppliers, as well as some filler rod and stick electrodes from Harbor Freight.
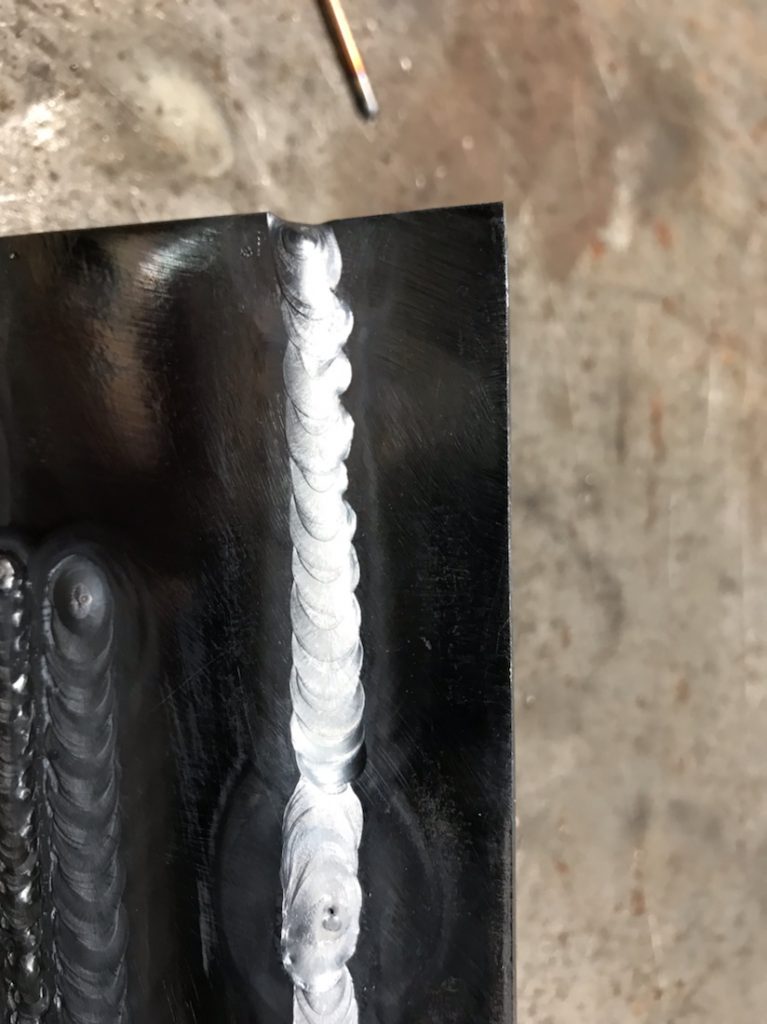
It’ll take a while to learn how to do all of this with some degree of acceptability, but it’s going to be a lot of fun!
Found an old welding cart on Facebook for $20. Cleaned it up and painted it. Perfect fit!
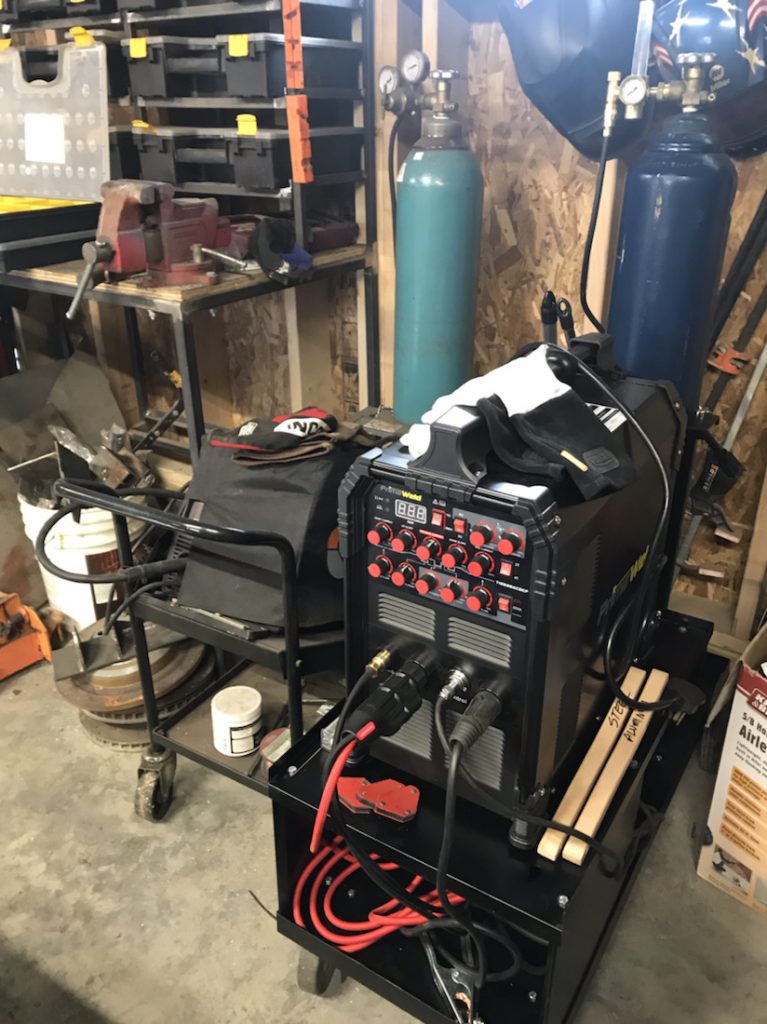
Makes my Hobart 175 amp MIG welder look so tiny!
Hibernating
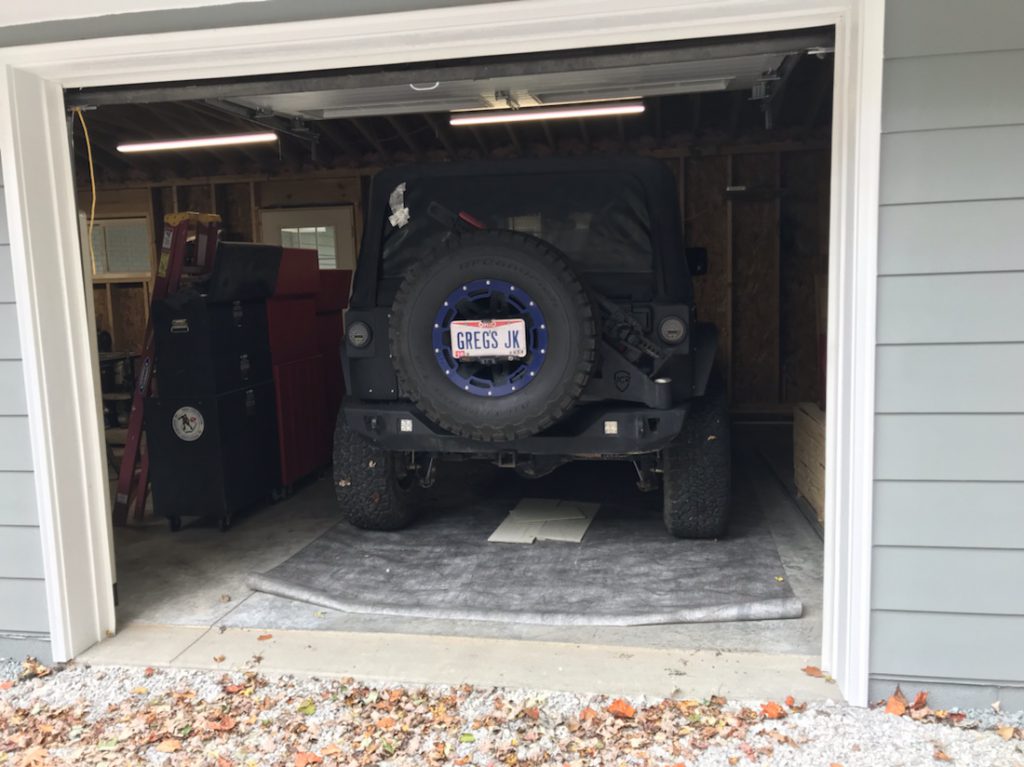
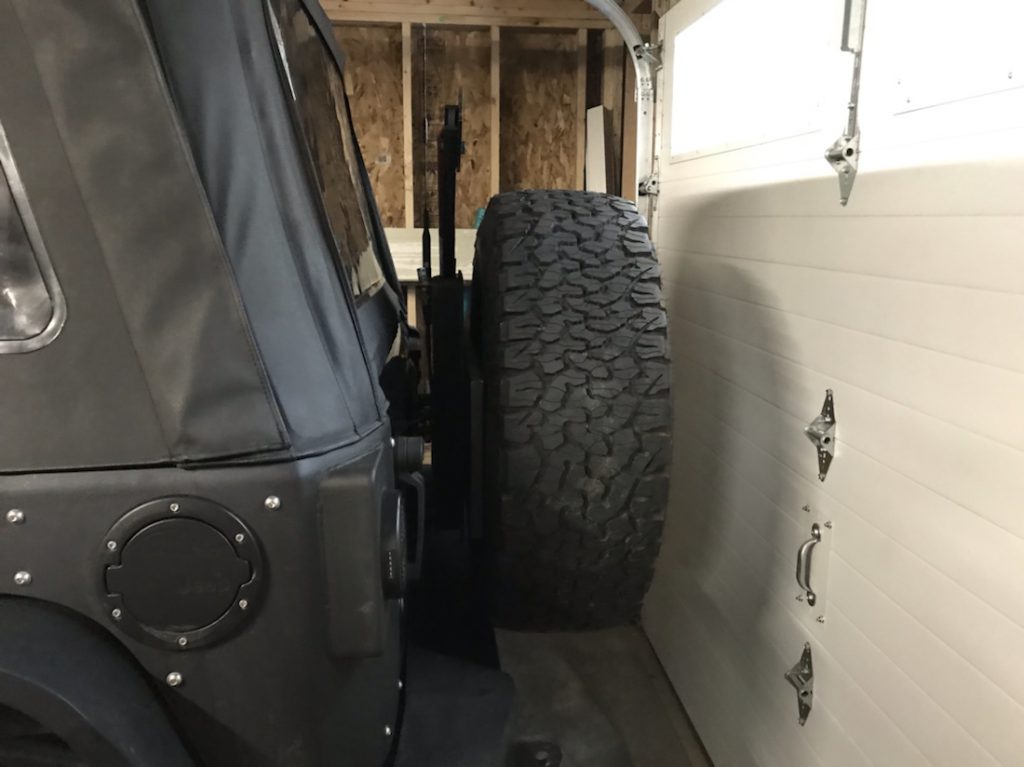
I rearranged the workshop for the winter months and pulled the Jeep in for the first time. It fits as closely as I expected.
I’m thinking of removing the spare tire to make it easier to get to the other side of the Jeep. I still have to put it up on jack stands to keep the tires from developing a flat spot.
Paint and gutters
Now that the siding is complete (finished that off after the electric service was finished) it’s now time to paint.
I used paint from Sherwin Williams that matched what was on the rest of the house. When the house was last remodeled and painted, the remaining paint was left in the basement. This helped, since I felt I could get the most accurate paint match.
I started with the trim, soffit and fascia. I rolled it on for the soffit and fascia, and then brushed in the cut in and the trim. Two coats later and it looks great.
After that dried for about a day, I did the cut in for the main color.
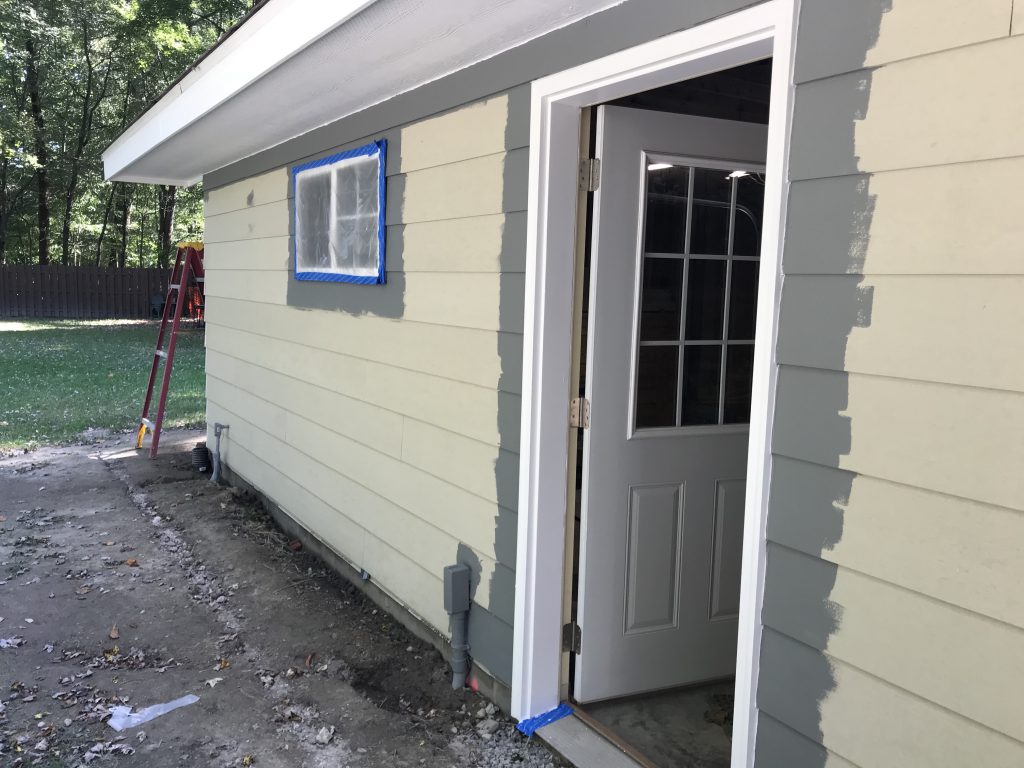
I also painted above the doors and windows. There’s only about 550 square feet of wall, but an airless sprayer will make this a lot smoother and even coat. I had picked up one of these cheap ones from Harbor Freight a number of years ago and it has worked perfectly before.
This time was no exception. I got the first coat done in less than 2 hours, including setup and clean up.
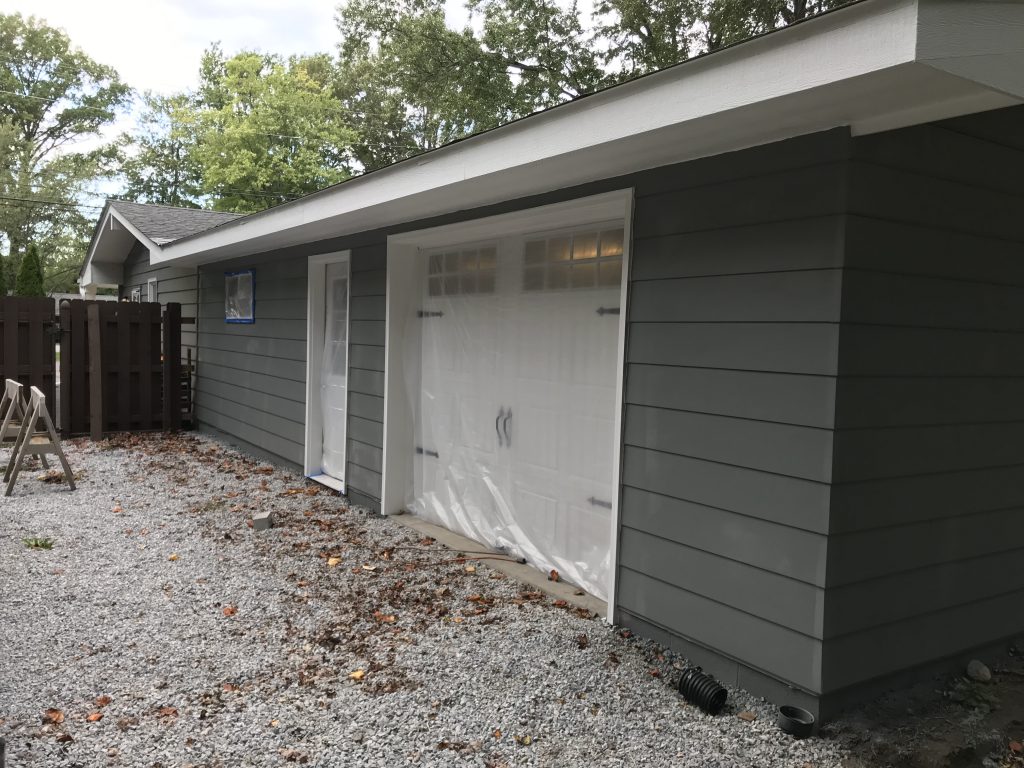
I did manage to get a little overspray on the soffit. That cleaned up easy enough with some touch up paint.
I waited a couple days to put on the second coat and remove the plastic and tape. Second coat took about an hour and a half, including cleanup. I did need to do a little touch up on the white where there was some overspray, but that only took about 30 minutes. The feed for the electrical service seems to disappear. Once we get this landscaped, you’ll never notice it.
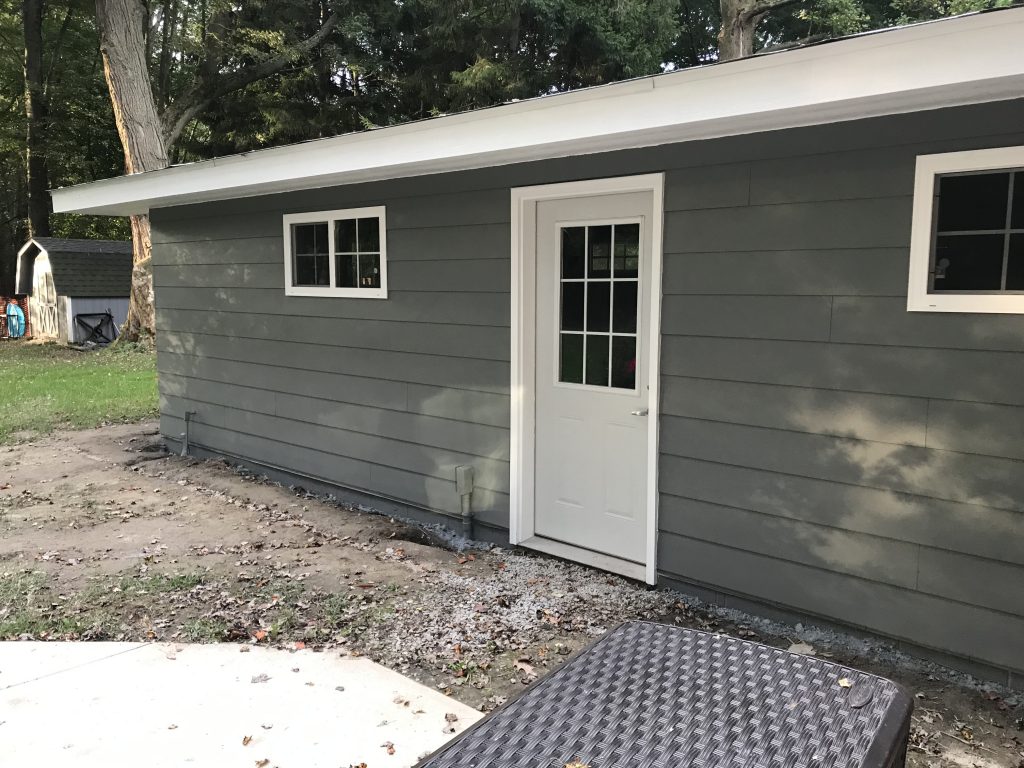
The last thing I need to do is install the gutters. Again, I bought all of the components from Menard’s. The gutters came in 10′ sections and was just a matter of snapping an appropriate slope line, using some seam sealer and screwing it into the fascia.
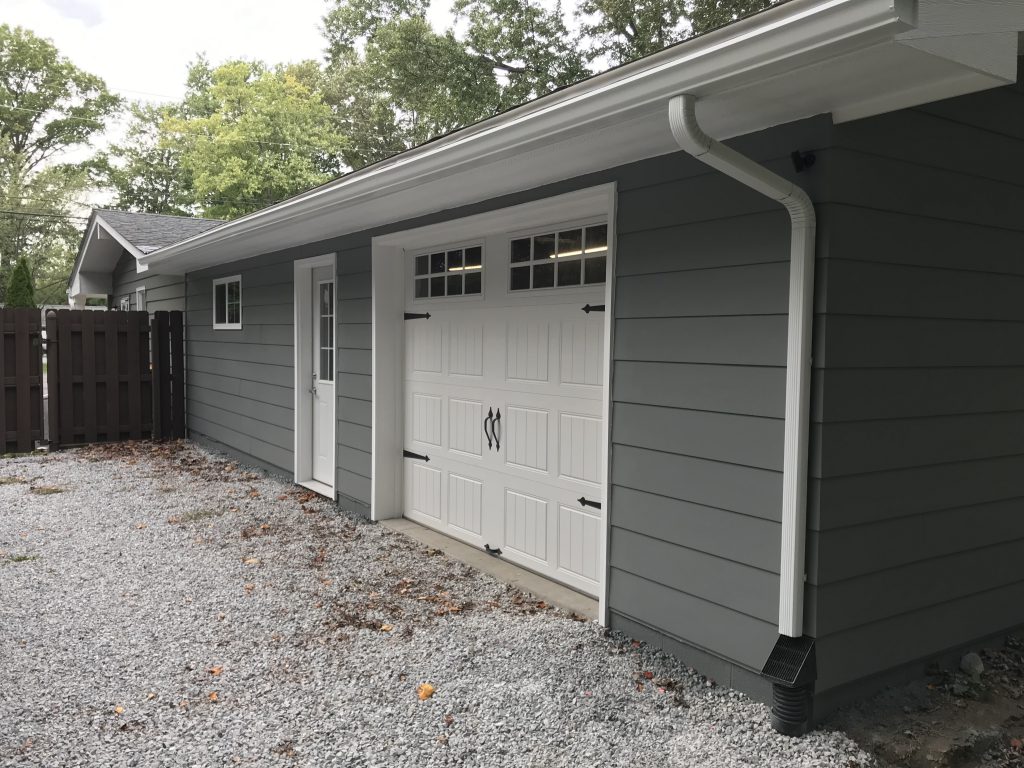
The downspouts run into an underground drainage system that comes out in the yard, keeping the majority of the water away from the building.
I can finally take a break from working on the shop. I am done until next year when I figure out all the electrical requirements.
Workshop paint is done!
Workshop paint is done! I used an airless sprayer I bought years ago from Horrible Fright to apply about 4 gallons of paint in two coats. The trim, soffit and fascia took a couple gallons as well. Once the gutters go up, it’ll be ready for the final inspection. .
.
.
.
